Please read carefully Theme Installation / Plugin Configuration before perform these follow configurations.
1. WP Configuration

- Discussion settings in Settings > Discussion provide a lot of options for you to explore such as “Default article settings”, “Other comment settings”. Also, you should choose max 5 levels deep for nested comment display effectively.

- In Settings > Permalinks, you can select “Post name” option.

2. Menu Setup
– Create New Menu
In order create new menu, you can navigate to Appearance > Menus in admin sidebar then click Create a new menu link. Give your new menu a name and click “Create Menu” button.
You can add new menu item by dragging item you prefer from the column on the left.

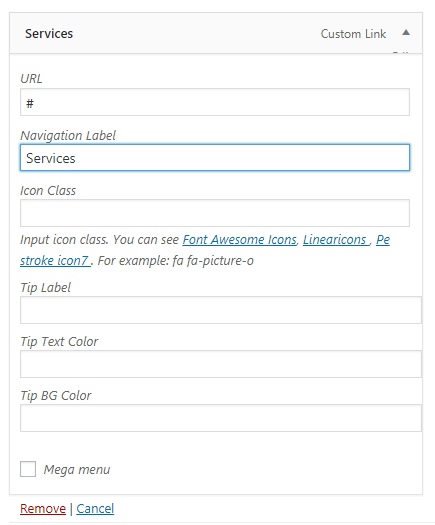
If you want to enable mega menu for your menu item, you should check “Mega Menu” box and choose number of columns to display. Also, you can upload background image for mega menu item.
After that, remember to assign theme location for your new menu. Barber provides 4 theme locations:
– Primary Menu : display in header.
– Header Top Menu : display in header top. Only for header type 6.
– List Menu: Menu in this location will display in 404 page.
– Footer Top Menu: Display in the top of footer type 3.
3. Header Setup
1. Header Layout: Wide, Fullwidth, Boxed
Go to Theme Options > Header > select header type you use and choose header layout you want.
.png)
2. Logo Image
Go to Theme Options > General > Logo, Favicon, Js Custom and upload your desired logo image.
If the logo in header don’t change or you can’t find logo option in Theme Options > General > Logo, Favicon, Js Custom, you should go to Theme Options > Header > Select header type you use and upload your desired logo image.

3. Menu setupIf you haven’t setup your menu, you should see Build your site > Setup Menu for detail guide.
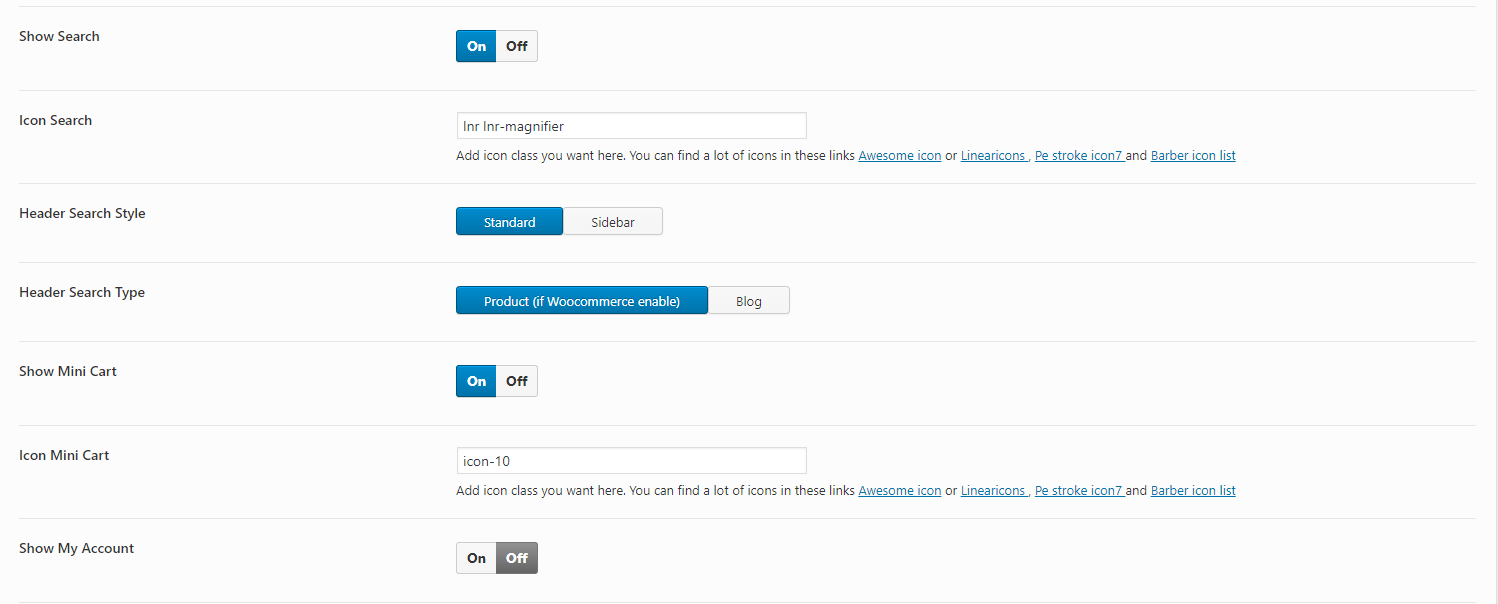
4. Search, Mini cart, Account menu
You can see options for it in Theme Options > Header > select header type you use.
– Hide/display search, mini cart and account menu.
– Change icon. You can find a lot of icon classes in some following websites. Font Awesome Icons, Linearicons , Pe stroke icon7.
– Choose header search style and search type.
5. Header Side Information
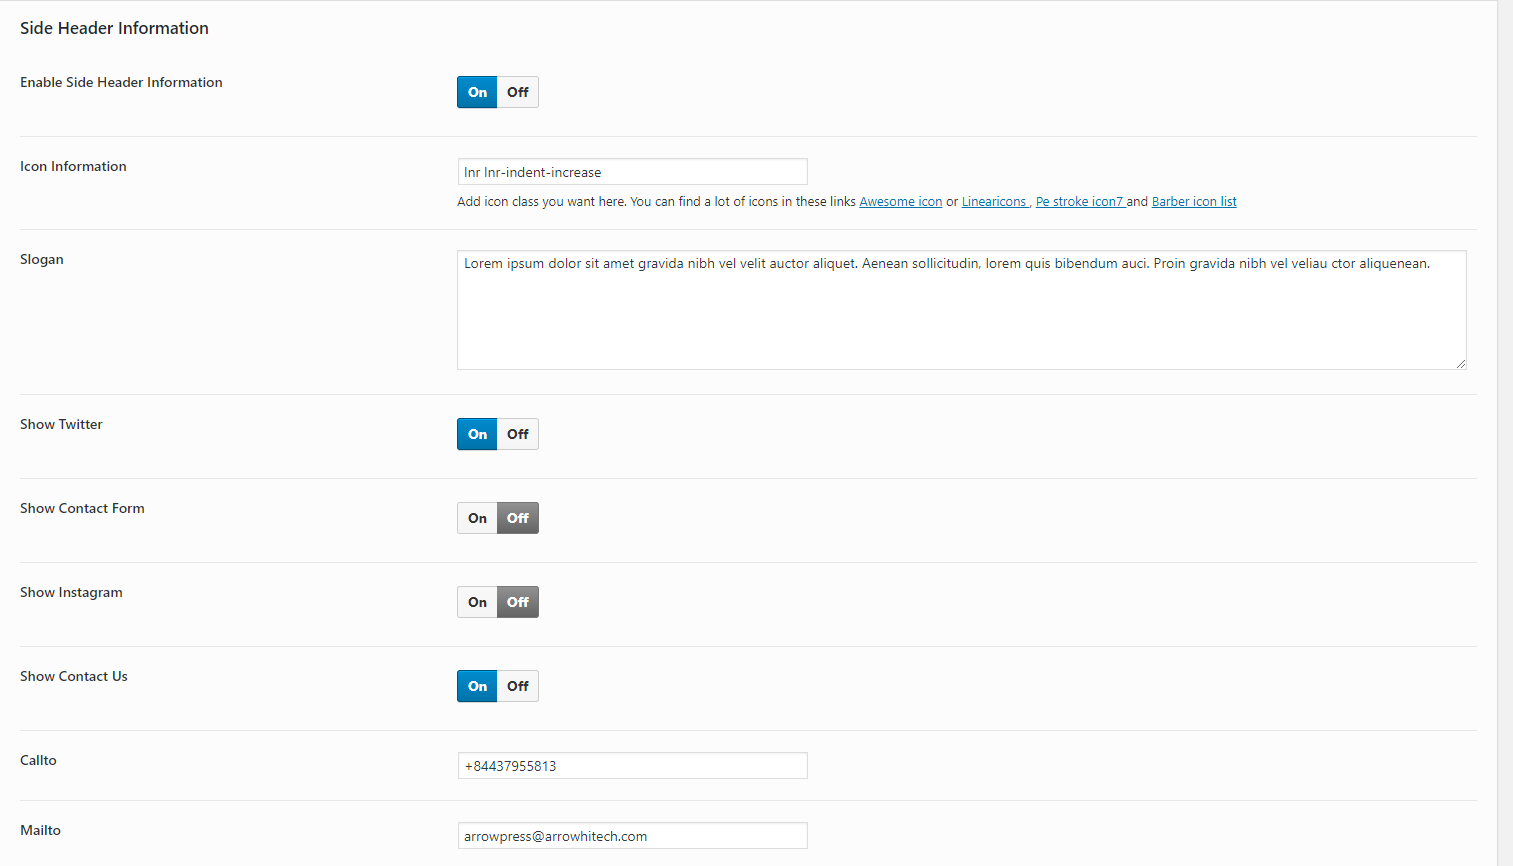
– You can change the content in Theme Options > Header > Side Header Information.
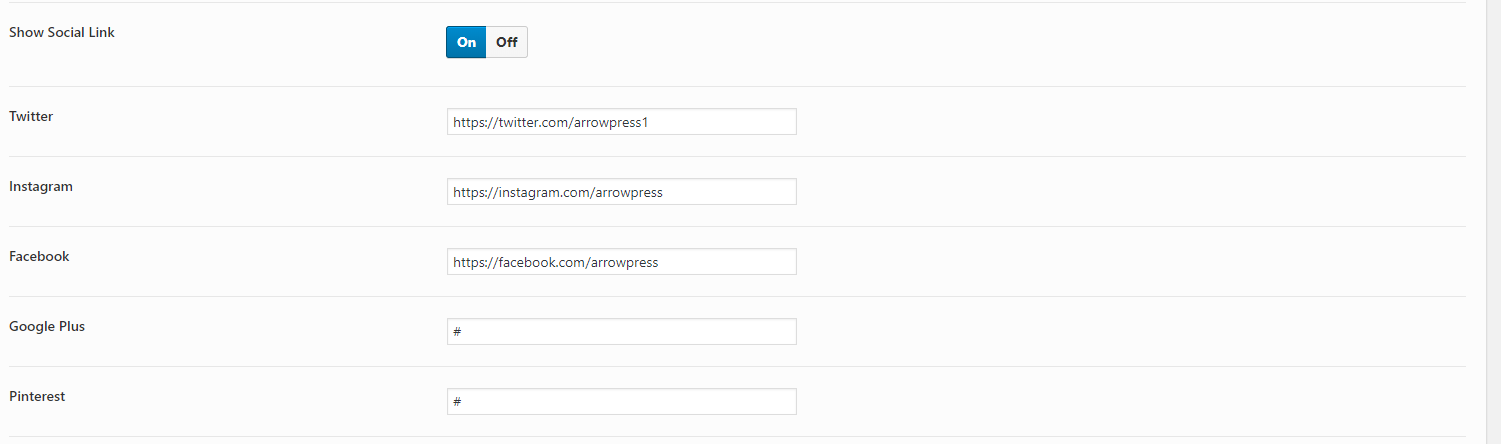
– For social link, you can change the link in Theme Options > Header
4. How to
– Create Blog Posts
Barber support several post formats such as: Video, blockquote, link, audio, gallery.
Step 1 – Navigate to Posts in your WordPress admin sidebar.
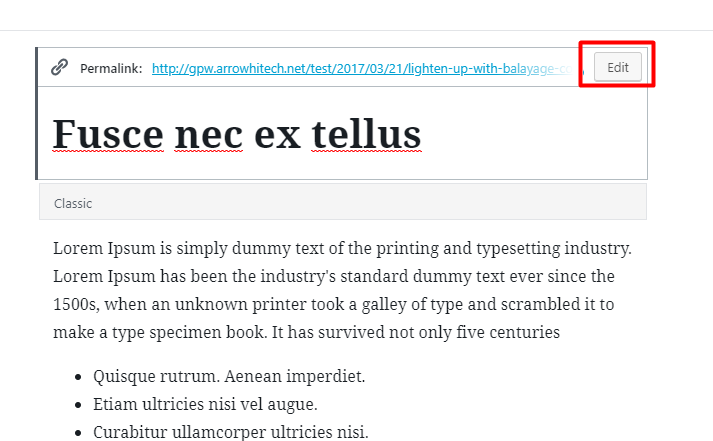
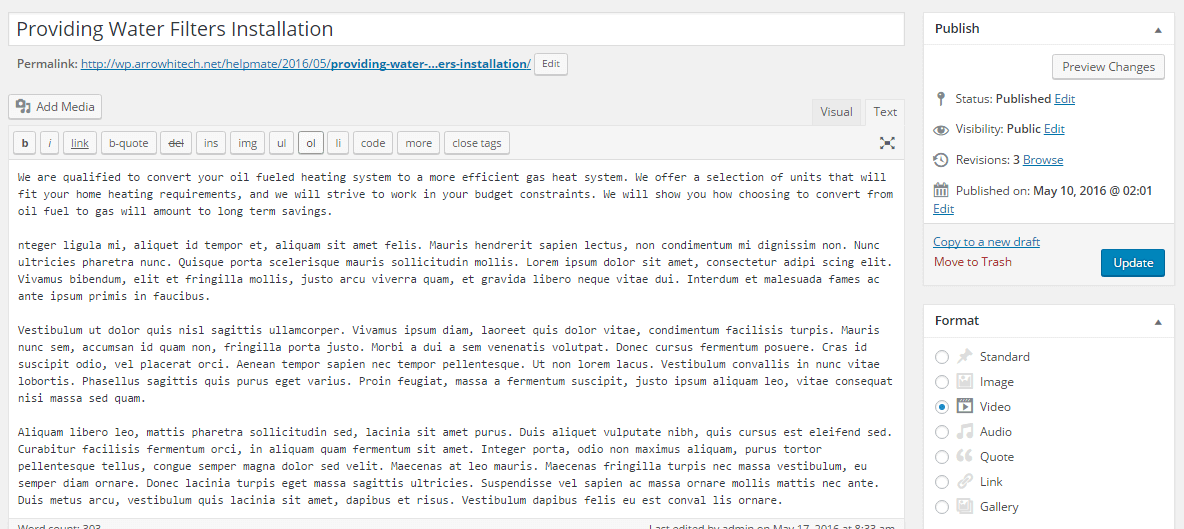
Step 2 – Click on the Add New option to make a new post. Create a title, and insert your post content in the editing field.
Step 3 – Add Categories from the right side. To assign it to the post, check the box next to the Category name.
Step 4 – Add Tags from the right side. Type the name of the tag in the field, separate multiple tags with commas.
Step 5 – Click the first Featured Image Box, select an image and click the Set Featured Image button.
Step 6 – Add content for “Short description” in Blog Options. This content will be display as the summary in blog list.
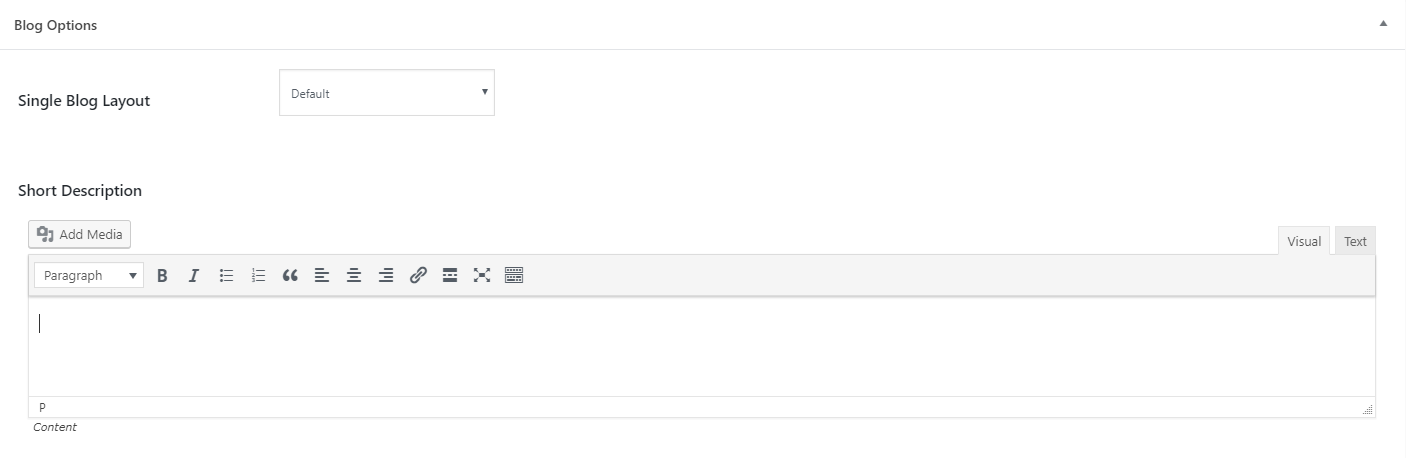
Step 7 – Select Post Format and enter suitable content for post format in Post Format box.
– Video and audio format: you will need to enter embed link of youtube, vimeo or soundcloud or paste the iFrame embed from either Youtube or Vimeo into the Video Embed Code field in Video & Audio Embed Code.
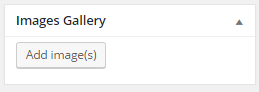
– Gallery format: If you choose Gallery format, you will see Image Gallery box display in the right of page. Image in gallery will be shown as slider.
– Blockquote format: If you choose Blockquote format, you will need enter quote and quote author
– Link format: For Link format, you will need enter title and link
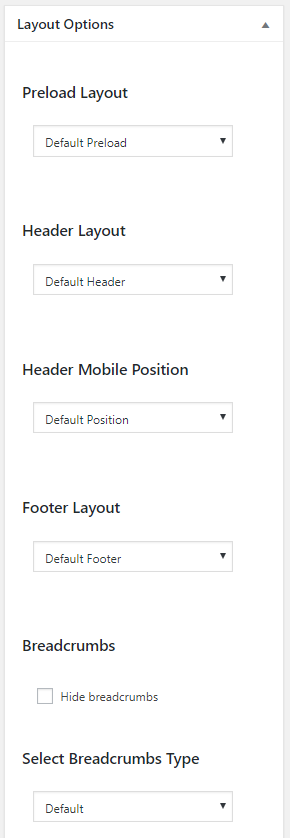
Step 8 – Select options in Layout Options box.
Step 9 – Once you are finished, click Publish to save the post.
– Create Gallery
Step 1 – Navigate to Gallery in your WordPress admin sidebar. Click Add New to make a new post.
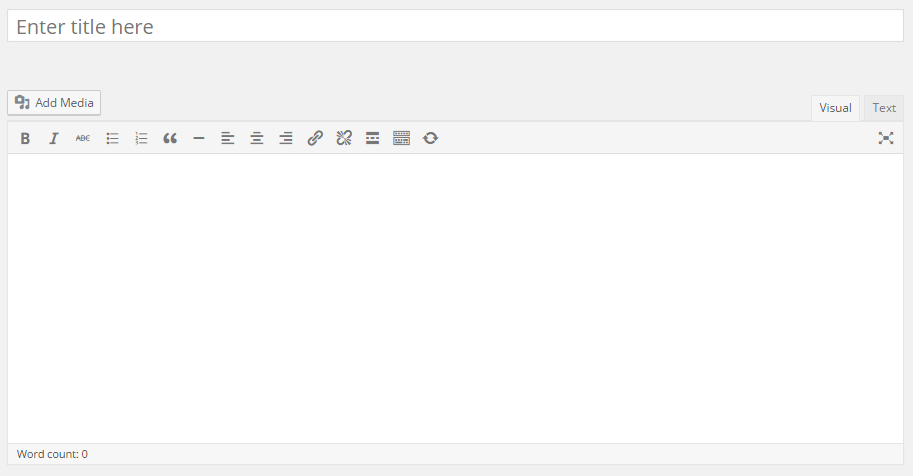
Step 2 – Enter title.
Step 3 – Insert your post content in the editing field.
Step 4 – Add Categories from the right side. To assign it to the post, check the box next to the category name.
Step 5 – Add Featured Image. In order to add featured image for your post, click the first Featured Image Box, select an image and click the Set Featured Image button.
You should use big size image (min width and height is 1230px) for featured image so it can crop image size and work perfectly with each gallery layout.
.png)
Step 6 – Adding gallery image.
Step 7 – Select single gallery layout in Layout Options box.
Step 8 – Once you are finished, click Publish or Update in the right side to save the post.
– Create a static block content
In order to add or edit static block content, you can follow these basic steps below.

Step 1 – Navigate to Static Block in your WordPress admin sidebar. Click Add new if you want to create new, otherwise, click Static Block and select post if you want to edit.
Step 2 – Enter title
Step 3 – Enter content. You can use WPBakery Page Builder to add shortcode to content.
Make sure to enable WPBakery Page Builder for static block in WPBakery Page Builder > Role Manager > check the box “block”. Please see Plugin Configuration > WPBakery Page Builder.
Step 4 – Once you are finished, click Publish or Update in the right side to save changes.
– Create a page
You can use WPBakery Page Builder to add shortcode into page content. For detail option of each Barber shortcode, please see Shortcode section.
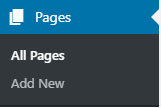
1. Step 1 – Navigate to Pages in your WordPress admin sidebar. Click Add new if you want to create new, otherwise, click All Pages and select post if you want to edit.
2. Step 2 – Enter page title
3. Step 3 – Enter content. You can use WPBakery Page Builder to add shortcode to content. Make sure to enable WPBakery Page Builder for page. Please see Plugin Configuration > WPBakery Page Builder for more detail.

4. Step 4 Select options in Layout Options.
Note: Header and Footer selection in Layout Options will have higher priority than General Theme Options.
5. Step 5 – Once you are finished, click Publish or Update in the right side to save changes.
– Set Up Coming Soon Page
1. Navigate to Theme Options > Coming Soon and change the title, content and select the options to what you want.
2. Go to Pages > Add New
3. Add page title and select page template: Coming Soon.

4. Click Publish.
5. Go to Settings > Reading and set coming soon page is the homepage.
– Create Page with fixed header
1. Create or edit a page in Pages. Go to Pages > Add new to create new page.
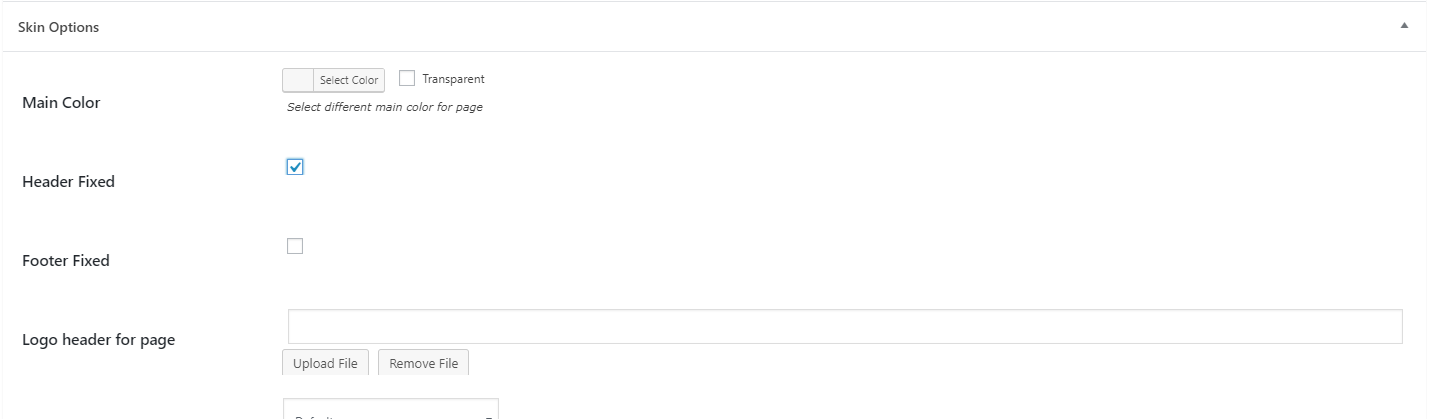
2. Scroll down until you see Skin Options box.
3. Check the box Header fixed.
4. Click Publish or Update.
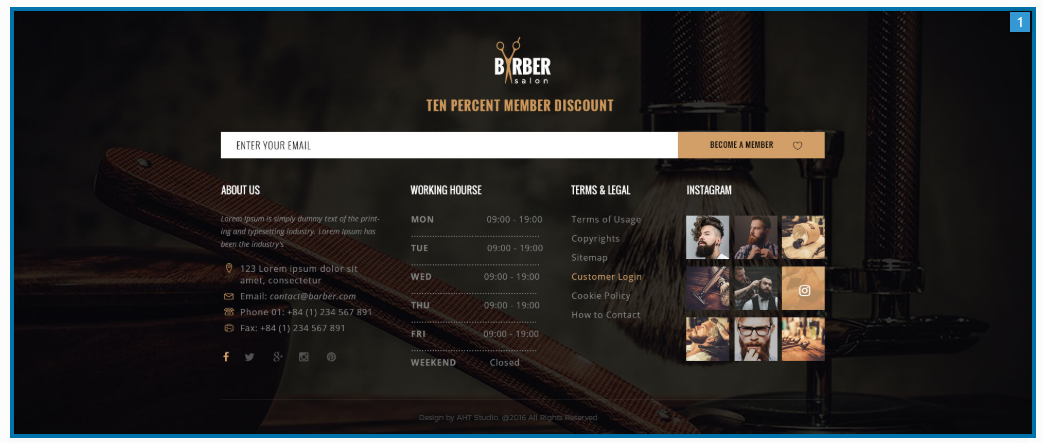
– Change footer content
You can change almost content in footer in Theme Options > Footer > select footer you use and Appearance > Widget. Go to Appeareance > Widget, you can find footer sidebar for each footer. Below will be detail guide for each footer type.
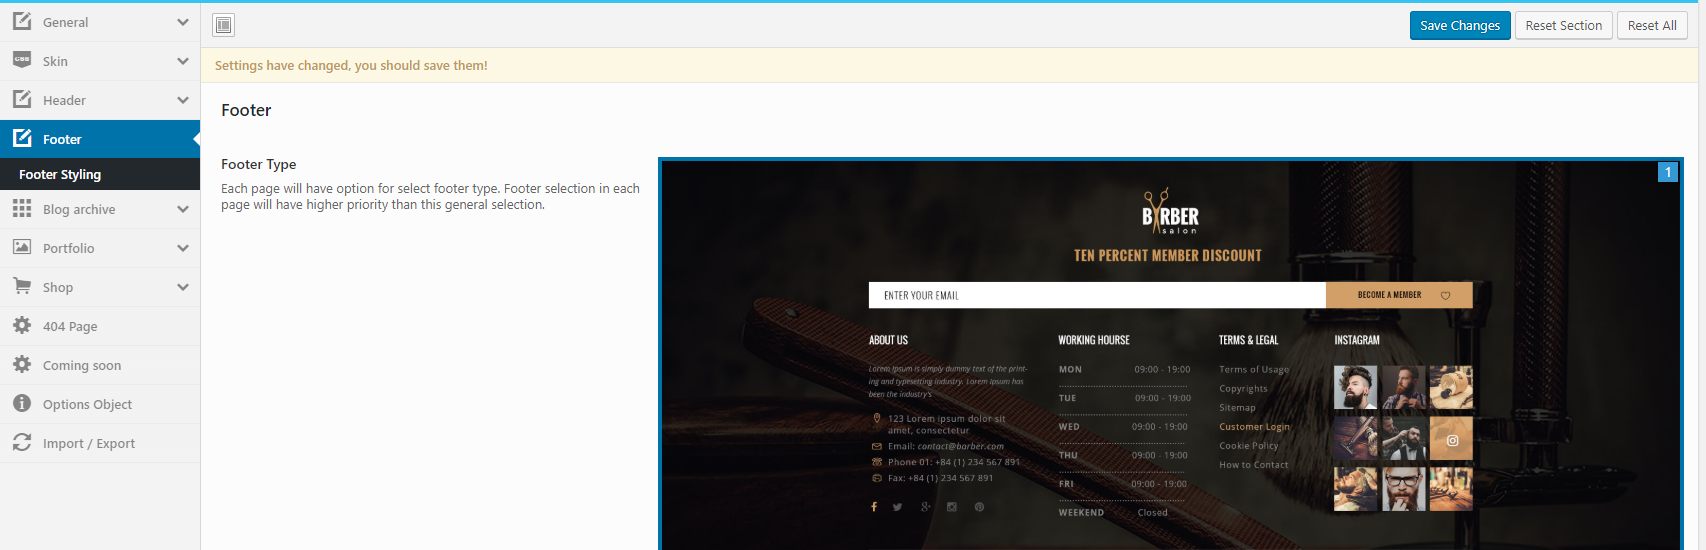
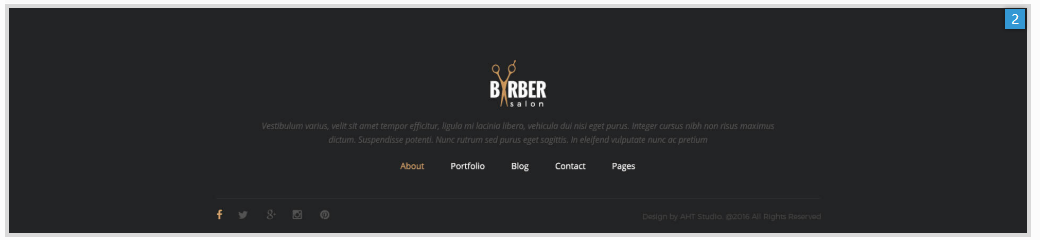
1. Footer 1:
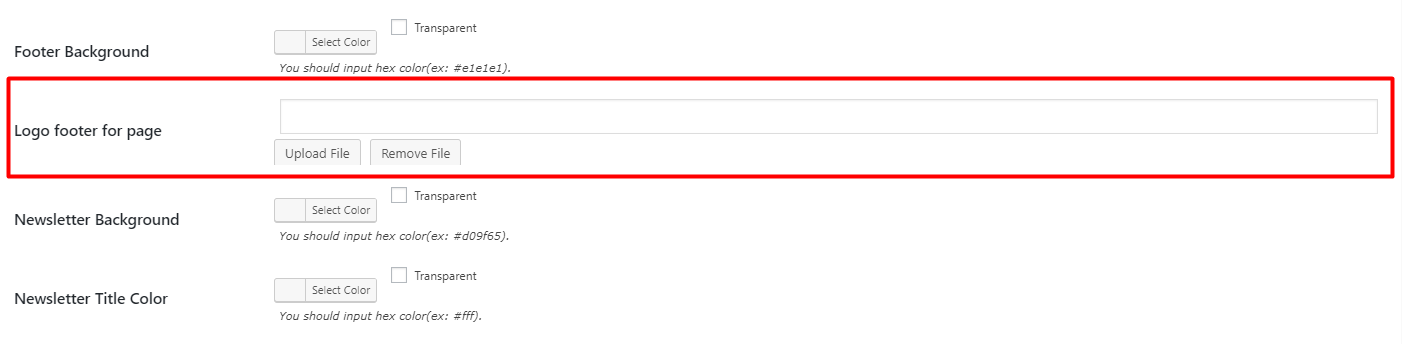
– Change footer logo:
1. Go to Theme Options > Footer > select Footer 1
2. Scroll down > upload other logo image.

3. Click Save changes.
If after that, you see the footer logo don’t change or you want to change logo for only a page, you can edit page > scroll down and change logo in Skin Optionsbox
– Footer NewsLetter content
1. After importing demo content, you should connect MailChimp to your MailChimp account in MailChimp For WP > MailChimp. If you are already done this, you can skip this step.
2. Create or edit MailChimp Form. Please see Plugin Configuration > MailChimp For WP for more detail. For example, you want to change the text”TEN PERCENT MEMBER DISCOUNT”, you can edit MailChimp Form in MailChimp for WP > Form.
3. Go to Appearance > Widget and add MailChimp widget to Footer Newsletter sidebar
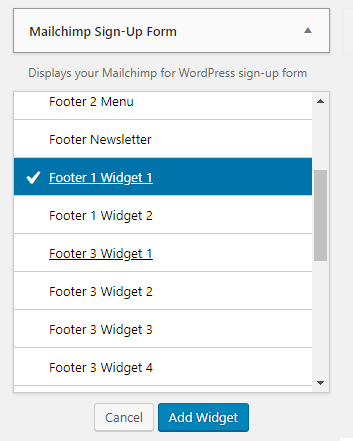
4. Click Save
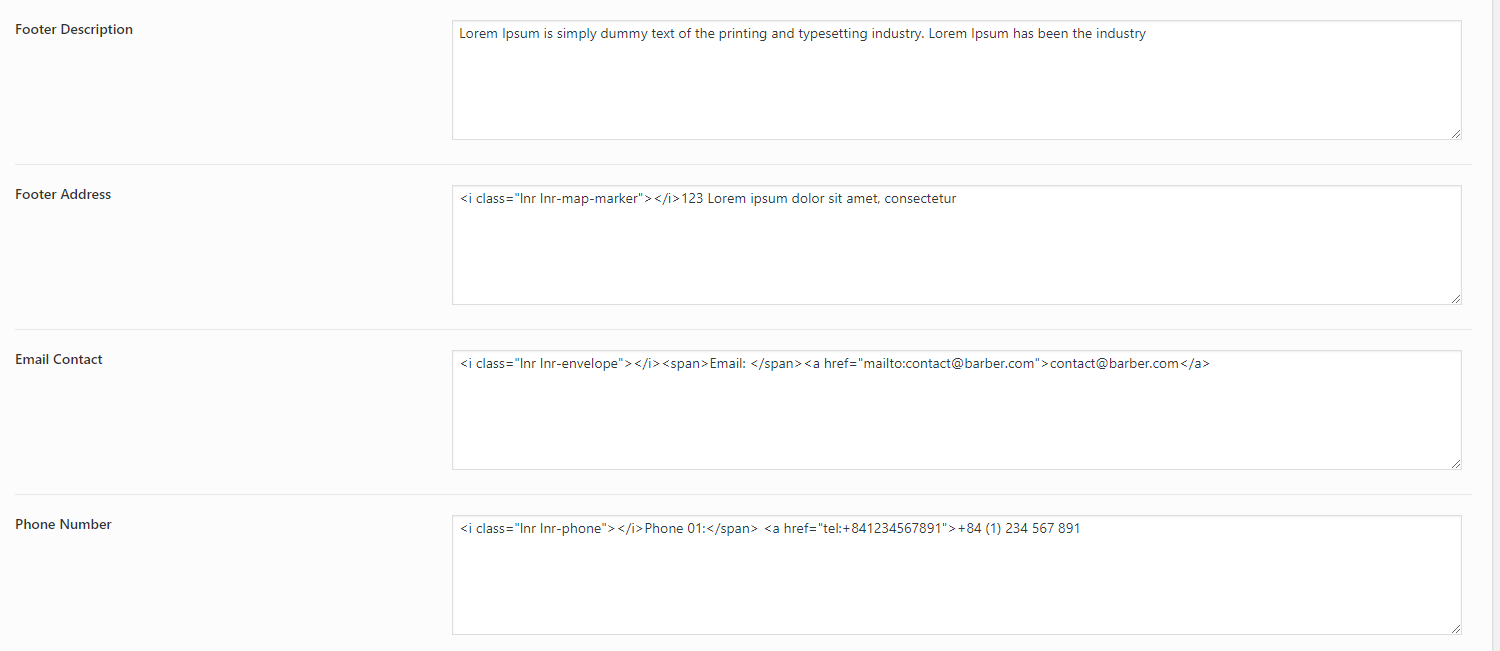
– Footer info
To change the description, address, fax or social link in footer, you should change it in Theme Options > footer > select footer you use.
– Footer column 1, footer menu and footer column2
To change the content of footer column 1, you should go to Appearance > Widget and edit content in Footer 1 widget 1 sidebar.
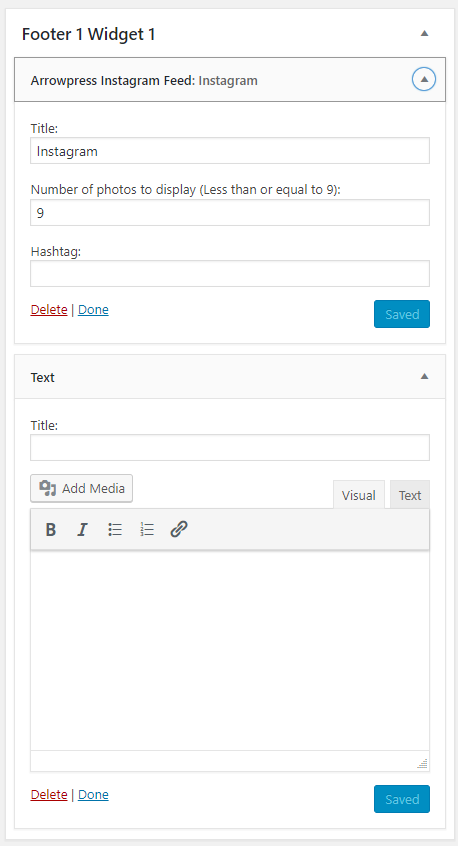
To change the content of Footer Menu, you should edit content in Footer Menusidebar in Appearance > Widget
For Footer column 2, you can change the content in Footer 1 Widget 2
1. Footer 2:
– Changing logo.
To change logo for footer 2, you should follow the same steps as for footer 1 (Change logo steps)but for first step, you should choose footer 2 in Theme Options > Footer.
– Changing footer desc.
1. Go to Theme Options > footer > select footer you use.
2. Change footer description
3. Click Save Changes
– Changing footer menu.
1. Go to Appearance > Widget.
2. Change the content of Footer 2 Menu sidebar. You can call other menu by Custom Menu widget or edit Menu Footer 2 in Appearance > Menu.
– Changing social link.
1. Go to Theme Options > Footer > select footer you use.
2. Change social link you want. If you don’t want to display some social link icon, you should delete the link to hide it in frontend.