Barber provides many options for you to customize your page effectively. These options are organized into logical tabbed sections which will be very easy for you to navigate. Because of the sizable amount of options, we cannot go over them in full detail here in our documentation. We encourage you to please take some time and navigate through each tab to see what we offer. See below for screenshots and short descriptions of Barber Options panel.
– There are 2 ways to access theme options.
1) Click Barber links in the top of page.

2) Click Barber in admin sidebar.
– After that, you will see a logical tabbed sections including a lot of tabs for you to discover. Below sections will go through each tab in detail for you.
1. General
– In this tab, you will see 4 sub-tab options including options for layout, sidebar, logo icon, favicon and custom JS code.
1.Layout
Barber enables 3 possible positions for sidebar like Left Sidebar, Right Sidebar, Left and Right Sidebar or no sidebar if you do not select any sidebar regions for Left Sidebar and Right Sidebar options.
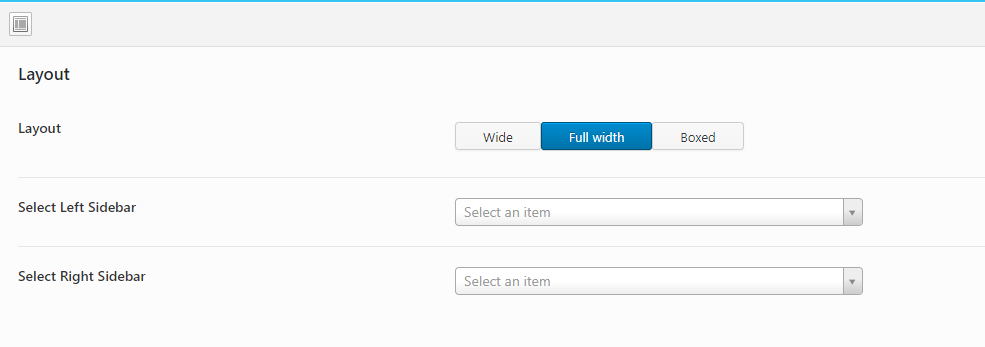
– If you have select sidebar in Left Sidebar or right sidebar and don’t see it display, please make sure to add widget to that sidebar. (Navigate to Appearance > Widget to check it.
.png)
2. Logo, Favicon, Js Custom
You will be able to upload your desired logo image, favicon in this tab. You can freely to upload your desired logo image, however, we suggest you to use same size image as our demo site. It will help you to avoid some unwanted problem of header display.
Note: If the logo in header don’t change or you can’t find logo option in Theme Options > General > Logo, Favicon, Js Custom, you should go to Theme Options > Header > Select header type you use and upload your desired logo image.
3. PreLoader
You can enable/disable and change preloader style for your website. We provide 9 types of preloader sample for you to select. Also, you can change color and background color of preloader. The same as header and footer, we enable you to select different preloader for each page. You can edit Page > scroll down and select Preloader style in Layout Options box.
That is all main information about the General tab. Let move on to the Skin tab option.
2. Skin
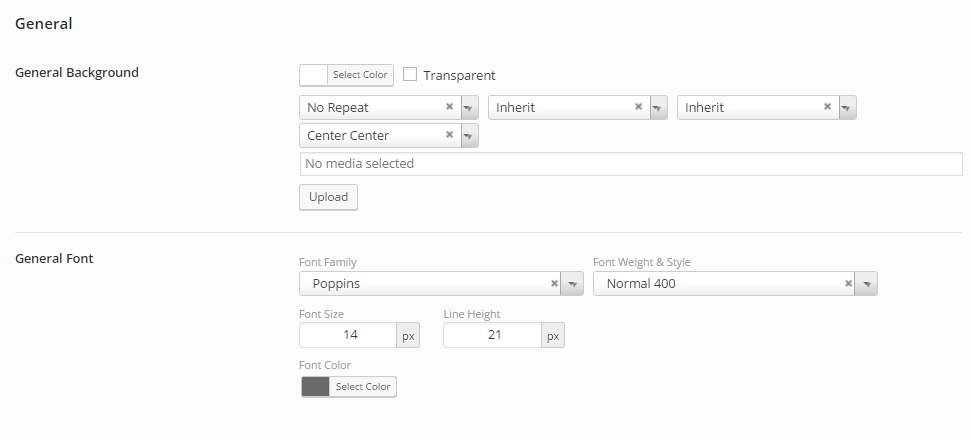
1. General
After navigating to this sub-tab, you will see some options for you to set the background color or background image. Furthermore, general font for your website is customizable with several google font family available as well as font weight, font style, font size and line height. Also, you can change main color and highlight color in this tab.
Let take a look at the screenshot below. You will see default selections we use for Barber theme.
2. Breadcrumbs
The useful options for changing breadcrumb background is placed here. By default, breadcrumb background will be an image background. You can change background image to whatever image you want. Furthermore, you can use and change the background color for breadcrumb part.
Breadcrumb type 1:
.png)
Breadcrumb type 2:
.png)
Breadcrumb type 3:
.png)
3. Typography
Barber provides several choices to modify color as well as font family and font size of h1, h2, h3, h4, h5 and h6 font.
4. Custom
this tab allows you to enter your custom css code.
3. Header
This tab will provide options for you to select General Header type for your site and change some color or background color for header.
Barber provides a lot of options for you to select in this tab. Besides some same options to decide whether or not to enable sticky menu, each header will have different options such as display mini cart, search form or upload different header logo. Please see guide about setup header in Build your site > Header Setup
.png)
-1.png)
_ Header Styling
Remember that, each header type will have different options for color and background. Also, you will be able to set width for logo image and set padding for menu item.
3.png)
4. Footer
- Select footer type from 8 pre-made footers.
- Enable/disable footer fixed.
- Set footer background, title color, text color.
.png)
- Change footer logo.
- Change footer description, address, contact info.
- Change social link which displays in footer.
- Change footer copyright text.
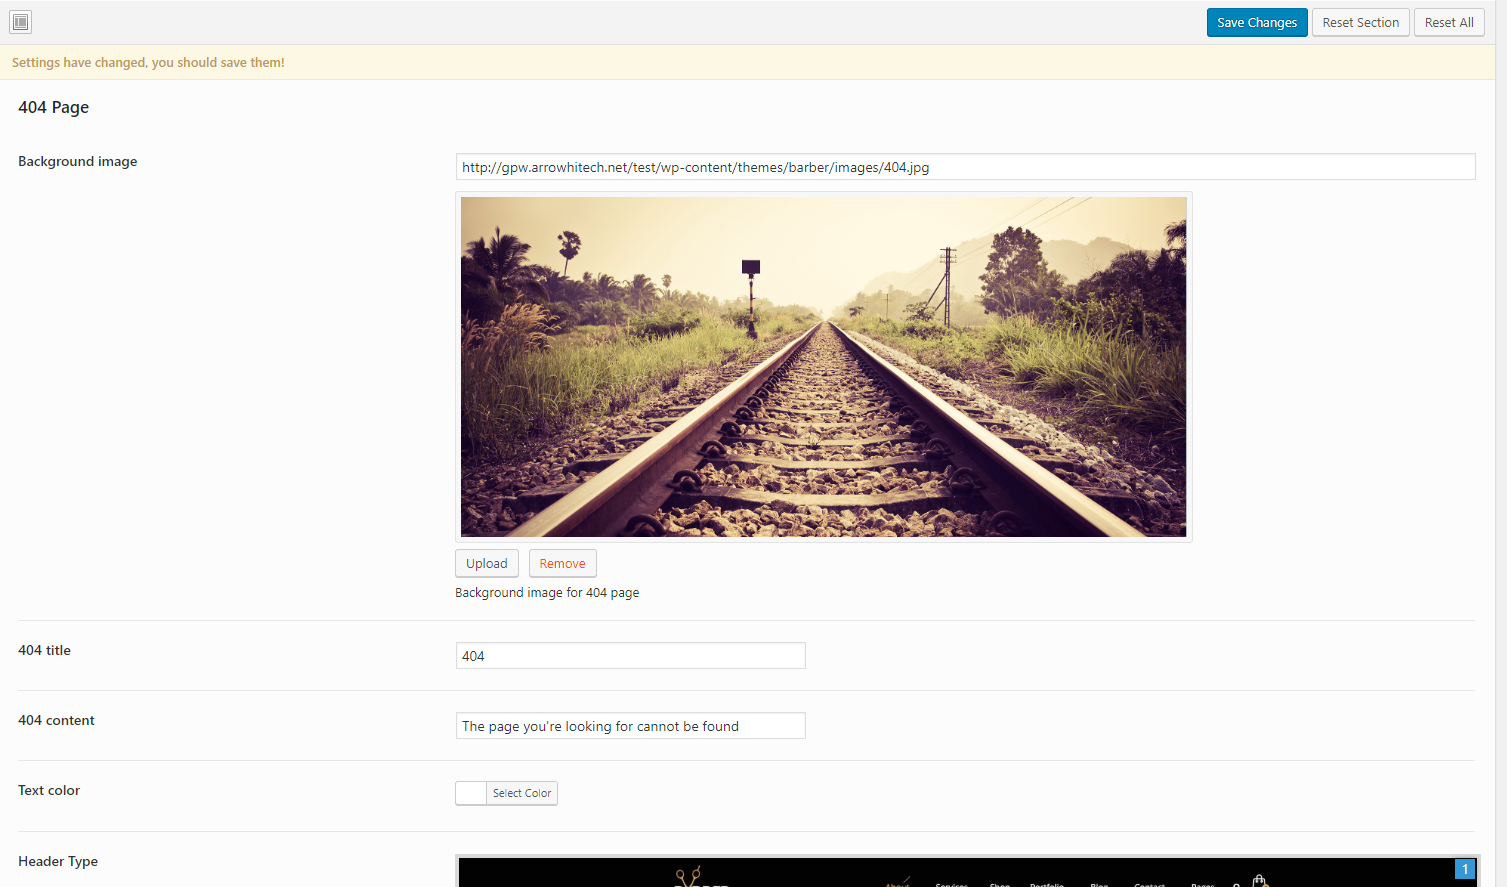
5. 404 page
- Change background image.
- Enter 404 title and content.
- Adjust text color.
- Select header and footer for 404 page.
6. Blog & Single Post
– Barber gives you multiple selections for blog page.
For blog layout default, You can change sidebar positions (Left, right, Left and right or no sidebar) with wide or fullwidth layout. Also, There are 3 layouts (Masonry, grid and list) for your blog page. Furthermore, changing column numbers for each layout is also available for your selection.
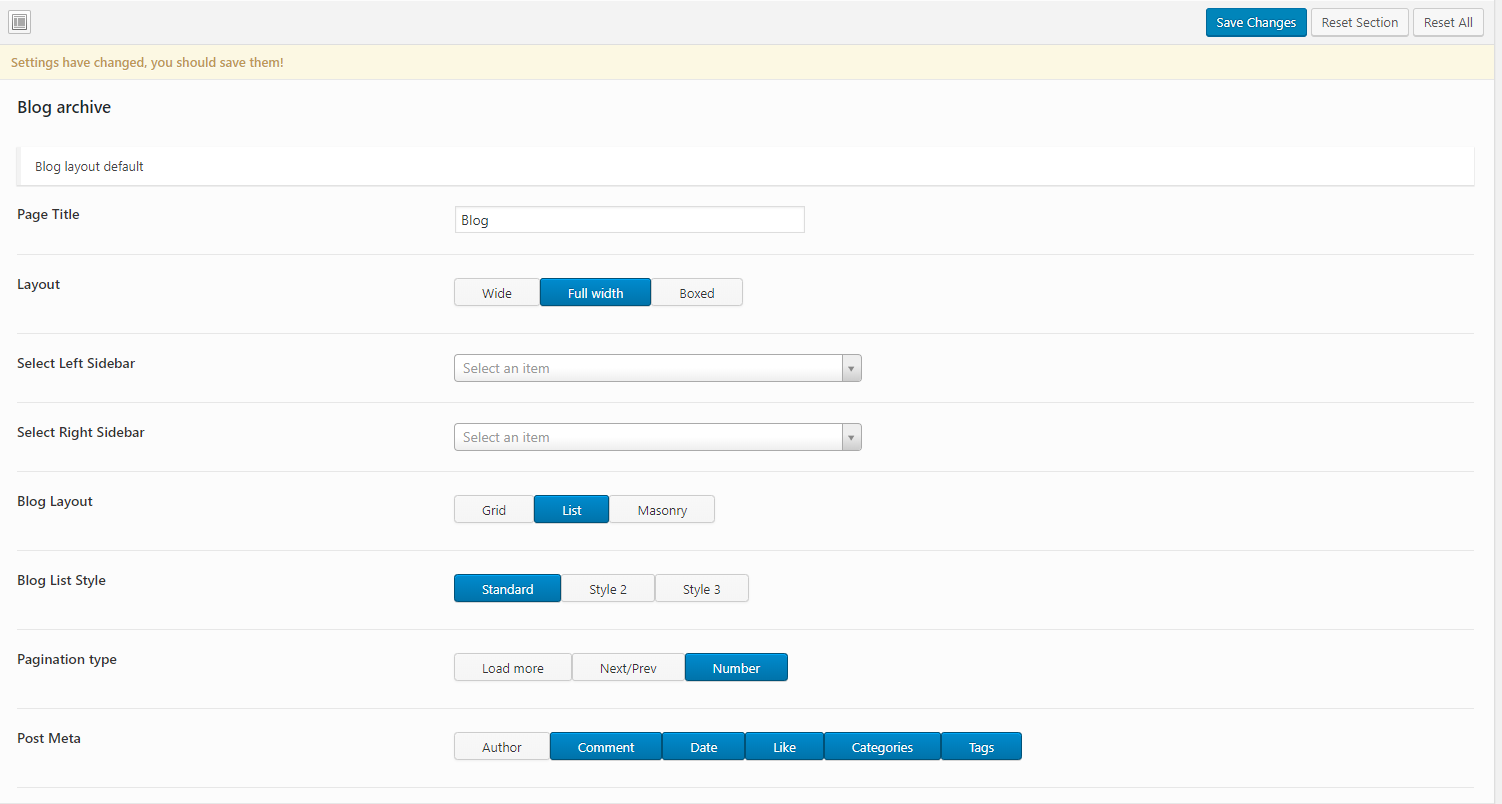
- Page Title: Change the page title which display in breadcrumb part.
- Layout: Select layout Fullwidth, wide or boxed.
- Select Left Sidebar: If you want to display sidebar in the left side of the blog page.
- Select Right Sidebar: If you want to display sidebar in the right side.
- Blog Layout: Change blog layout (Grid, List, Masonry).
- Blog List Style: Change blog list style (Standard, Style 2, Style 3).
7. Portfolio
These options not only let you select layout and sidebar position but also allow you to choose portfolio layout and load more button style. Also, you can change the number of portfolio show per page and portfolio column in this tab. Furthermore, you can change portfolio slug and portfolio category slug.
Remember to refresh your permalinks after changing the slug of portfolio. You can do it by going to Settings > Permalinks and click Save Changes
-Please see below screenshot for better understanding.
.png)
Single Portfolio
.png)
8. Shop
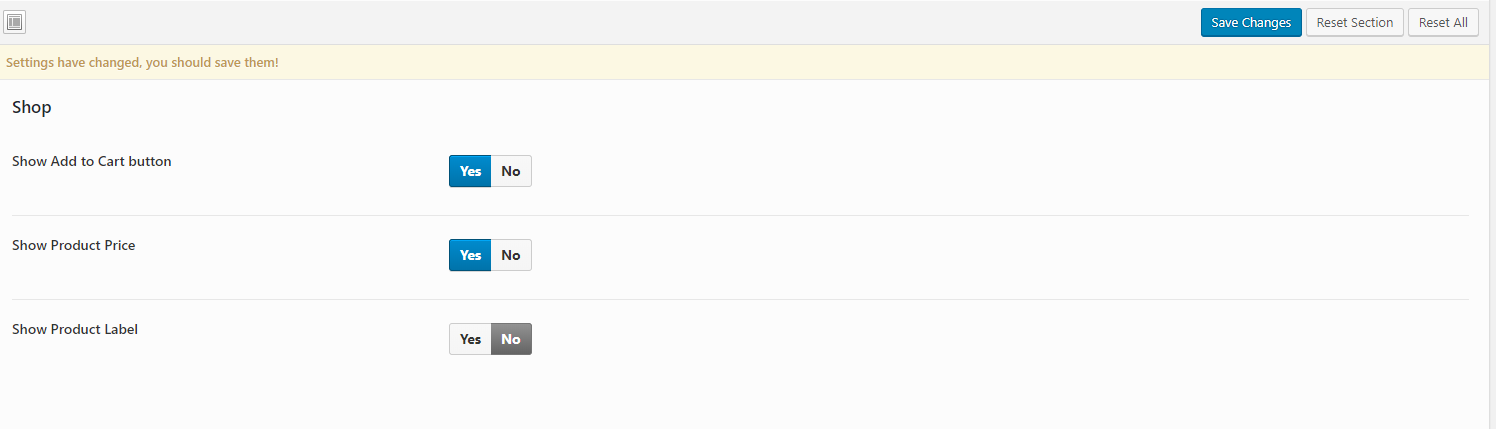
– General
There are avalable options for you to hide wishlist, sale flash, product price and add to cart button.
There are two sub-tabs containing useful settings for Product listing and single product page. Let take a look at these options.
_ Product listing
Beside some options for layout, sidebar as other pages, Barber allows you to change number of products to display per page and select number of column (1,2,3,4,5). You can also change the layout either List or Grid for your shop page.
– If you want to hide Wishlist, you can hide it easily for shop listing page with the Show Wishlist option in here. What about the wishlist button in single product page? Don’t worry! You can hide it by going to YITH Plugins > Wishlist and uncheck the box “Enable YITH Wishlist”. There will be a different way for it too, you can deactivate YITH Woocommerce Wishlist plugin in Plugins > Installed Plugins
.png)
– It is interesting that changing layout, columns and product per page is possible for each product category. You can do it by following some simple steps below.
IMPORTANT NOTE – Product Category Options will override the general options set in Barber Theme Options.
1. Go to Products > Categories, select category you want to change and click Edit button
2. Select different List mode, the number of columns and number of products display per page.
.png)
_ Single product
This tab provides options for your coming soon page when your site in maintenance mode.
Please look at sceenshot below to see clearly about these available options.
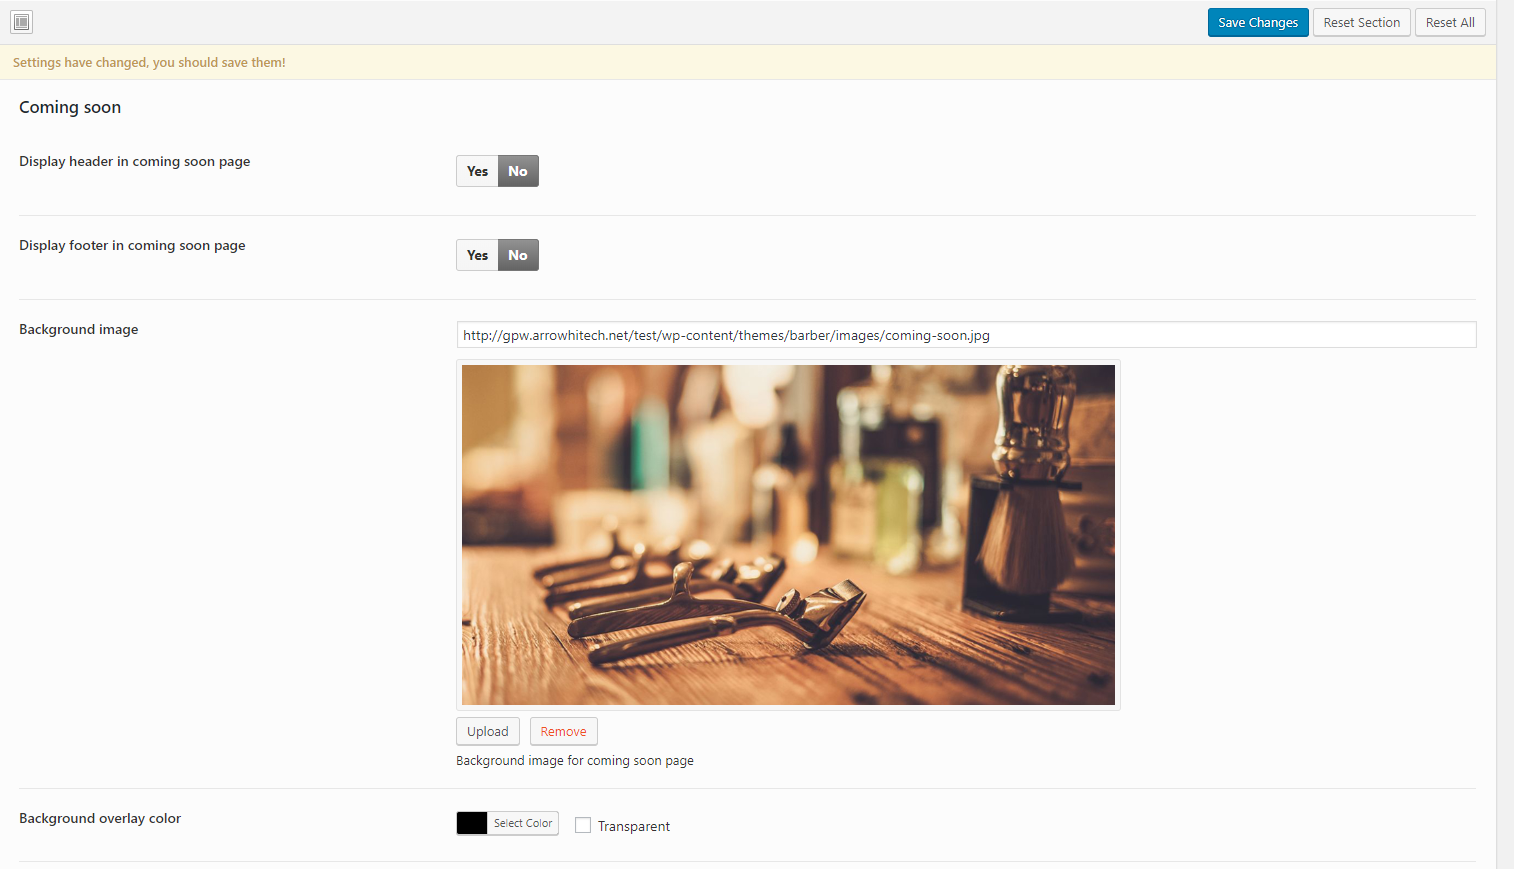
9. Coming soon
This tab provides options for your comming soon page when your site on maintainance mode.
Look at the screenshot below, you can see that there are several useful options such as content customization, display countdown timer, and subscribe form.
You can also change the text which displays under countdown number.
For subscribing form, please install and activate Mailchimp for WP plugins