– Creating / Editing Gallery
Step 1 – Navigate to Gallery in your WordPress admin sidebar. Click Add New to make a new post.
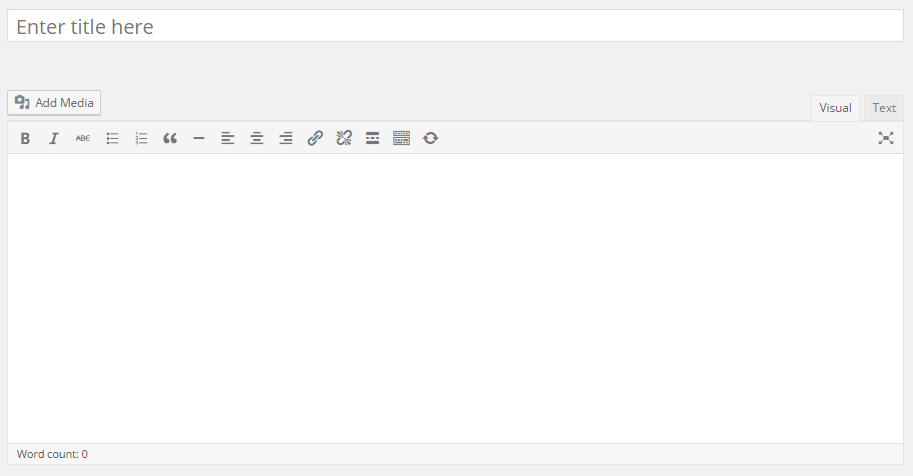
Step 2 – Enter title, and insert your post content in the editing field.
Step 3 – Add Categories from the right side. To assign it to the post, check the box next to the category name.
Step 4 – Add Gallery Skills from the right side. Type the name of the skill in the field, separate multiple skills with commas.
Step 5 – Add Tags from the right side. Type the name of the tag in the field, separate multiple tags with commas.
Step 6 – Add Featured Image for your post. In order to add featured image for your post, click the first Featured Image Box, select an image and click the Set Featured Image button.
Step 7 – Add Featured Image 2 for your post.
Step 8 – Add Gallery images in “Images Gallery” box.
Step 9 – Add releated post from related post box in the right side.
Step 10 – Add service name, select single layout and upload banner image if single layout is full banner.
Step 11 – Once you are finished, click Publish or Update in the right side to save the post.