1. Creating your Menu
Step 1- Login to the WordPress Dashboard.
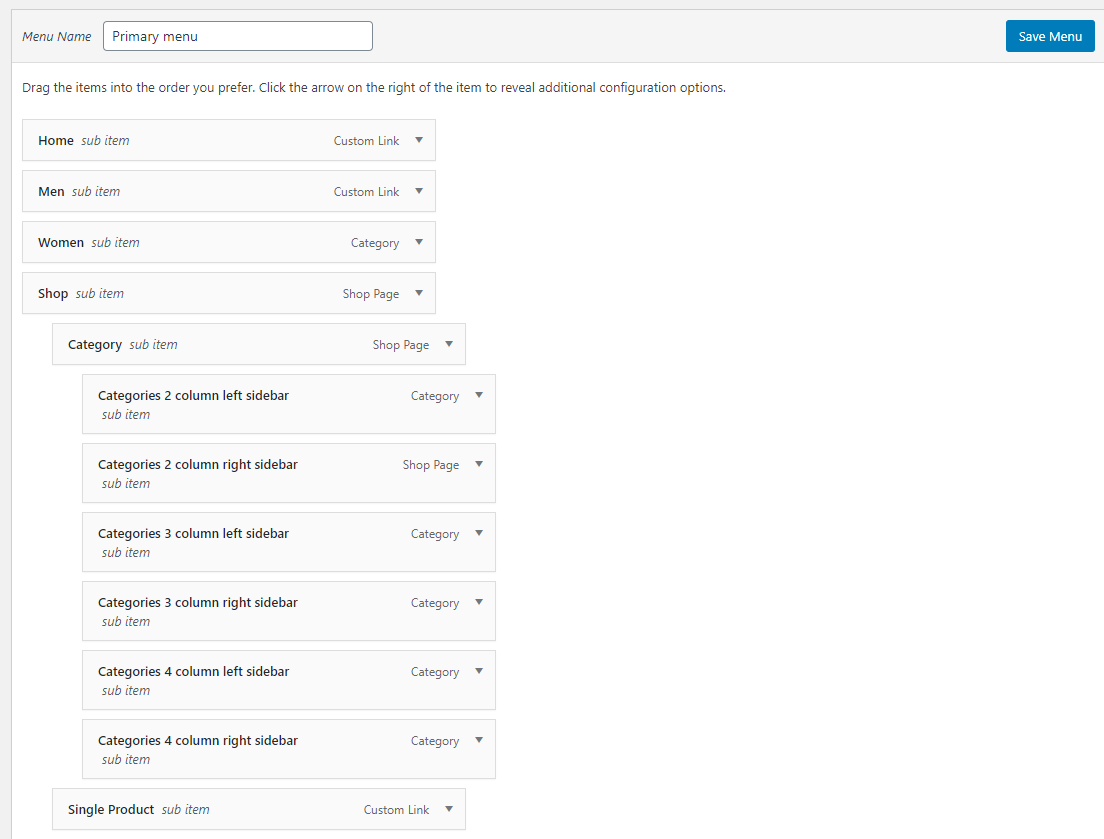
Step 2- From the ‘Appearance’ menu on the left-hand side of the Dashboard, select the ‘Menus’ option to bring up the Menu Editor.
Step 3 – Select Create a new menu at the top of the page.
Step 4 – Enter a name for your new menu in the Menu Name box.
Step 5 – Click the Create Menu button. Your menu is now defined, and you can now add pages to it (steps below).

Step 6 – Select the Pages that you want to add by clicking the checkbox next to each Page’s title.
Step 7 – Click the Add to Menu button located at the bottom of this pane to add your selection(s) to the menu that you created in the previous step.
Step 8 Fill information of menu that you want to display.

Step 9 – Assign each Theme Location with a menu. You can assign menus to multiple Theme Locations.

Step 10 – Click the Save Menu button once you’ve added all the menu items you want. Your custom menu has now been saved.
Menu Home will be displayed.

2. Mega Menu
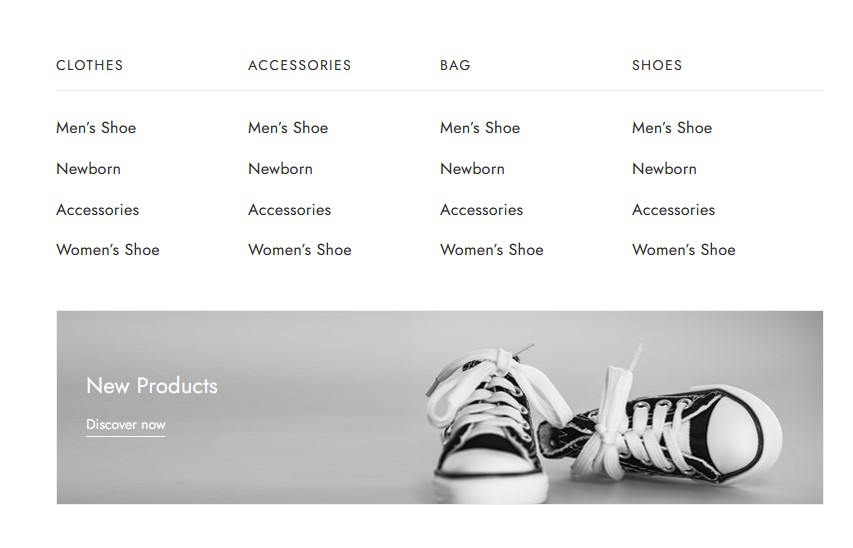
Mega Menus allow you to add multi-column drop down menus to your navigation with rich media such as images and videos. In this article, we will show you how to easily add a mega menu to your WordPress site.
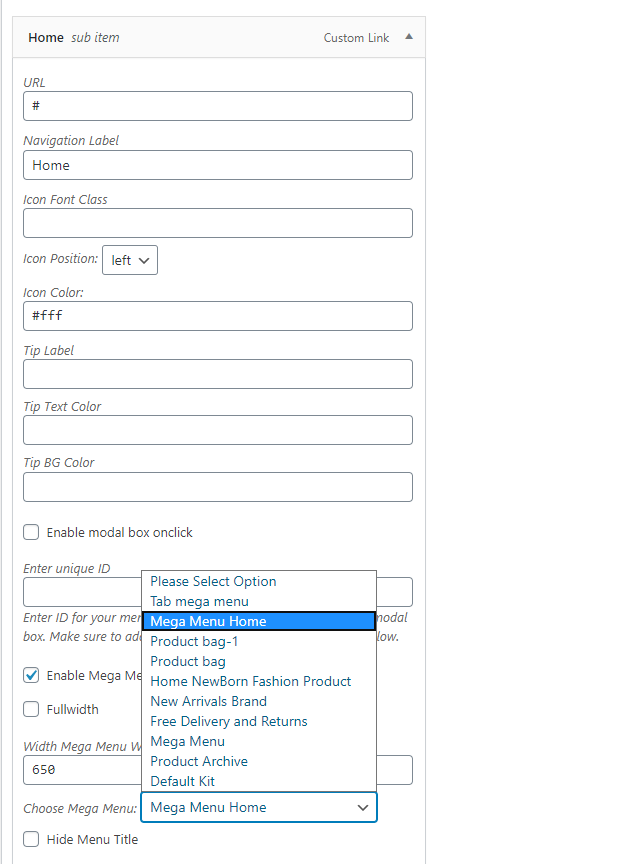
If you want to use mega menu, you should check the box Enable Mega Menu & Choose Mega Menu

3. Creating Mega Menu
If you want to mega menu, please see Set Up Template & How to use Elementor . For example, in our theme there were 2 mega menus
Layout 1:

Layout 2:

Change content mega menu
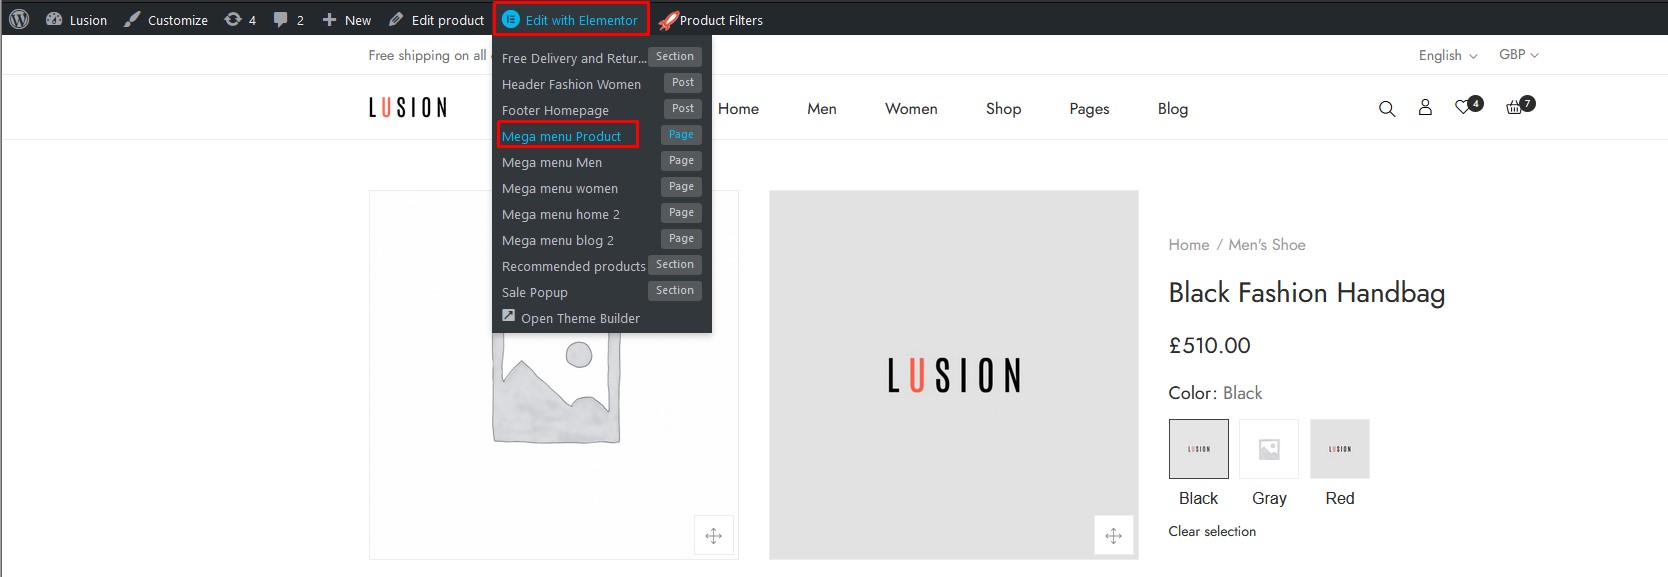
You can hover Edit with Elementor in Top bar -> Click Mega menu product

Then, you can change menu, image,… with Elementor builder


