Note: For successfully demo importing, you should make sure to set up Php configuration limit and max_execution_time as theme requirement before importing demo. Please read Install Theme > Installation for all requirements.
Make sure to install and activate all required plugins in Appearance > Install Plugins before installing demos especially Arrowpress Importer plugin
– First Method: One click import
- Go to Appearance > Import Demo Content
- Import Base Content
- After successfully importing Base Content, you can go to Appearance > Import demo content and import Home Demos you want

Note: If this method doesn’t work with your server, you can try import all demos by the second method.
Note: After the Installation is successful, go to each css (post -…. css) file in arangi/ wp-content/uploads/elementor/css replace our link site with your site.Ex: Your website is http://hcaresol.pt/teste/ then you replace allhttps://demo.arrowtheme.com/arangi/ into http://hcaresol.pt/teste/.
– Second Method: One click demo import plugin
Install demo with One click demo import plugin.
- Install and activate One Click Demo Import plugin.
- Select file in theme_import/content.xml folder and click “Open”.
- Go to Appearance > Import demo data and choose XML file placed in theme_import/content.xml
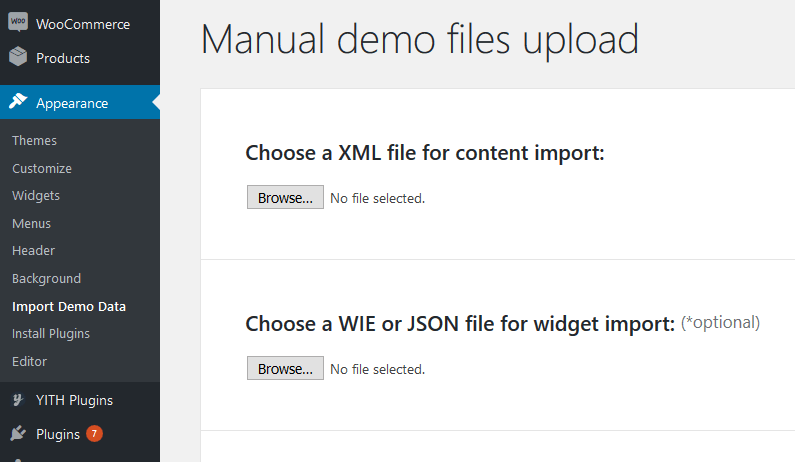
- In Widget import section, you should select import file for widget in theme_import/widget_data.json
- Click Import button.
- After successfully finish above process, you should go to Setting > General and select homepage. Go to Appearance > Menu and assign menu to menu location such as Primary Menu. If you don’t know how to set menu, please see Build your site > Menu setup.
– Third Method (All-in-One WP Migration)
Install demo via All-in-One WP Migration plugins.
Remember that your site database will reset entirely after using this method.
Please follow steps listed below to import demo.
– Step 1: Install and activate All-in-One WP Migration plugin to use this method.
– Step 2: Download Demo backup file.
– Step 3: Navigate to All-in-One WP Migration > Import on admin sidebar.
– Step 4: Click Import From > File button, select the demo file downloaded in step 2. After that, you should wait for few minutes and click Continue.
– Step 5: Login to the site with the account: Username: admin, Password: admin After login with this account, you can change username and password back to your credentials.
– Fourth Method (WordPress importer)
Import demo data manually.
Note: Please remember to install all needed plugins before import demo data. If you have not install plugins, please see Plugins Installation to finish that step.
- Import widget– Step 1: Install and activate Widget Importer & Exporter– Step 2: Navigate to Tools > Widget Settings Import and click Select a file button.
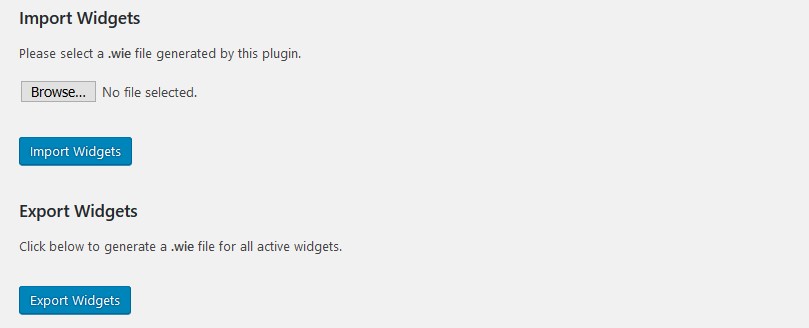 – Step 3: Select widget file in theme_import/widget.wie folder and click “Open”.- Step 4: Click Show Widget Settings.- Step 5: Click Select All Active Widgets.- Step 6: Click Import Widget Settings.
 - Import Data– Step 1: Navigate Tools > Import and click on WordPress link. This will bring up a popup box that allows you to install the plugin directly from your website.
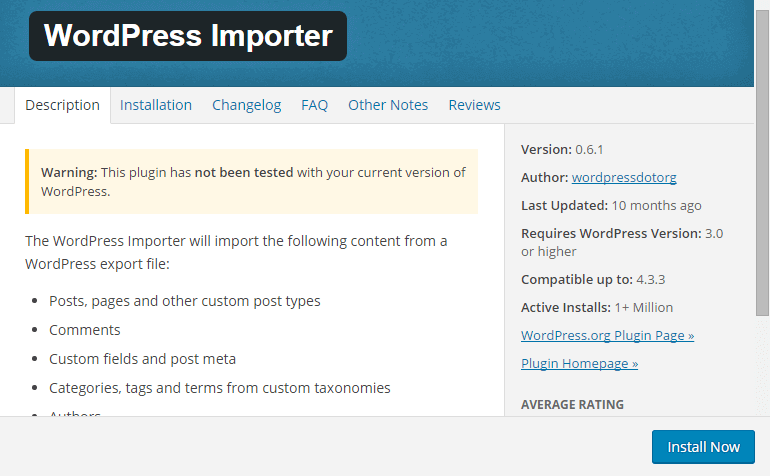 – Step 2: After clicking Install Now button, you should activate plugin by clicking Activate Plugin & Run Importer.
 – Step 3: After that, you will be to the import page. This is where you upload the XML file which will be found in theme_import/content.xml to import data.
 – Step 4: You will then be given the option to assign imported authors to exist authors on your website or create a new account for each author’s posts. Also, there is an option for you to download attachments. If you select this, WordPress will attempt to import all of the images that are attached to the posts and pages you are importing.
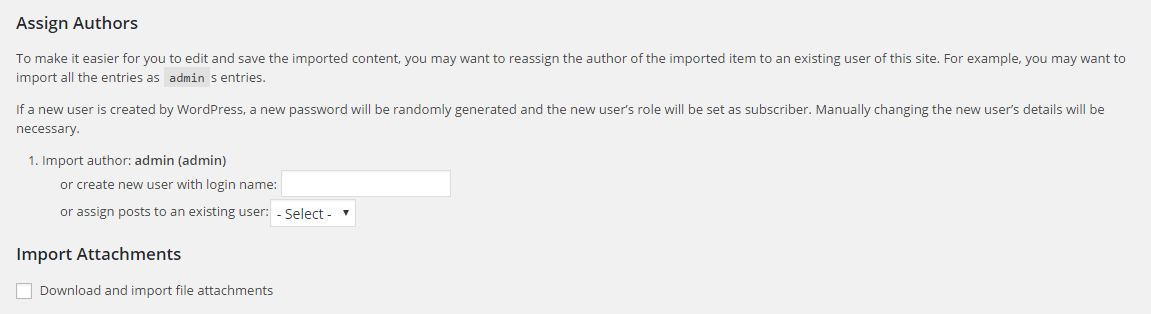
- Install plugin CusomizeNote: This will overwrite all existing option values, please proceed with caution!After extract zip package of ArrowIT theme. You can install and active Customizer plugin.