1. Install Magento Version 2.4
If you haven’t got a Magento website yet, you will have to install a copy of Magento Community Edition open source e-commerce web application before using MGS Front-end Builder Theme.
If you already had a Magento application installed, you can skip this section
To install Magento version 2.4, please follow these steps:
STEP 1: Install ElasticSearch on Ubuntu Server
SSH into your Ubuntu 22.04 server and update existing software.
sudo apt update && sudo apt upgrade -yElasticSearch is a fast and scalable search and analytics engine. It’s used by Magento as the catalog search solution. We can install Elasticsearch from the official repository with the following commands. (Note: Magento currently isn’t compatible with ElasticSearch 8. We will install ElasticSearch 7.)
Install the apt-transport-https package because the ElasticSearch repository uses HTTPS protocol.
sudo apt-get install -y apt-transport-httpsAdd the ElasticSearch repository.
echo "deb [signed-by=/usr/share/keyrings/elasticsearch-keyring.gpg] https://artifacts.elastic.co/packages/7.x/apt stable main" | sudo tee /etc/apt/sources.list.d/elastic-7.x.listImport ElasticSearch GPG public key.
wget -qO - https://artifacts.elastic.co/GPG-KEY-elasticsearch | sudo gpg --dearmor -o /usr/share/keyrings/elasticsearch-keyring.gpgUpdate repository index and install ElasticSearch.
sudo apt update
sudo apt install -y elasticsearch default-jre-headless
Then start ElasticSearch
sudo systemctl enable --now elasticsearchCheck the status.
systemctl status elasticsearchAfter Goto “Home” directory :
cd /usr/share/elasticsearch
Install plugins :
bin/elasticsearch-plugin install analysis-phonetic bin/elasticsearch-plugin install analysis-icu
sudo systemctl restart elasticsearchRun the following command to test if ElasticSearch is working.
curl http://localhost:9200If ElasticSearch is working properly, it will output a message like below.
{
	"name" : "ubuntu",
	"cluster_name" : "elasticsearch",
	"cluster_uuid" : "uO_sXa_0T9ua-pkUn3aTbQ",
	"version" : {
		"number" : "7.17.4",
		"build_flavor" : "default",
		"build_type" : "deb",
		"build_hash" : "79878662c54c886ae89206c685d9f1051a9d6411",
		"build_date" : "2022-05-18T18:04:20.964345128Z",
		"build_snapshot" : false,
		"lucene_version" : "8.11.1",
		"minimum_wire_compatibility_version" : "6.8.0",
		"minimum_index_compatibility_version" : "6.0.0-beta1"
		},
		"tagline" : "You Know, for Search"
	}
If it’s not working, you will get the reply:
Curl: (52) Empty reply from serverSTEP 2: Download Magento on Ubuntu Server
Install PHP 8.1:
sudo apt install php8.1-fpm
Install Composer, which is a PHP dependency manager.
sudo apt install -y composerCreate web root directory for Magento.
sudo mkdir -p /var/www/magento/
Create the .config directory for the www-data user.
sudo mkdir -p /var/www/.config/Make sure the www-data user can write to this directory.
sudo chown www-data:www-data /var/www/ -RInstall the necessary PHP extensions.
sudo apt install -y php-imagick php8.1-fpm php8.1-mbstring php8.1-soap php8.1-bcmath php8.1-xml php8.1-mysql php8.1-common php8.1-gd php8.1-cli php8.1-curl php8.1-zip php8.1-intlChange to the /var/www/ directory.
cd /var/www/Create the Magento project.
sudo -u www-data composer create-project --repository-url=https://repo.magento.com/ magento/project-community-edition magento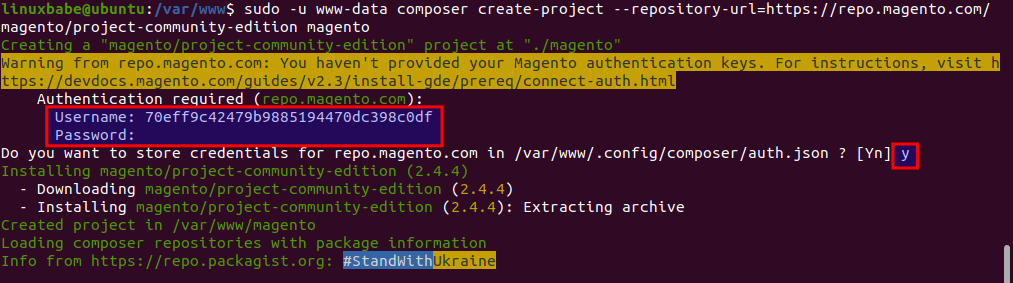
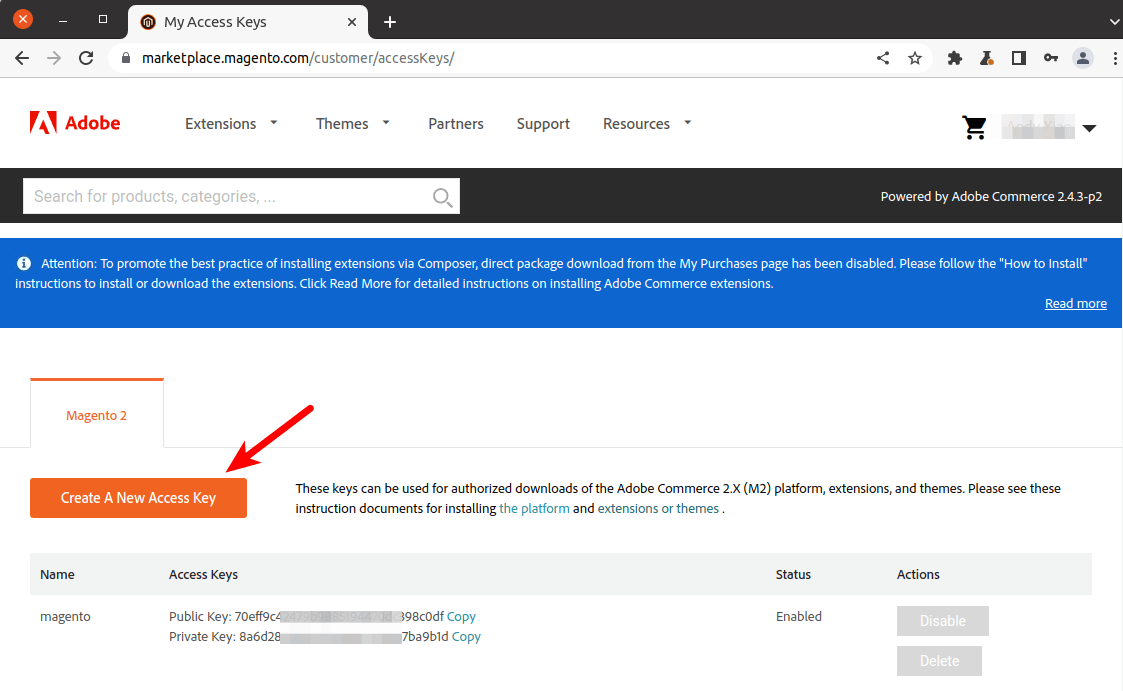
The repo.magento.com URL requires user authentication. Go to https://marketplace.magento.com/ to create an account, then go to this URL (https://marketplace.magento.com/customer/accessKeys/) to create an access key for Magento 2. Use the Public key as your username and the Private key as your password.
Next, run the following commands to set file permissions.
cd /var/www/magento/

sudo find var generated vendor pub/static pub/media app/etc -type f -exec chmod g+w {} +

sudo find var generated vendor pub/static pub/media app/etc -type d -exec chmod g+ws {} +

sudo chown -R :www-data .

sudo chmod u+x bin/magento
STEP 3: Install MySQL Database Server
Magento currently supports: MySQL-8, MySQL-5.7, MariaDB-10.4. MariaDB 10.5 or higher is not supported. Ubuntu 22.04 repository includes MariaDB 10.6, so we will choose MySQL instead of MariaDB.
Run the following command to install MySQL 8.0 from the default Ubuntu repository.
sudo apt install mysql-server-8.0Once it’s installed, MySQL server will be automatically started, as can be seen with:
sudo systemctl status mysql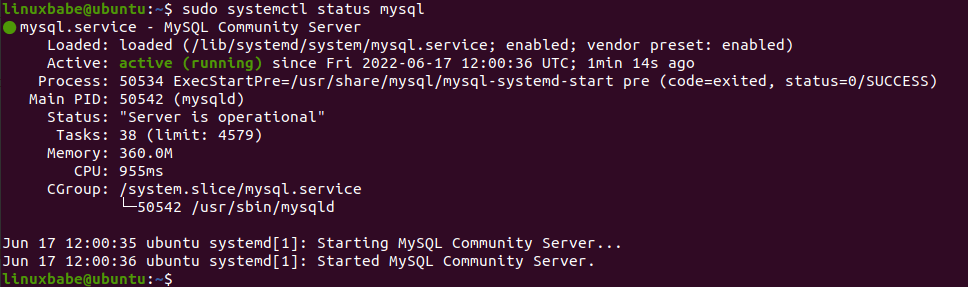
If it’s not running, you can start with:
sudo systemctl enable --now mysqlSTEP 4: Create a Database and User for Magento Site
Log into MySQL console as root with the following command.
sudo mysql -u rootOnce you are logged in, create a database for Magento using the following command. I named it magento, but you can use whatever name you like such as your site name. (Don’t leave out the semicolon.)
CREATE DATABASE magento;Then enter the command below to create a database user for Magento. Replace magento_password with your preferred password.
CREATE USER 'magento'@'localhost' IDENTIFIED BY 'magento_password';Next, grant permissions to this user.
GRANT ALL PRIVILEGES ON magento.* to 'magento'@'localhost';Flush the privileges table for the changes to take effect and then get out of MySQL console.
FLUSH PRIVILEGES;

	EXIT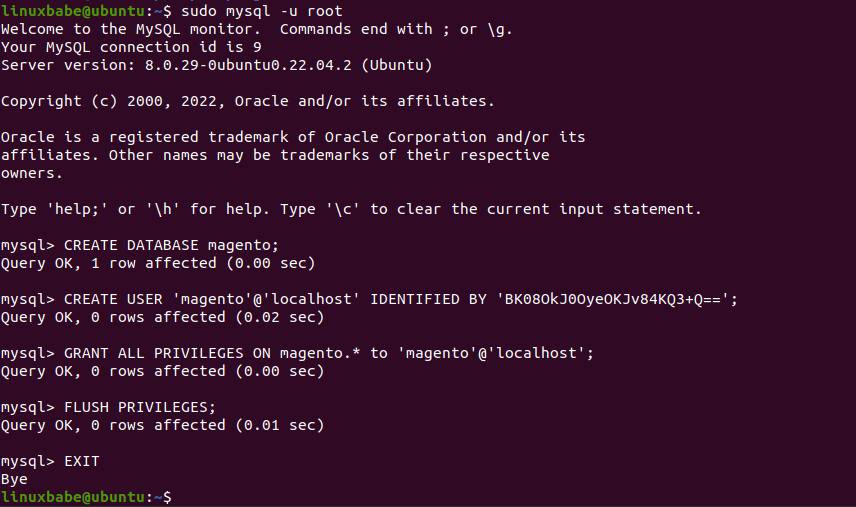
Step 4: Set Up Nginx Virtual Host
Make sure you are in the /var/www/magento/ directory.
cd /var/www/magento/Run the following command to install Magento.
sudo -u www-data bin/magento setup:install --base-url=http://example.com --use-secure=1 --base-url-secure=https://example.com --use-secure-admin=1 --db-host=localhost --db-name=magento --db-user=magento --db-password=magento_password --admin-firstname=super --admin-lastname=admin [email protected] --admin-user=admin --admin-password=admin_password --language=en_US --currency=USD --timezone=America/Chicago --use-rewrites=1 --elasticsearch-host=http://127.0.0.1 --elasticsearch-port=9200 --elasticsearch-enable-auth=0
Replace:
example.comwith your real domain name.magento_passwordwith the password created in step 5.[email protected]with your preferred admin email address.admin_passwordwith your preferred admin password.
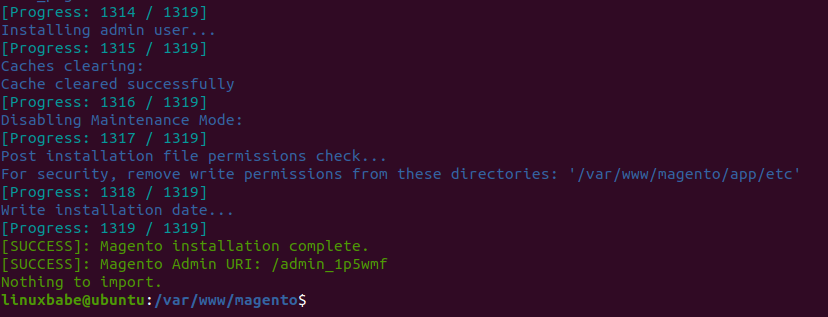
The installation process is pretty fast. As you can see, Magento is installed successfully.
If you encounter the following error in the installation process, it’s because ElasticSearch isn’t running or you configured it wrong.
Could not validate a connection to Elasticsearch. No alive nodes found in your clusterNow create Magento Cron jobs.
sudo -u www-data php8.1 bin/magento cron:installThis will add the cron job in the www-data user’s crontab file. You can check it with:
sudo -u www-data crontab -lOutput:
#~ MAGENTO START d1957f62aa710cc367525c9ec68dd7456d4311756b5aa37d2143c4a98b25318c
						* * * * * /usr/bin/php8.1 /var/www/magento/bin/magento cron:run 2>&1 | grep -v "Ran jobs by schedule" >> /var/www/magento/var/log/magento.cron.log
						#~ MAGENTO END d1957f62aa710cc367525c9ec68dd7456d4311756b5aa37d2143c4a98b25318c
The Magento installer gives us the admin URI. Each Magento may have a unique admin URI, so you need to remember or bookmark it in your web browser. Next, we need to set up Nginx web server in order to access the admin panel.
STEP 5: Set Up Nginx Virtual Host
Install Nginx web server.
sudo apt install nginxRemove the default virtual host.
sudo rm /etc/nginx/sites-enabled/defaultMagento ships with a sample Nginx config file in /var/www/magento/ directory. Move it to the /etc/nginx/conf.d/ directory.
sudo mv /var/www/magento/nginx.conf.sample /etc/nginx/conf.d/magento.sampleWe create a new virtual host file for Magento in the /etc/nginx/conf.d/ directory. The file name must end with .conf.
sudo nano /etc/nginx/conf.d/magento.confPut the following texts into the file. Replace the red texts with your own domain name. Don’t forget to create DNS A records for your domain name in your DNS zone editor.
upstream fastcgi_backend {
   server unix:/var/run/php/php8.1-fpm.sock;
}

server {
  listen 80;
  listen [::]:80;
  server_name www.example.com example.com;
  set $MAGE_ROOT /var/www/magento/;
  include /etc/nginx/conf.d/magento.sample;
  client_max_body_size 2M;

  access_log /var/log/nginx/magento.access;
  error_log /var/log/nginx/magento.error;
}
Save and close the file. Then test Nginx configurations.
sudo nginx -tIf the test is successful, reload Nginx.
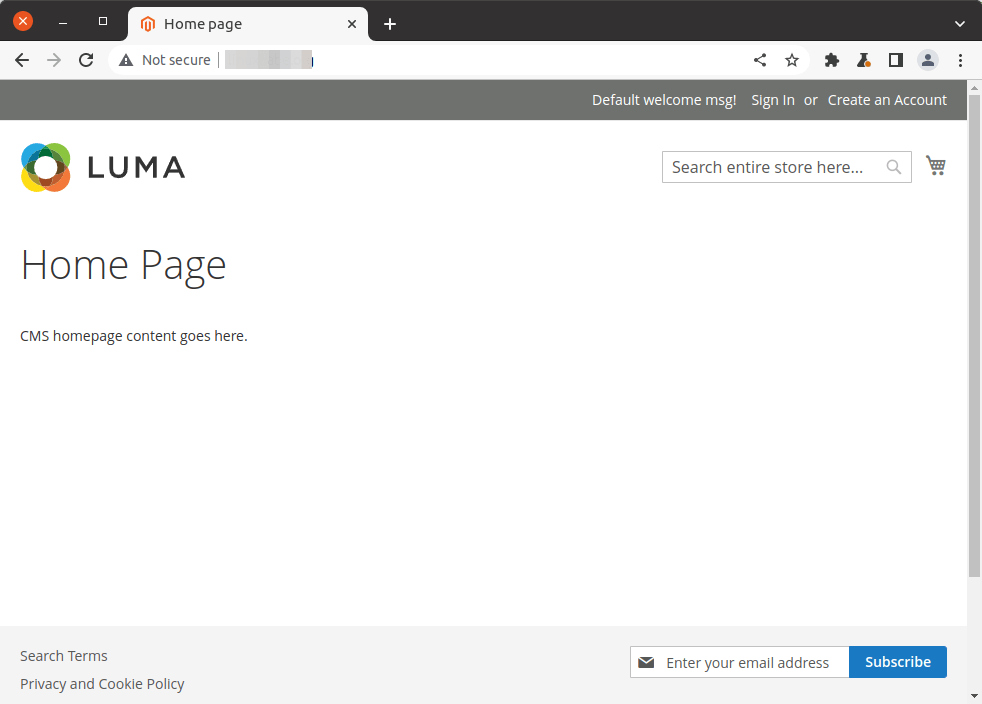
sudo systemctl reload nginxEnter your domain name in the browser address bar and the default Magento page will show up.
example.com
To install other services, continue reading the following document Document setup SMTP,HTTPS
Tip: How to disable Two factor Authentication module in Magento:
run below command in terminal Magento root path :
bin/magento module:disable Magento_TwoFactorAuth
bin/magento cache:flush
2. Install Theme
STEP 1: Upload Pack
Using a SSH client to upload Theme:
- Upload file zip data Theme Claue2.
a, merge folder and file.
b, upload file zip to remote
2. Login to your server with your SSH account and navigate to Magento root directory after unzip file zip data
3. Copy the code and design folders in the folder after extracting to the app folder and do the same thing with the pub folder.
STEP 2: Enable Module and Deploy Theme
- Login to your server with your SSH account and navigate to Magento root directory
Enable the elements included in Theme Claue2
- Run command line: php bin/magento module:enable MGS_Fbuilder
- Run command line: php bin/magento module:enable MGS_ThemeSettings
- Run command line: php bin/magento module:enable MGS_Mmegamenu
- Run command line: php bin/magento module:enable MGS_Portfolio
- Run command line: php bin/magento module:enable MGS_ExtraGallery
- Run command line: php bin/magento module:enable MGS_GDPR
- Run command line: php bin/magento module:enable MGS_ClaueTheme
- Run command line: php bin/magento module:enable MGS_Testimonial
- Run command line: php bin/magento module:enable MGS_Brand
- Run command line: php bin/magento module:enable MGS_Blog
- Run command line: php bin/magento module:enable MGS_Aquickview
- Run command line: php bin/magento module:enable MGS_Lookbook
- Run command line: php bin/magento module:enable MGS_AjaxCart
- Run command line: php bin/magento module:enable MGS_Protabs
- Run command line: php bin/magento module:enable MGS_InstantSearch
- Run command line: php bin/magento module:enable MGS_Ajaxlayernavigation
- Run command line: php bin/magento module:enable MGS_Csp
- Install Elasticsuite:
- Run command line: php bin/magento module:enable Smile_ElasticsuiteCore
- Run command line: php bin/magento module:enable Smile_ElasticsuiteCatalog
- Run command line: php bin/magento module:enable Smile_ElasticsuiteSwatches
- Run command line: php bin/magento setup:upgrade
- Run command line: bin/magento config:set catalog/search/engine elasticsuite
- Run command line: bin/magento indexer:reindex
- Run command line: php bin/magento setup:static-content:deploy -fDeploy static view files document
- Run command line: php bin/magento cache:flush
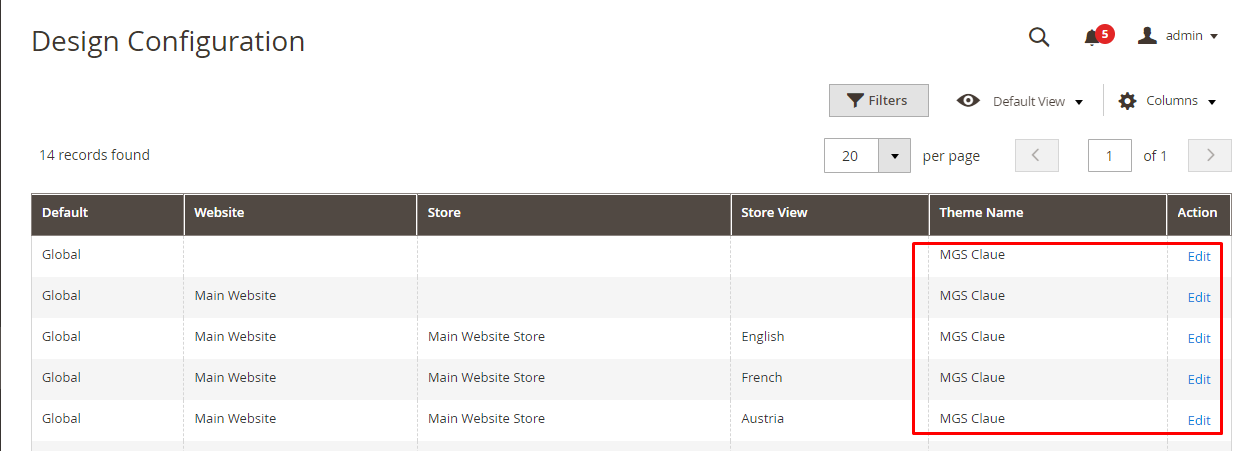
STEP 3: Enable Claue Theme
Go to CONTENT -> Configuration [Design], edit store view you want to use the Claue theme then select to use “MGS Claue”
After selecting the Claue theme, refresh magento cache
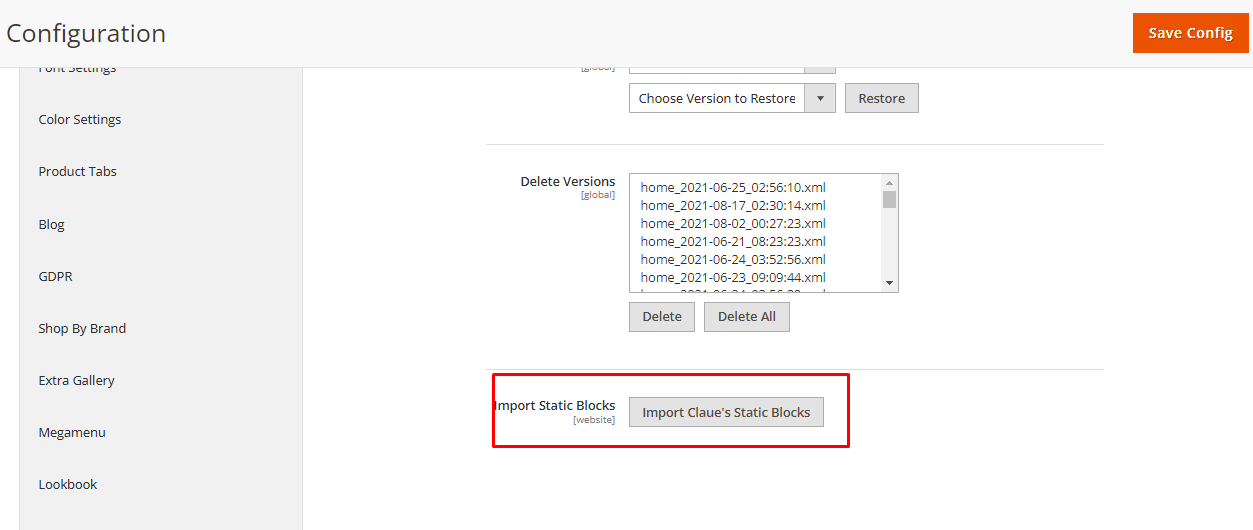
STEP 4: Import Static Blocks
Go to MGS -> Page Builder Setting [Page Builder], you can see Export - Import - Restore panel. Click Import Claue’s Static Blocks button to import the static blocks
Until Backend returns success message, Go to System -> Cache management. Select all, choose refresh action and submit. All of static blocks sample are imported, you can go to CONTENT -> Blocks and see them
STEP 5: Import a Homepage
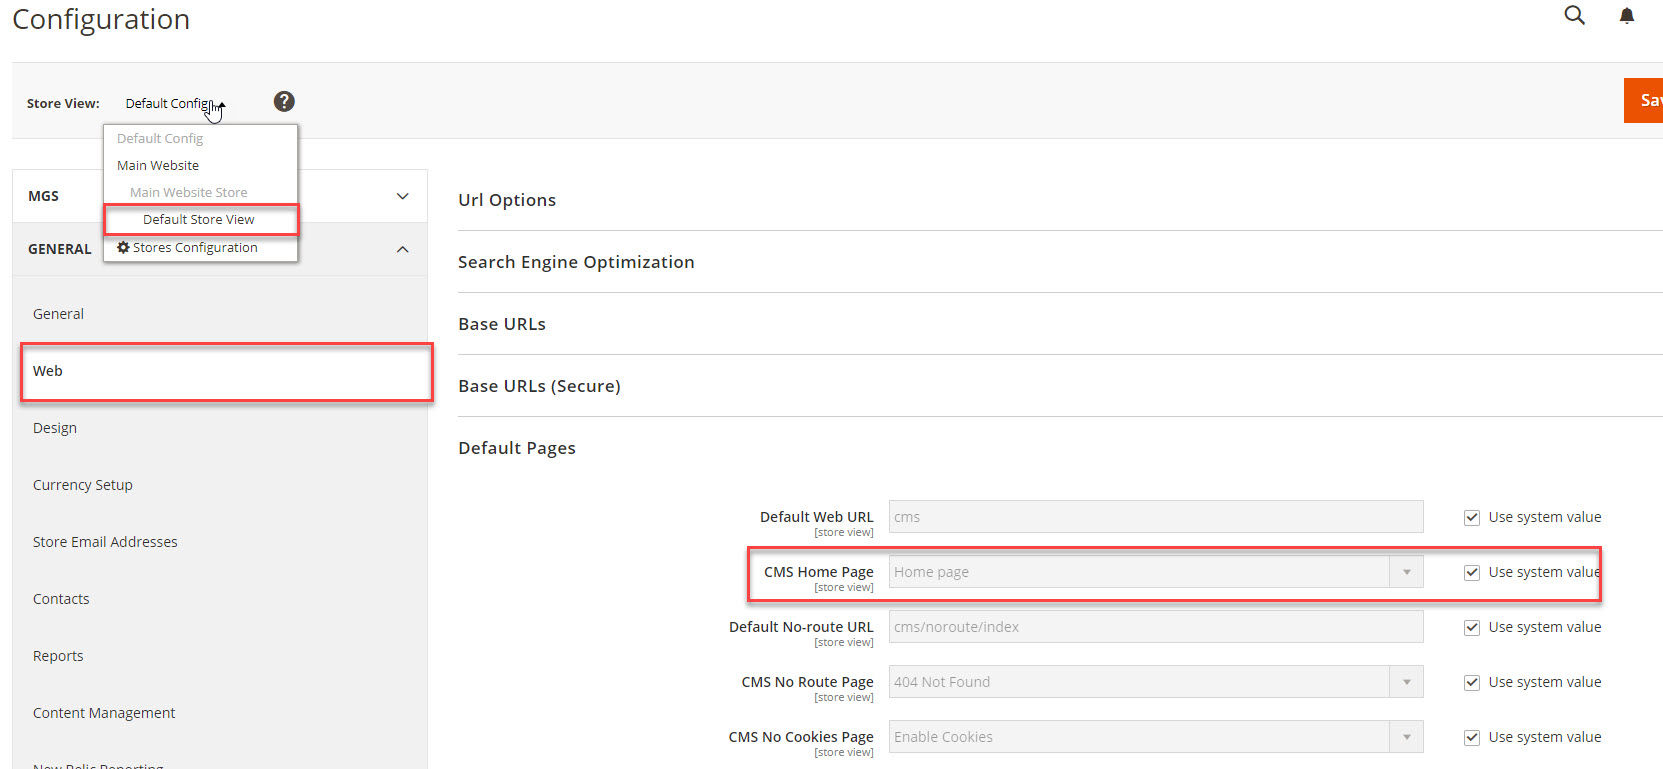
Select defaul homepage:
- Go to
STORES -> Configuration [Settings] -> Web [GENERAL] -> Default Pages, here you can select the default page you want in “CMS Home Page” field. Note that if you have multi storeviews you should select a store view before selecting the default home page.
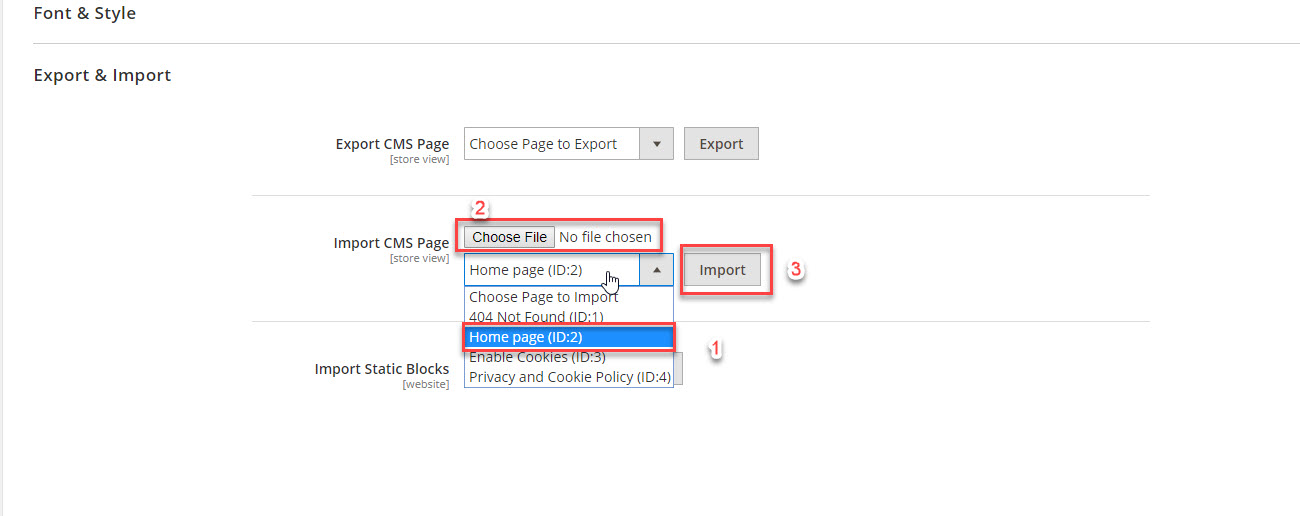
Import a homepage:
- Go to
MGS -> Page Builder Setting [Page Builder], you can seeExport - Import - Restorepanel. - You can see “Import CMS Page”, select the default homepage you just specified above then “Choose File”, you can find the homepage demo file in claue_v[…]/Themes/Homepage Demo/ then click “Import”, please wait until the homepage is imported then refresh cache.
STEP 6: Complete
Go to the homepage to see your site then edit the homepage