1. Product 3D, AR models
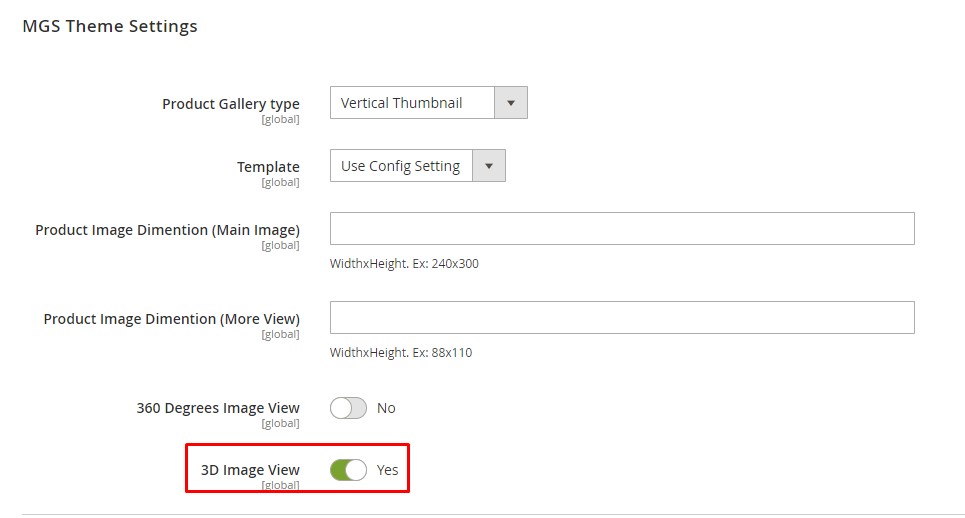
First, You must enable 3D Image View attribute for product. From Admin panel, go to PRODUCTS → Catalog → [Edit Product]
On Edit Product page, change 3D Image View field to Yes
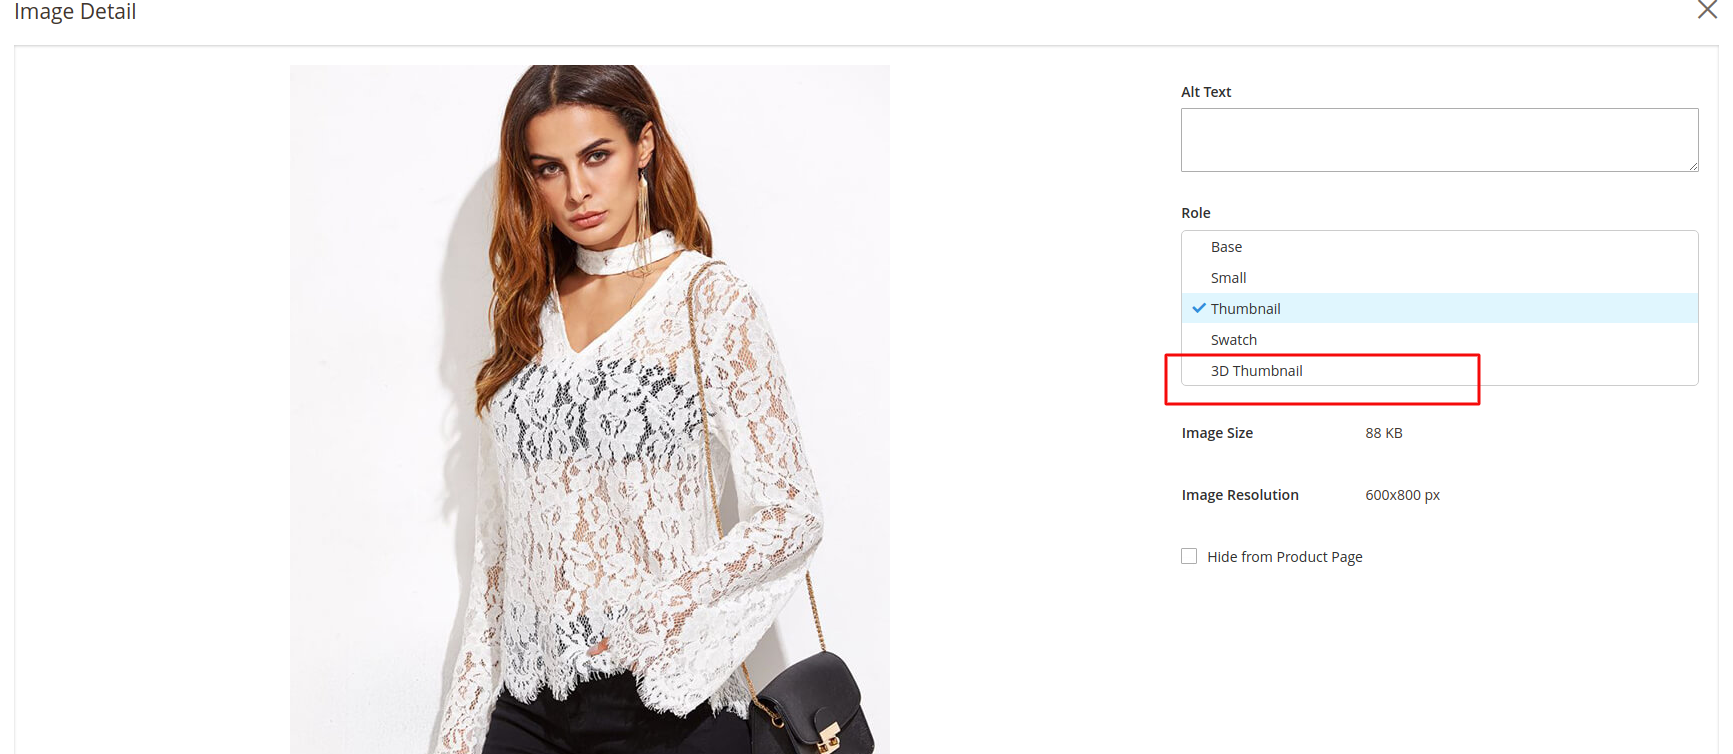
Then change role of image to 3D Thumbnail
2. Image Product 360
First, You must enable 360 Degrees Image View attribute for product. From Admin panel, go to PRODUCTS → Catalog → [Edit Product]
On Edit Product page, change 360 Degrees Image View field to Yes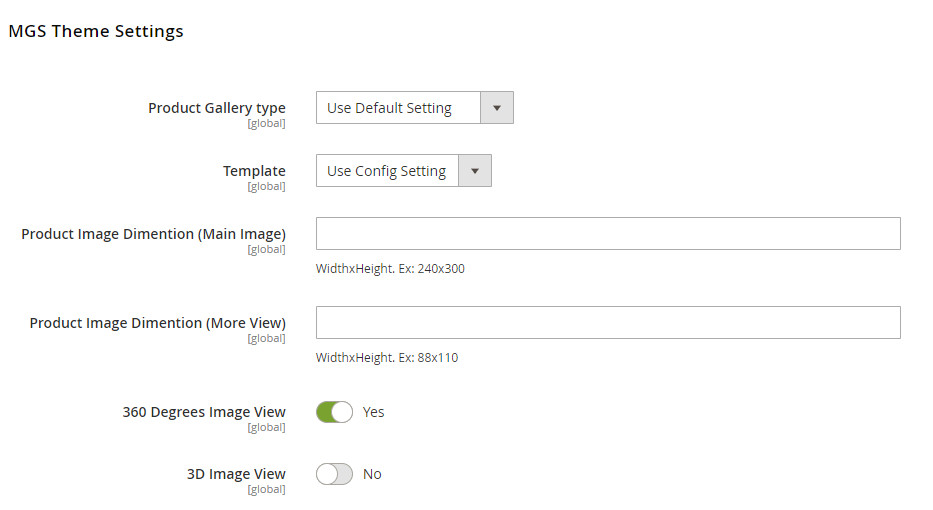
You can use cPanel or any tool to create directories and upload image. Or you can use Wysiwyg Editor(on edit or create static block, cms page…) to make it and upload image.

3. Hover Change Image
From Admin panel, go to PRODUCTS → Catalog → [Edit Product]
On Edit Product page, go to Images And Videos section, Upload image for product.
After images uploaded, click image to set image role: base image, small image, swatch image, thumbnail image.
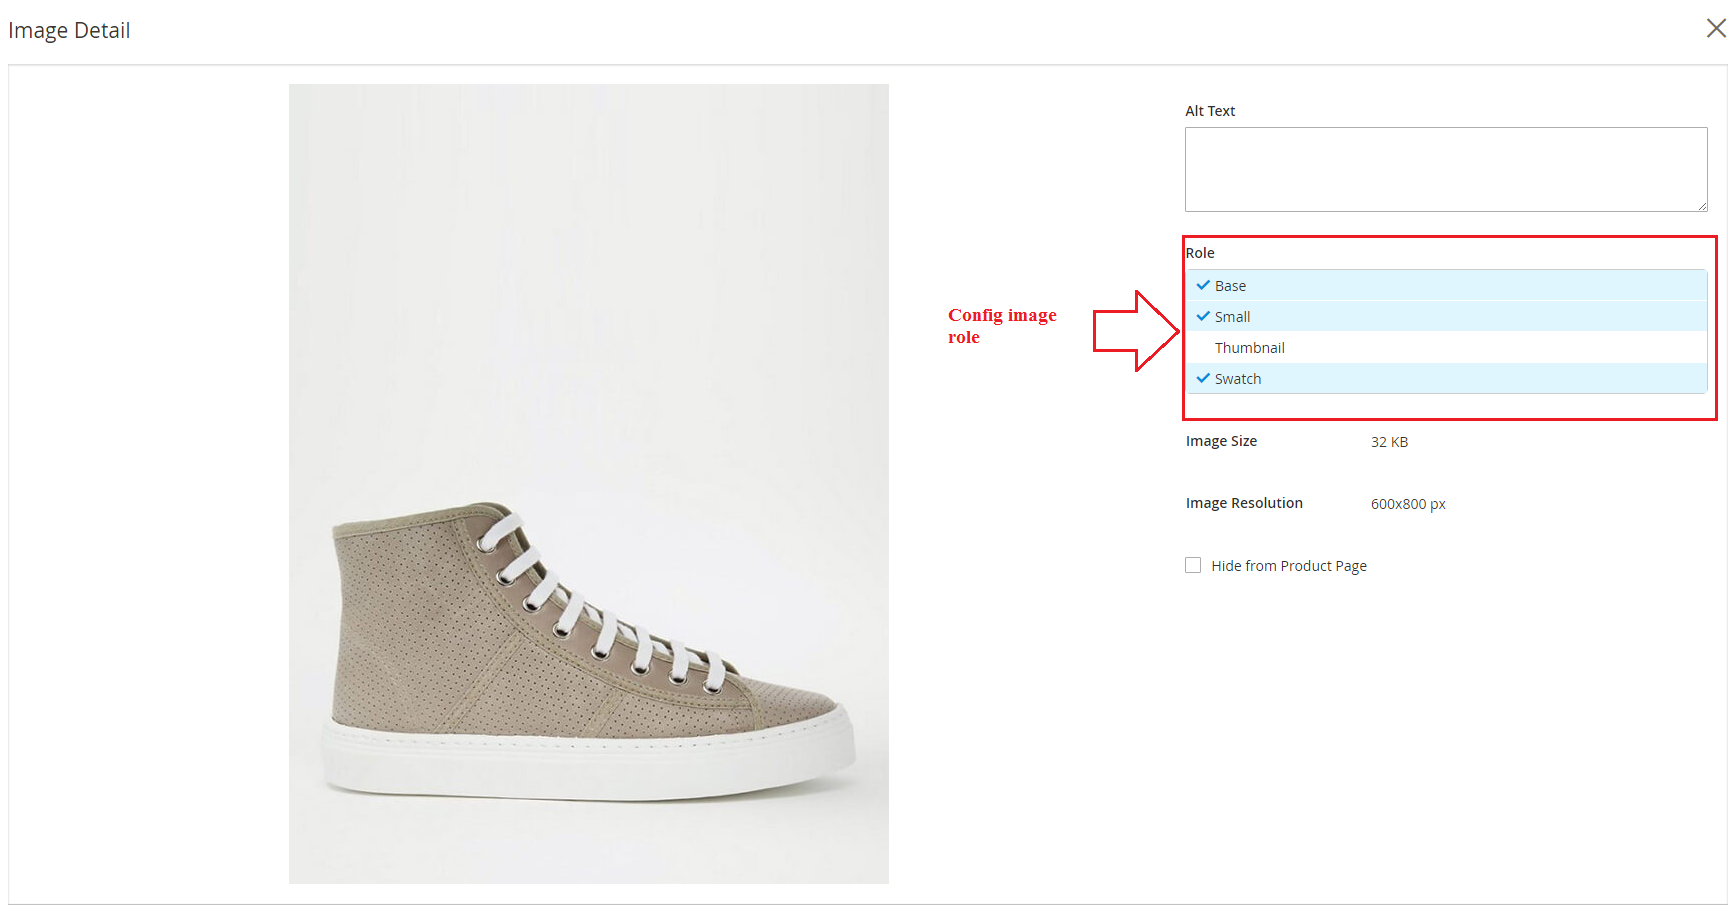
For first image show, it is small image. For image product show when hover item, it is thumbnail image.
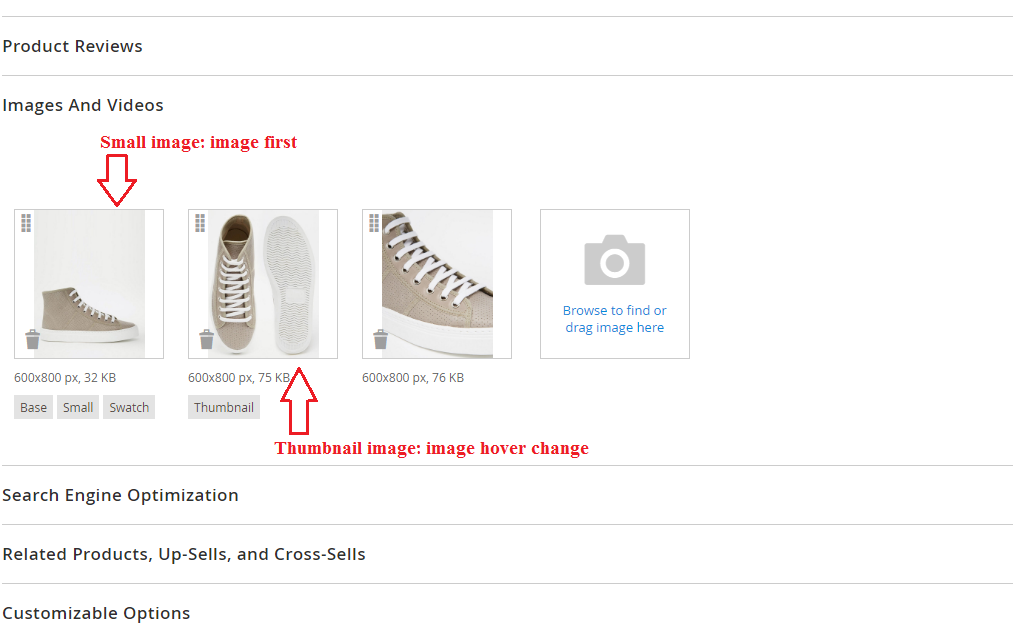
Save product.
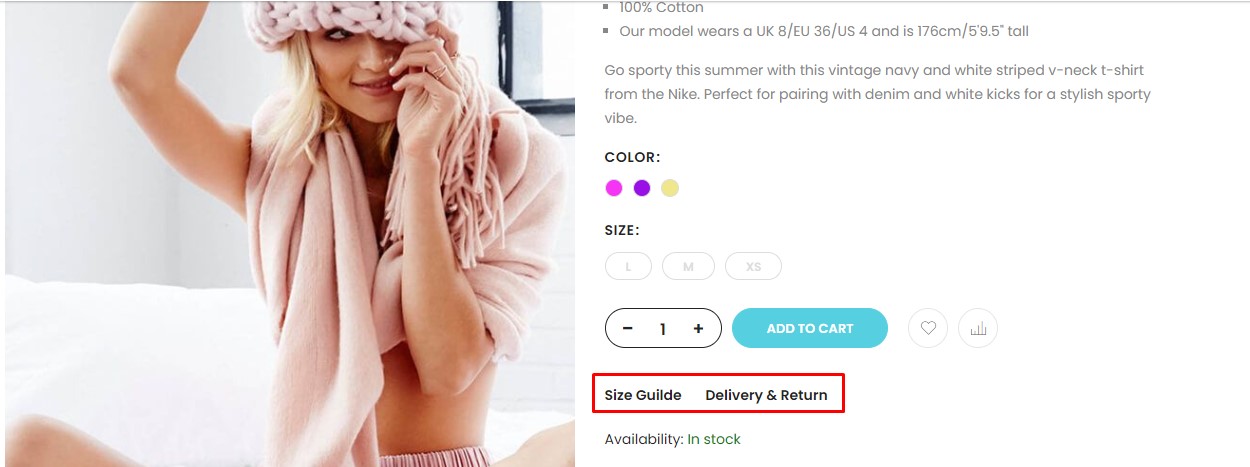
4. Size Guide & Delivery – Return
To edit size guide and delivery-return, login backend Admin, then go to Contents -> Blocks
Search static block “mgs_product_detail_top_block”
Select edit block
Click button Show/Hide Editor
1. EDIT IMAGE SIZE GUIDE
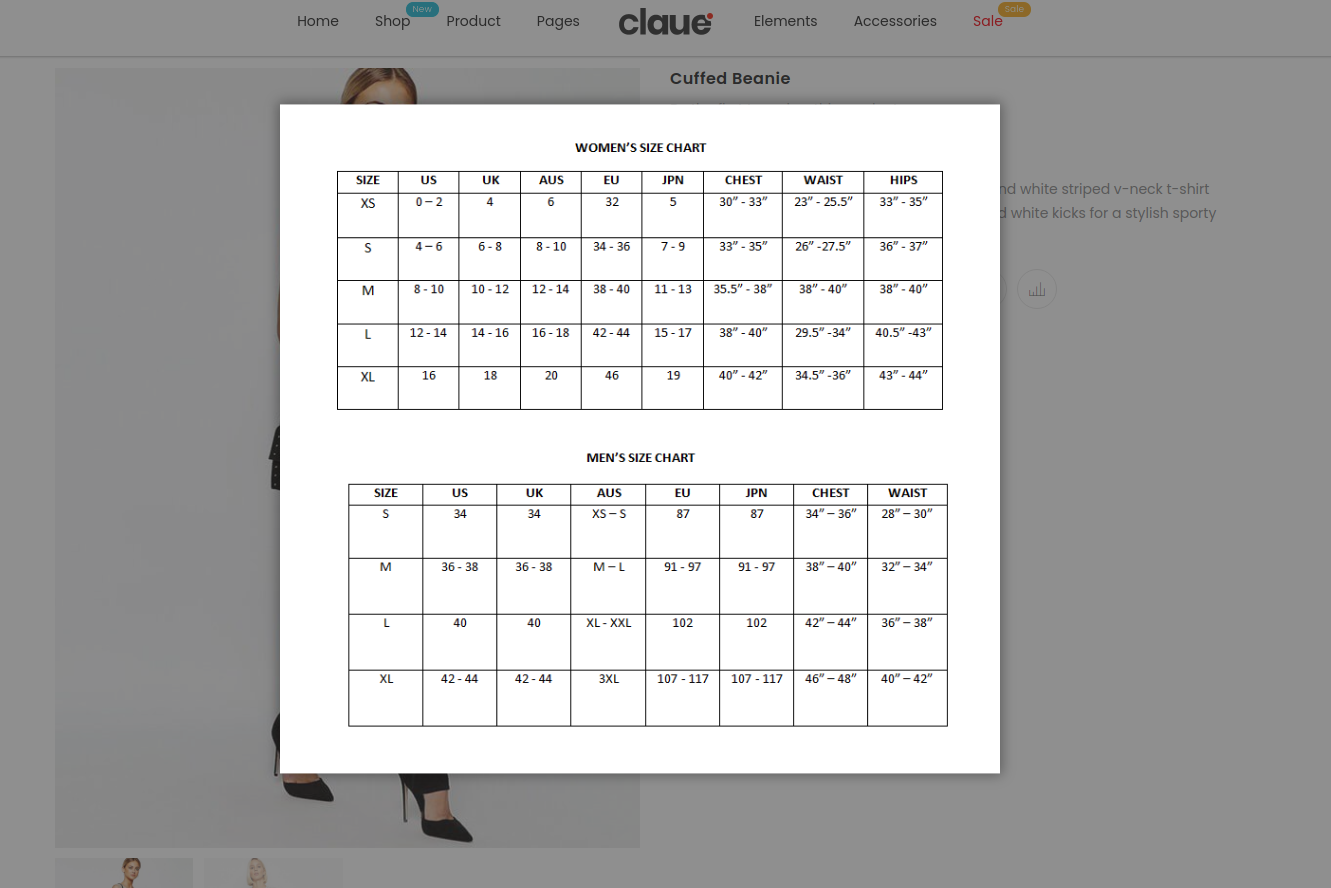
Move mouse cursor on first position of content, Click button Insert image, Insert new image -> Cut code of new image -> replace code of old image by code of new image
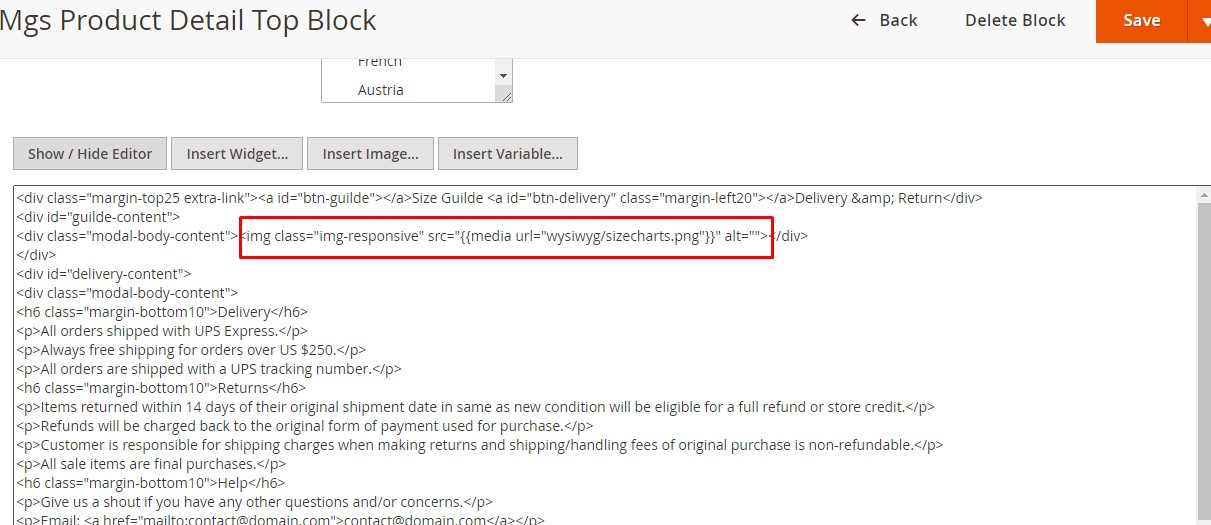
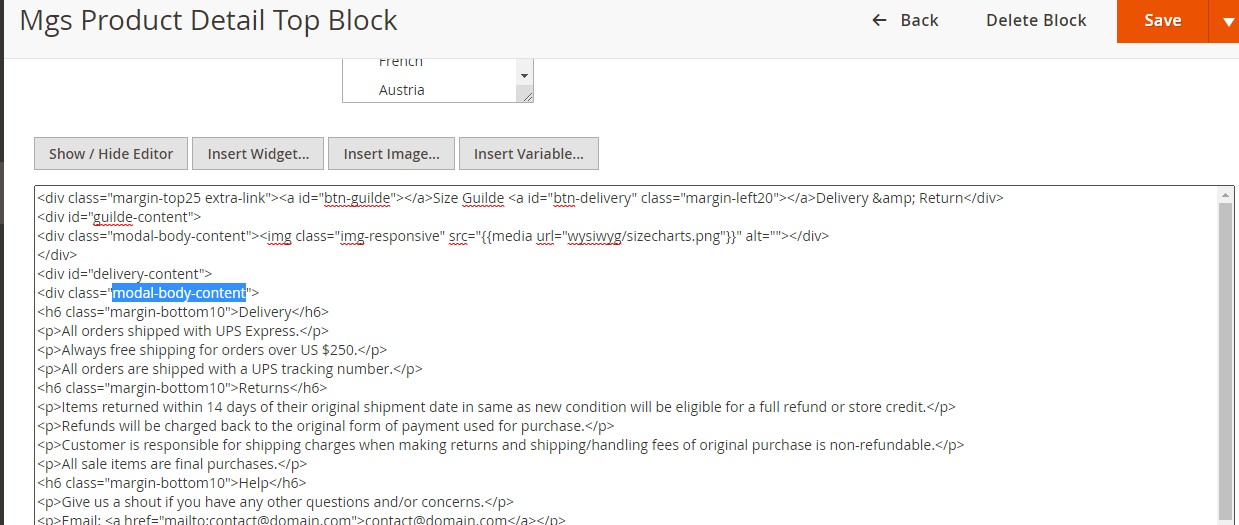
2. EDIT DELIVERY – RETURN
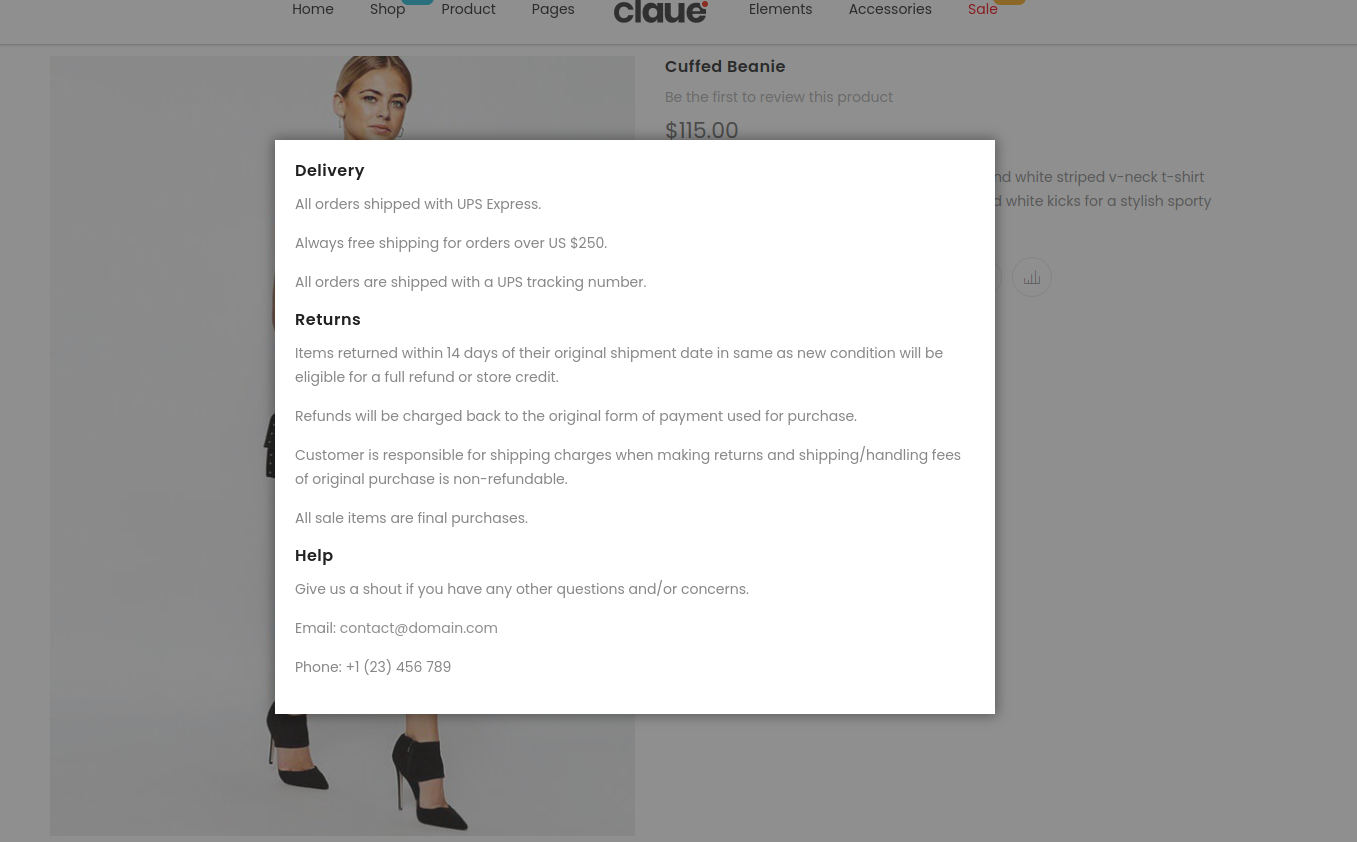
Search “modal-body-content” -> Edit code in this div
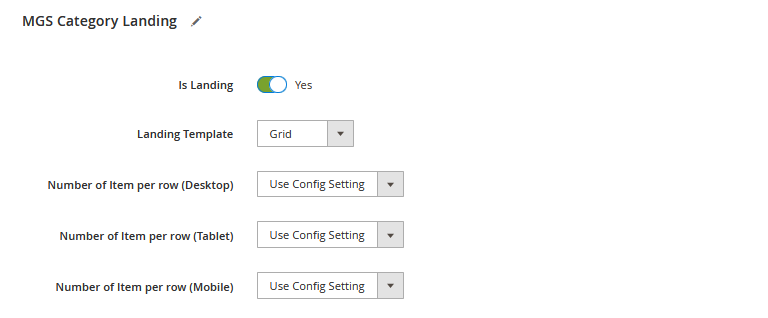
5. Category Landing Page
Category Landing Compatible With Magento 2.2+
From Admin panel, go to PRODUCTS → Catalog → Categories → [Edit Categories]
On Edit Categoy page, scroll to MGS Category Landing section, change Is Landing field to Yes
Choose Landing Template
Go to sub categories, scroll to Landing section. Upload image thumbnail show on landing page on field Category Thumbnail Image
6. Insert Static Block To Homepage Content
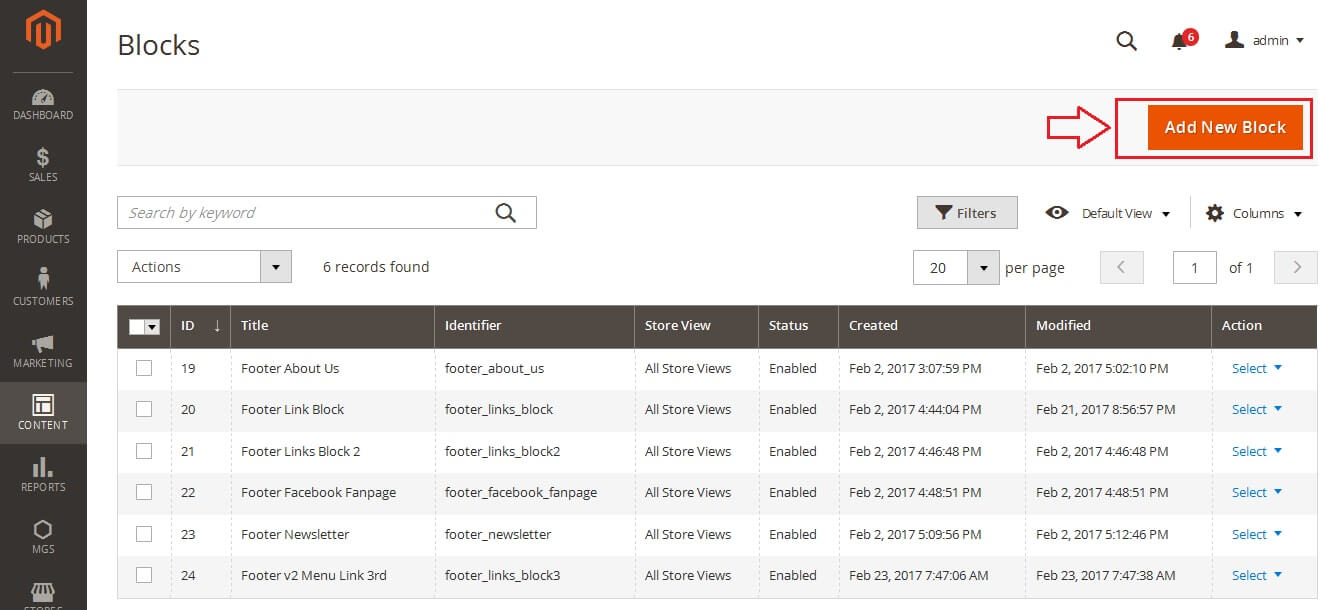
STEP 1: Create Static Block
In Backend, go to Content → Blocks. Click Add New Block button to create new static block.
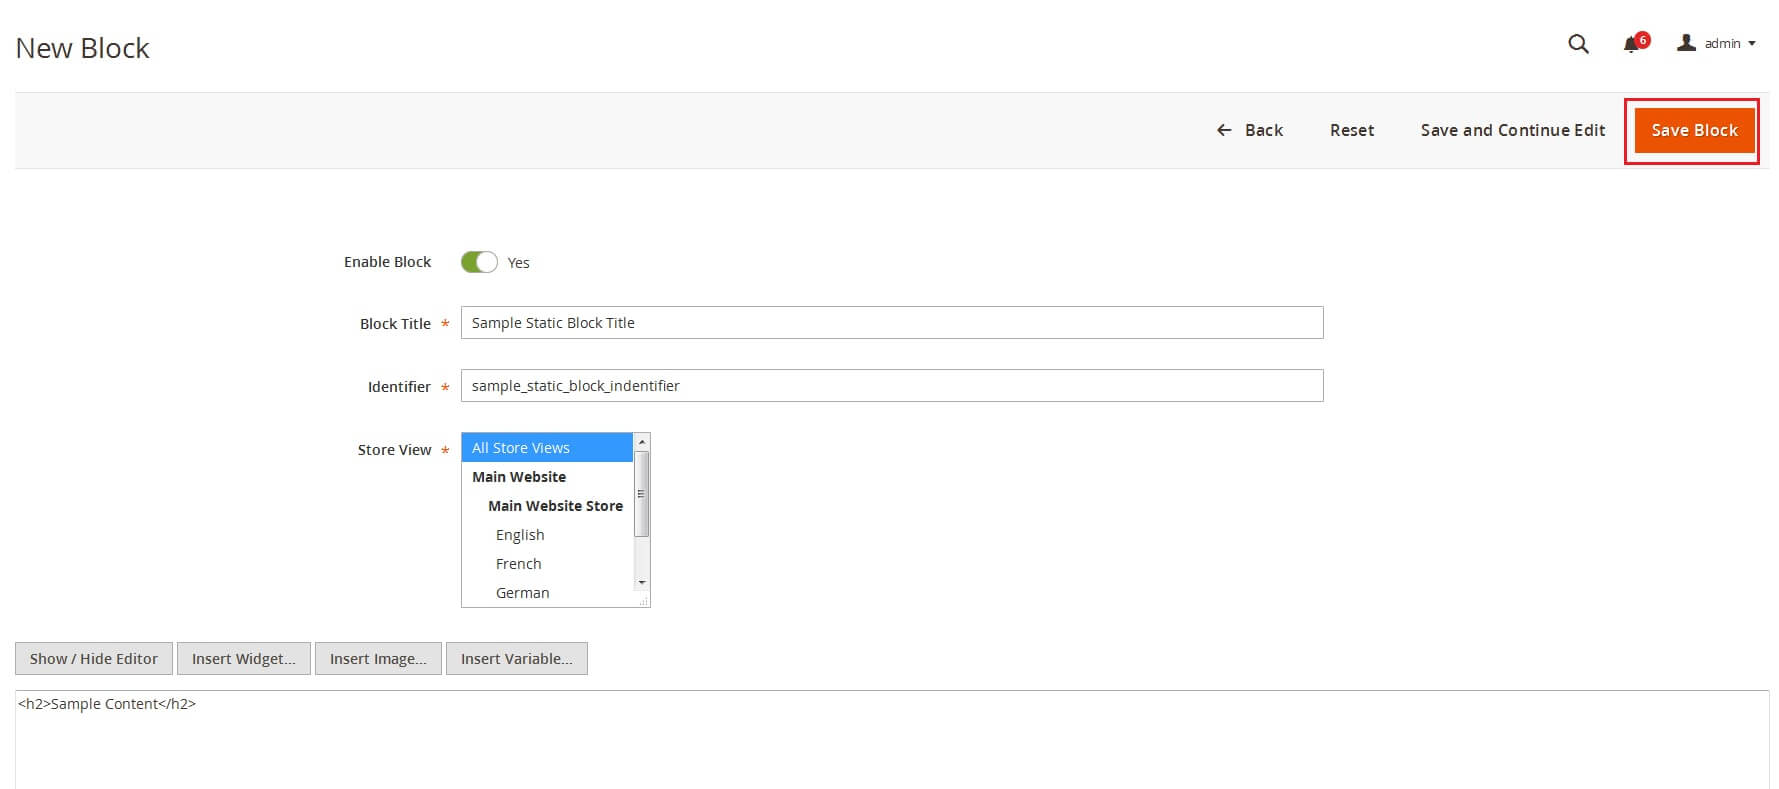
- Enable Block: Disable or Enable block.
- Block title
- Indentifier
- Store View: Choose store view to enable block
- Content: You can insert html code, short code (block), widget on static block content.
Input all require content, click Save Block button.
STEP 2: Insert Block to Home Page Content
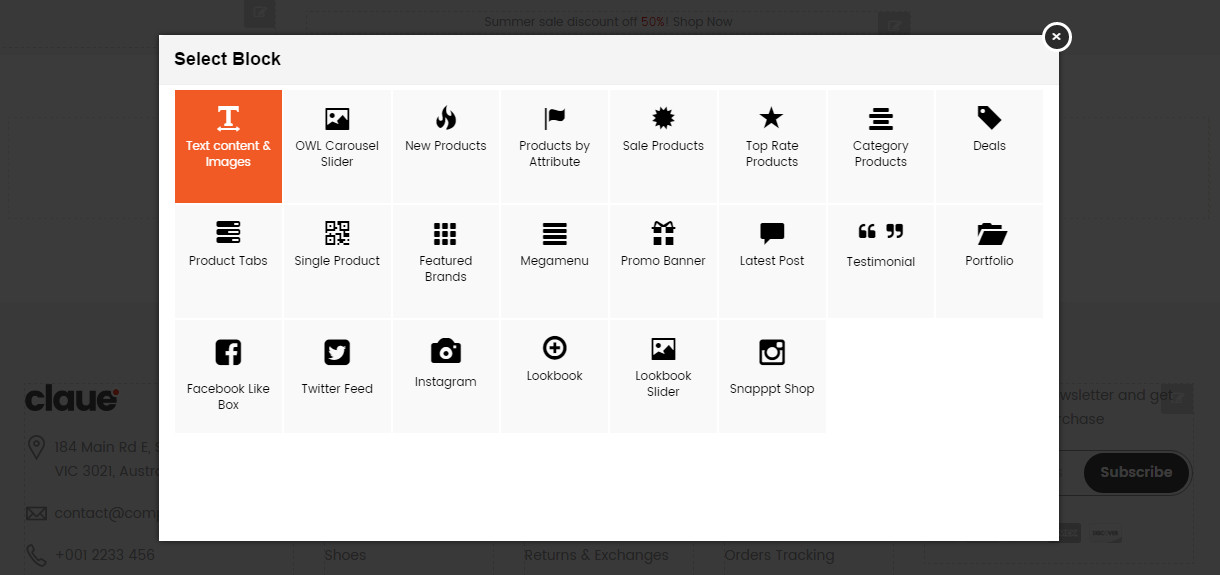
On home page, after creating new section, you can see button Add new block. Click this button, you can see popup list blocks.

On popup list blocks, click “Text content & Images” item.
CONFIG BLOCK
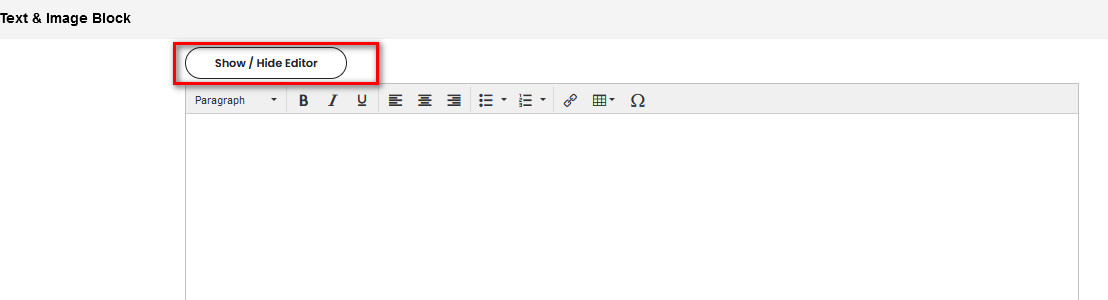
CONTENT TAB
On content tab. Click Show / Hide Editor button to hide editor and edit content with html & short code
Copy code {{widget type="Magento\Cms\Block\Widget\Block" template="widget/static_block/default.phtml" block_id="sample_static_block_indentifier"}} and change block_id with your static block identifier to content.
Click SUBMIT button to save.