– Visual Composer
Visual Composer for WordPress is drag and drop frontend and backend page builder plugin that will save you tons of time working on the site content. You will be able to take full control over your WordPress site, build any layout you can imagine – no programming knowledge required. Moreover, now you can choose either work on a backend or move your page building process to frontend and instantly see changes you make.
You can see here for more details.
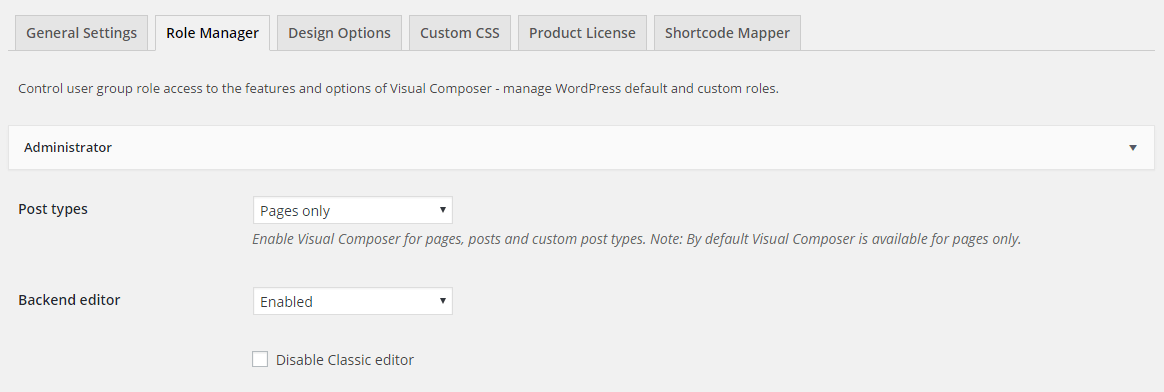
After installing the Visual Composer, please go to Visual Composer > Role Manager. In the post types field, you should select Pages only.
– Ultimate Addon
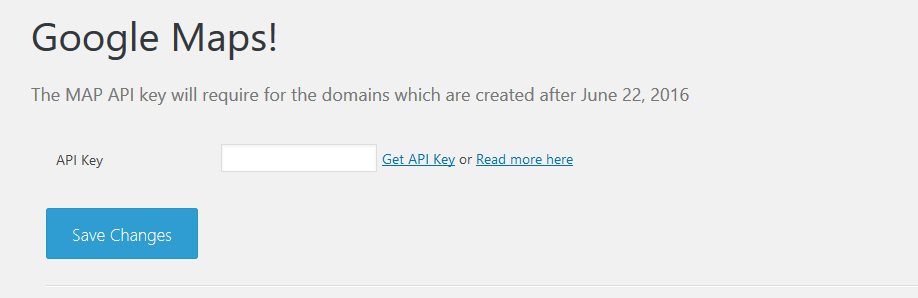
For google map shortcode work effectively, you should go to Ultimate > Google Maps and input Google Map API key.
– Franco Instagram Feed
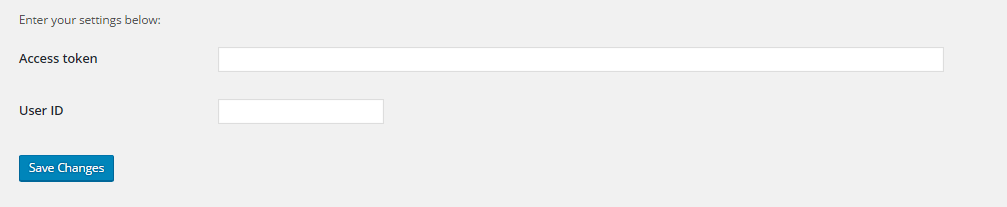
Navigate to Settings > Instagram Settings to access “Instagram Settings” page. You need to enter Access token and User ID of your instagram account in order to get images. Remeber to click Save Changes to save information.
– MailChimp for WP
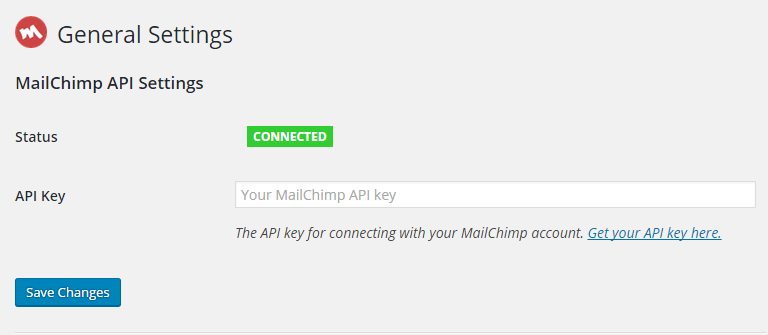
Go to MailChimp for WP > MailChimp to access general setting page of MailChimp. You should connect to your mailchimp account by entering API Key.
Also, in order to make MailChimp Form work effectively, you should navigate to MailChimp for WP > Forms in admin sidebar and click Save Changes.
For detail instruction, please click MailChimp for WP.
– Woocommerce
WooCommerce is the most popular WordPress eCommerce plugin. Packed full of features, perfectly integrated into your self-hosted WordPress website.
You can see here for more details and woocommerce documentation.
– Change Image Sizes
You can change the product image sizes in Woocommerce > Settings > Products > Display > Product Images on admin sidebar.
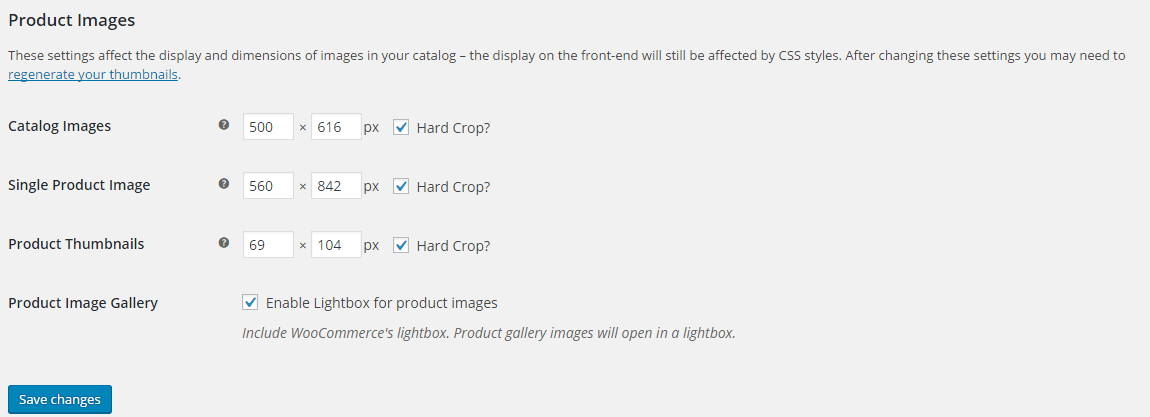
We used the following image sizes on our demo sites:
- Catalog Images: 500 x 616
- Single Product Image: 560 x 842
- Product Thumbnails: 69 x 104
After change the image sizes, you should regenerate all the thumbnails using Regenerate Thumbnails plugins.
– Enable register in My Account page
Navigate to Woocommerce > Settings > Accounts, check the box Enable registration on the “My Account” page
– Regenerate Thumbnails
Regenerate Thumbnails allows you to regenerate the thumbnails for your image attachments. This is very handy if you’ve changed any of your thumbnail dimensions (via Settings -> Media) after previously uploading images or have changed to a theme with different featured post image dimensions.
You can either regenerate the thumbnails for all image uploads, individual image uploads, or specific multiple image uploads.
You can see here for more details.
Please go Tools > Regen.Thumbnails and click Regenerate All Thumbnails.
Once Required Plugins are configured, you may be interested to install sample content as our demo sites. In the next section, we will guide you about demo installation.