Go to Admin -> Online Store -> Themes -> Customize -> Theme settings -> Product Details Page

Within Product Details Page, you can config default settings for all type of product page layout:
If you want to setup sidebar column & settings for specific layout, please check Product details page
1. LAYOUT
- Default page layout: We have 3 types of layout:
1 column&2 columns left,2 columns right.With Lusion you can use 3 types of layout at the same time for product details page. It means we can have product A using 1 column, product B using 2 columns left & product C using 2 columns right at the same time.You can choose different template for each product layout. Eg:Layout1 columnwith templateFull screen multiple slide&Tab description full content
 Layout
 2 columns leftwith templateGallery grid 2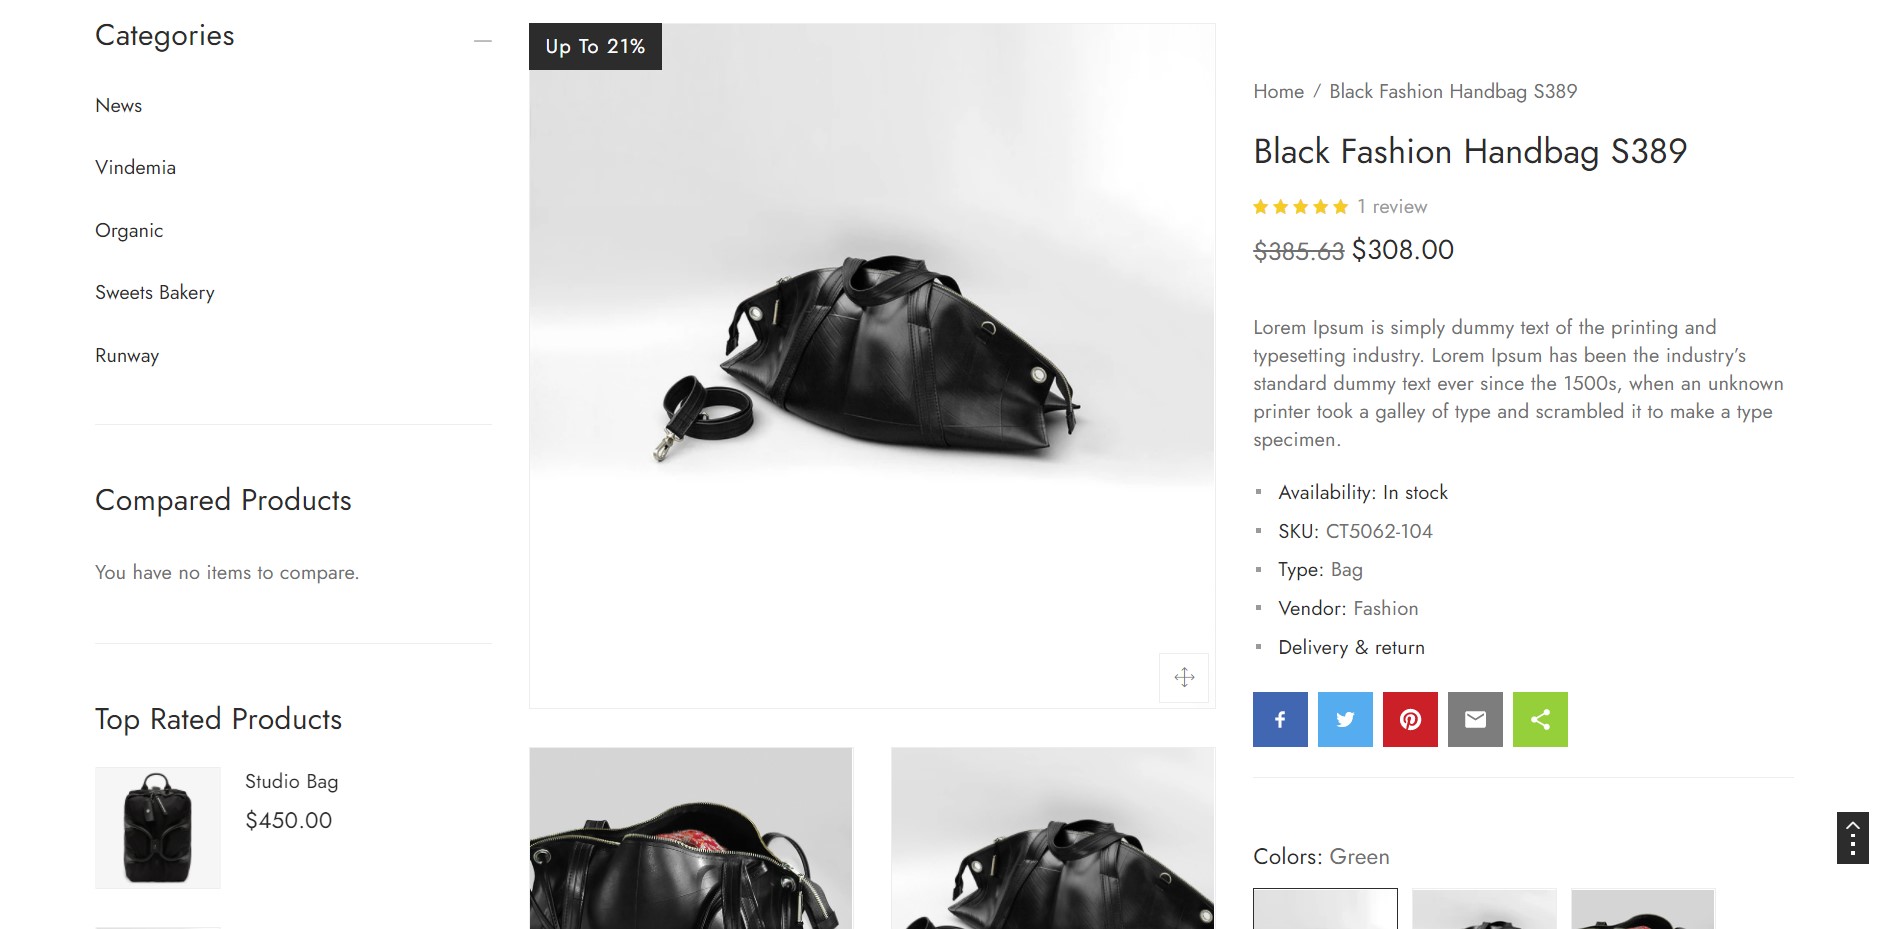
- Settings on Page width: Settings width for each layout.
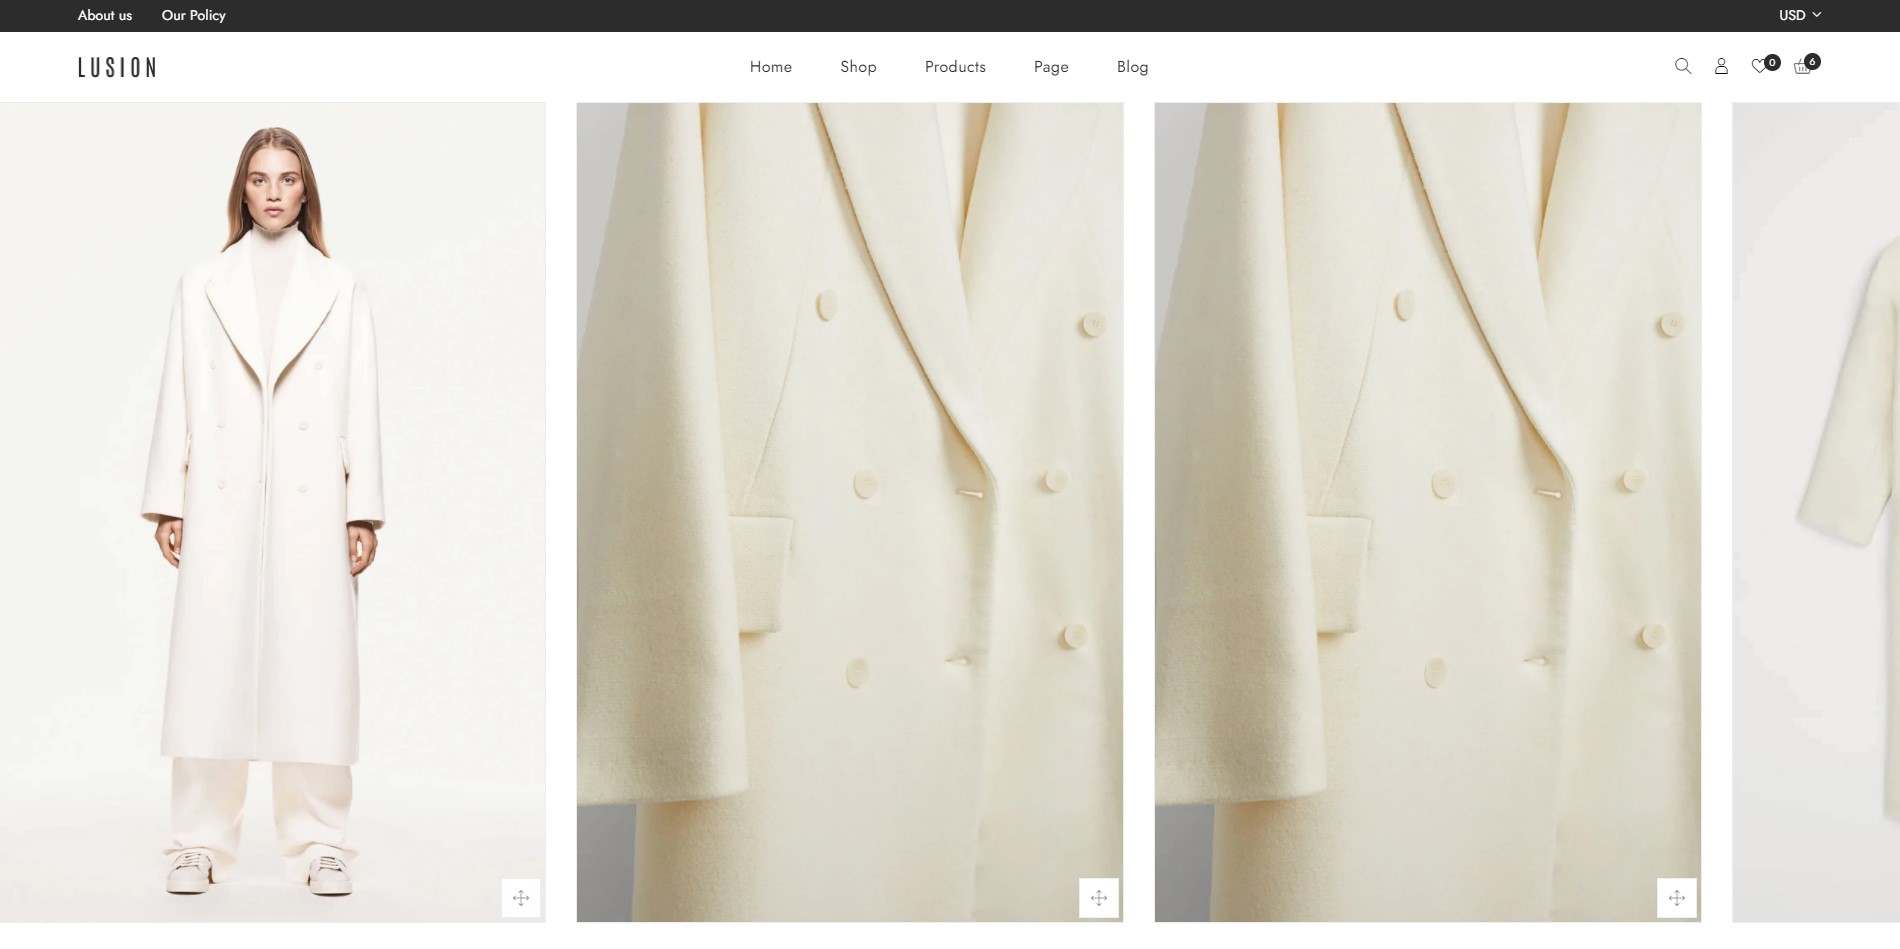
- Default template:
Gallery grid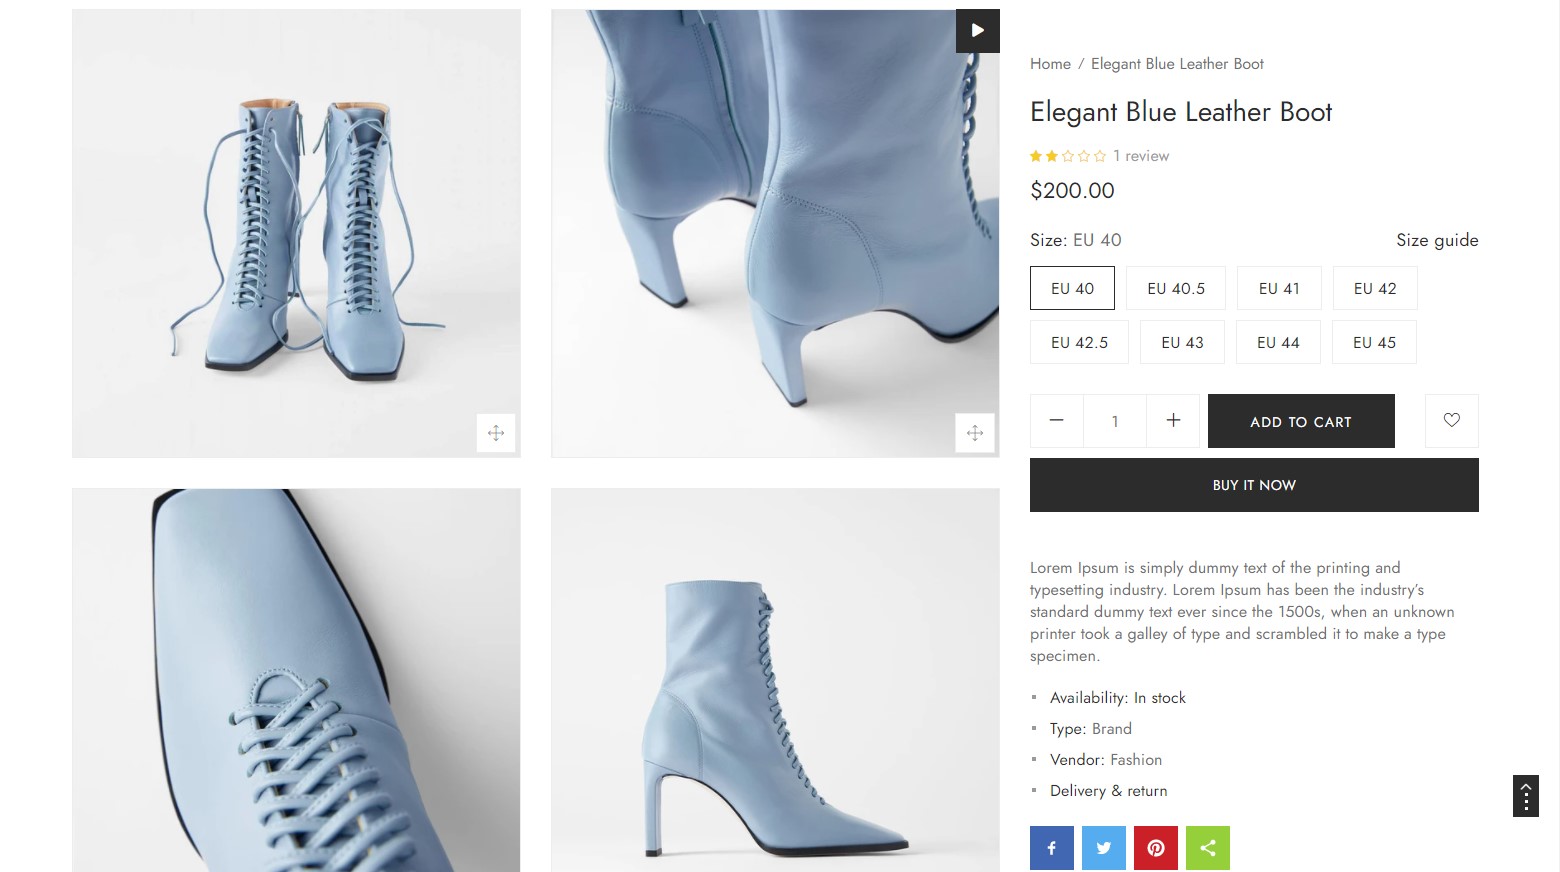
Gallery grid 2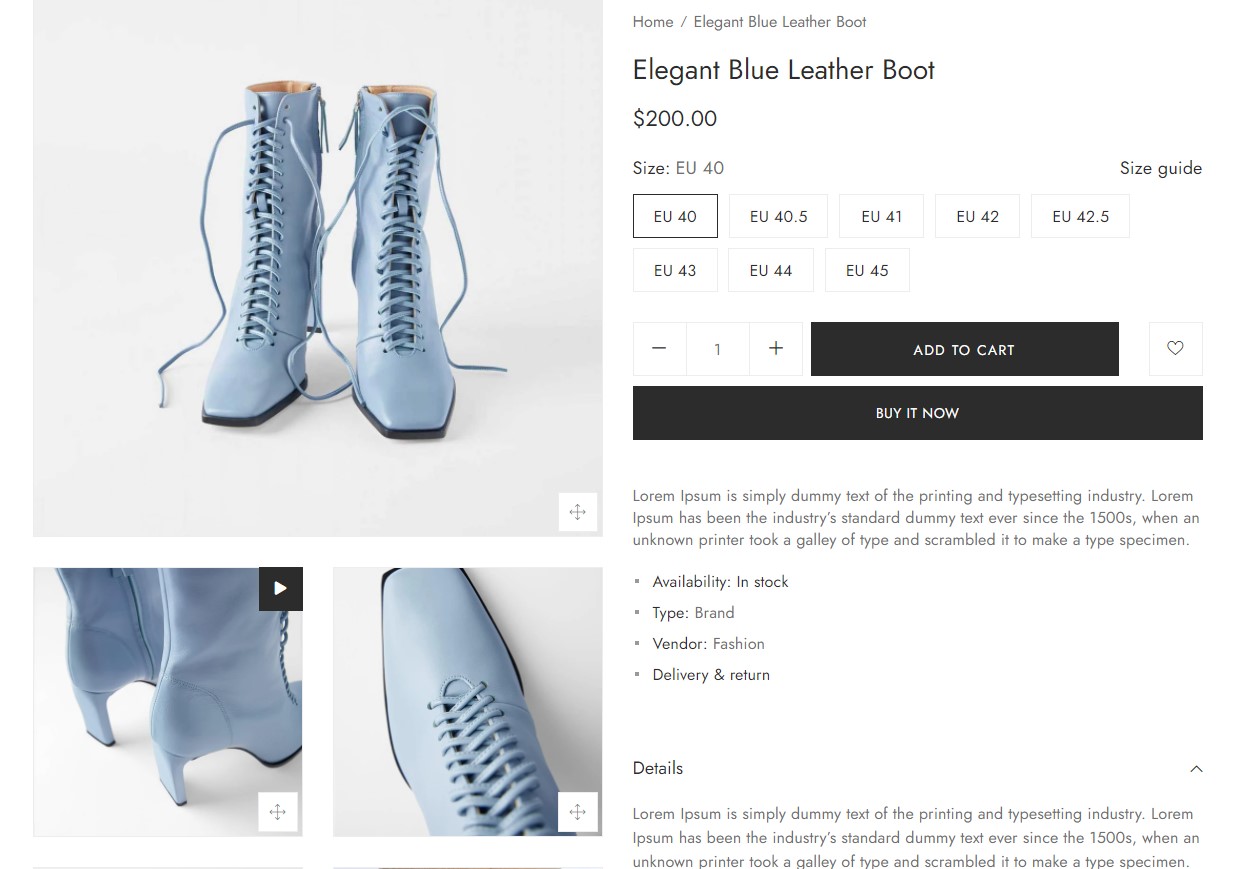
Sticky image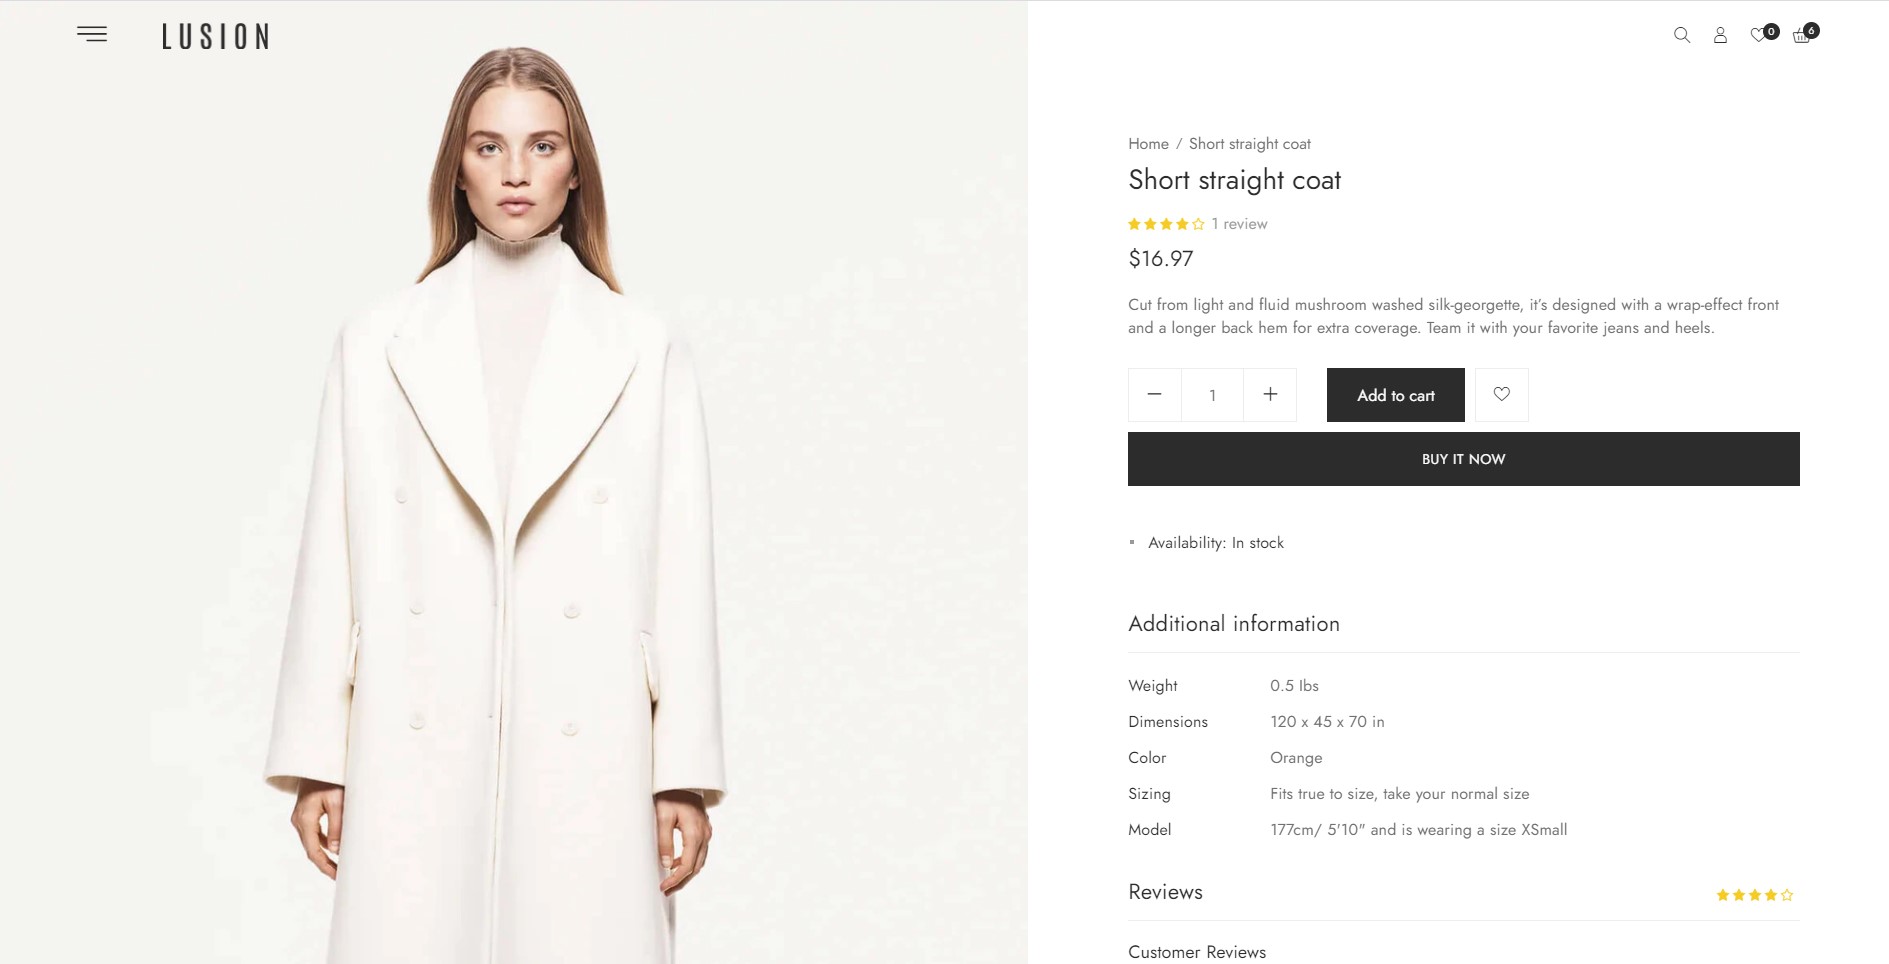
Vertical thumbnail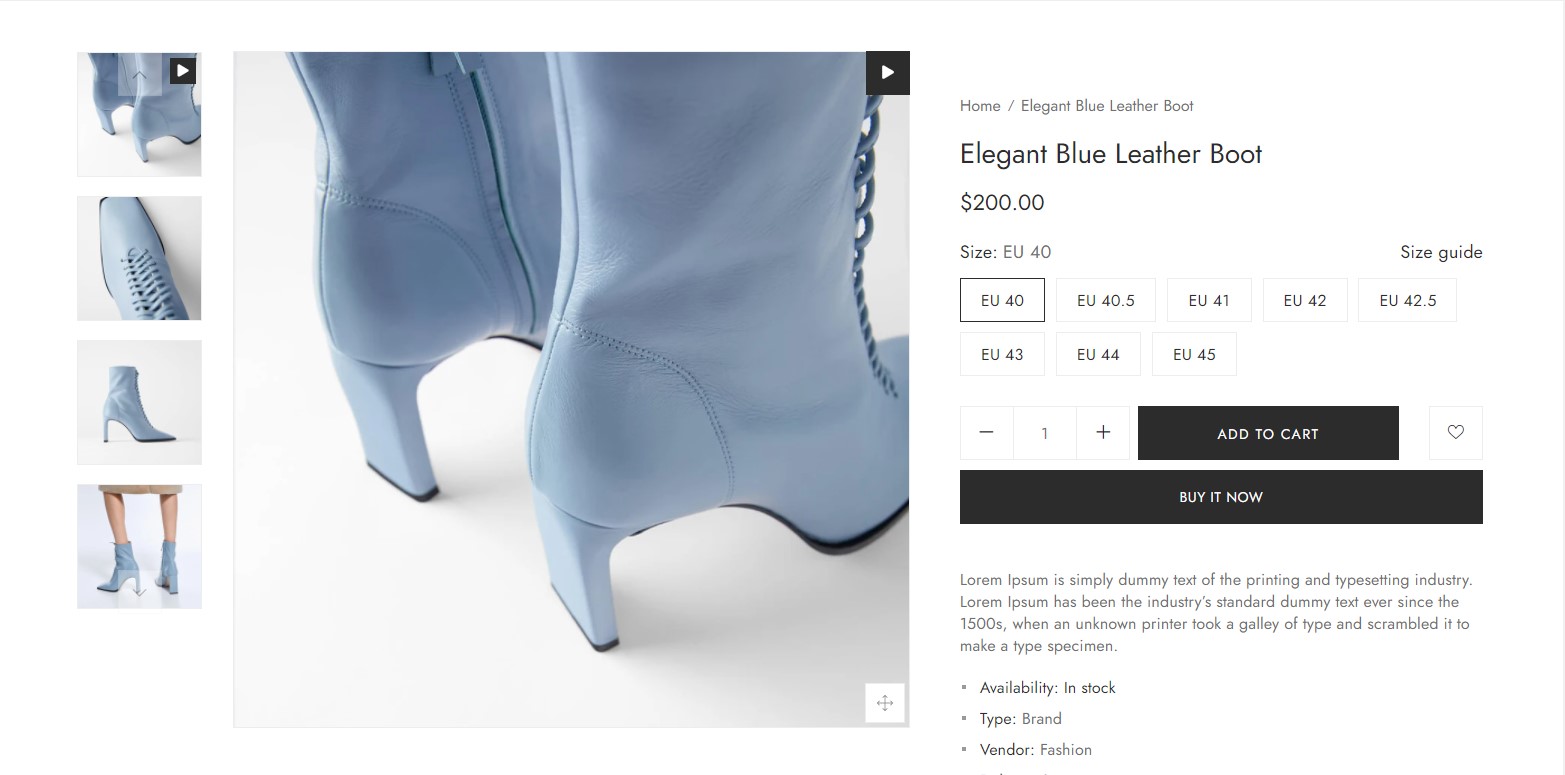
Horizontal thumbnail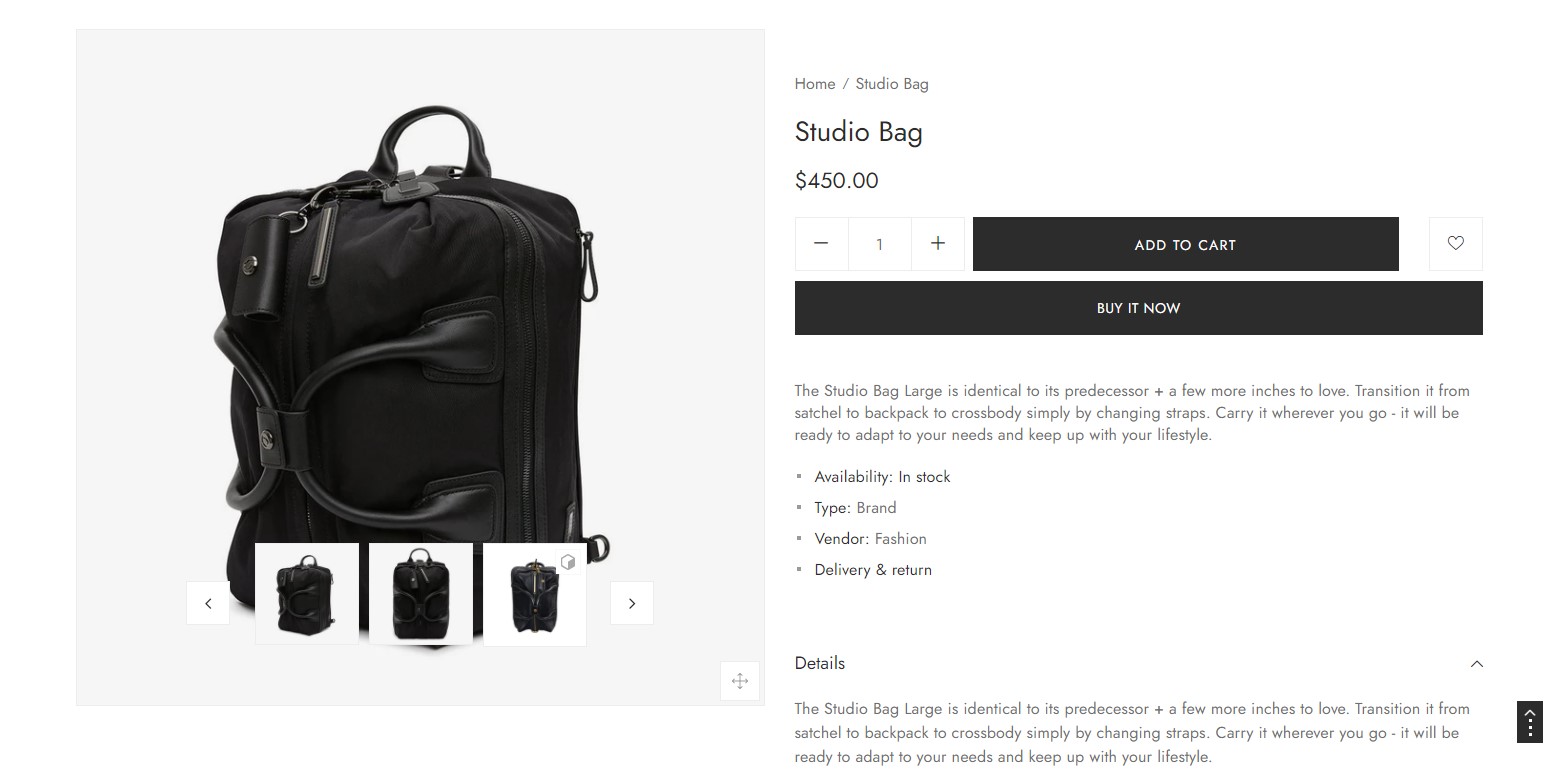
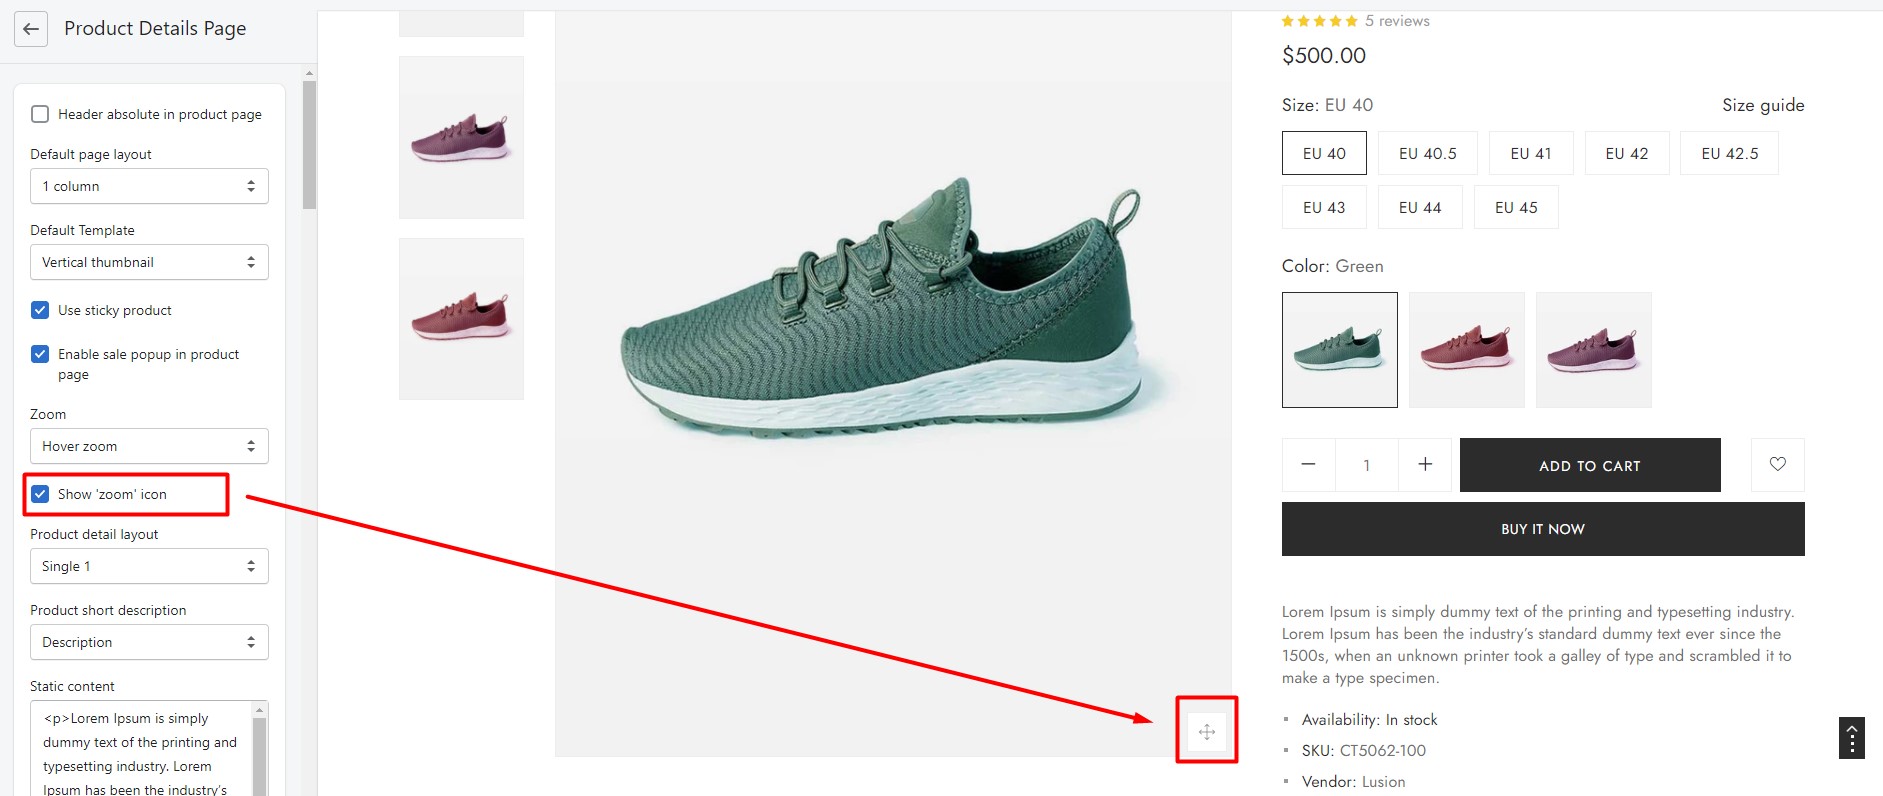
Full screen multiple slide - Zoom:
Hover zoom&No zoom. This is zoom mode for main product image. - Show “zoom” icon: Show/hide light box of product.
2. STICKY PRODUCT
- Show sticky product: Hide or show sticky product.
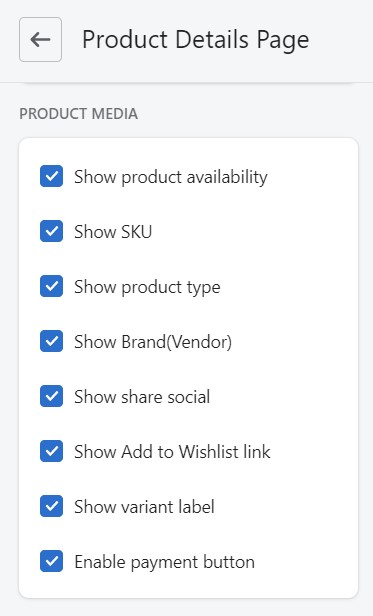
3. PRODUCT META
- Settings hide or show product meta: Hide or show SKU, product type, vendor, social sharing, wishlist & payment button.
4. TAB DESCRIPTION
- Settings for Tab layout: There are 5 layouts:
No display Tab description

Tab accordion
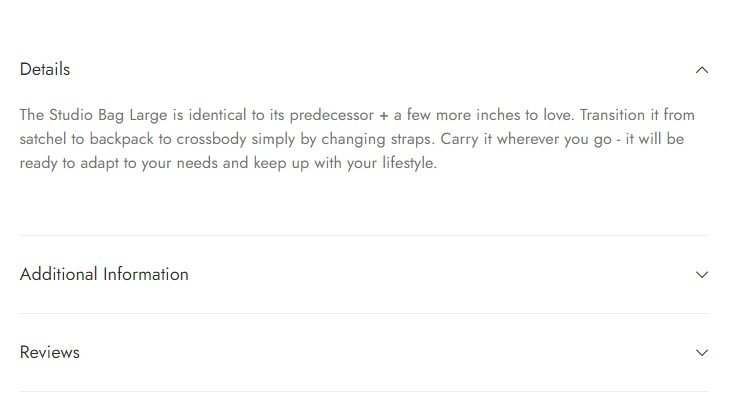
Tab accordion full content
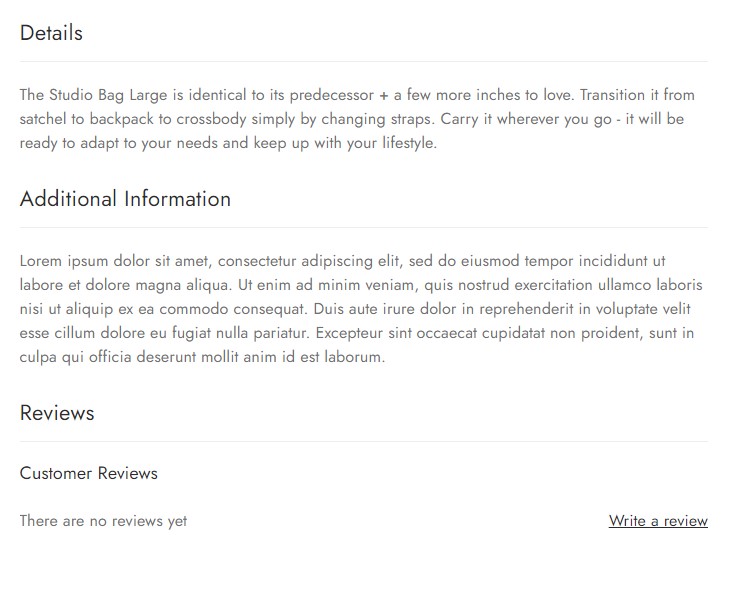
Tab description full content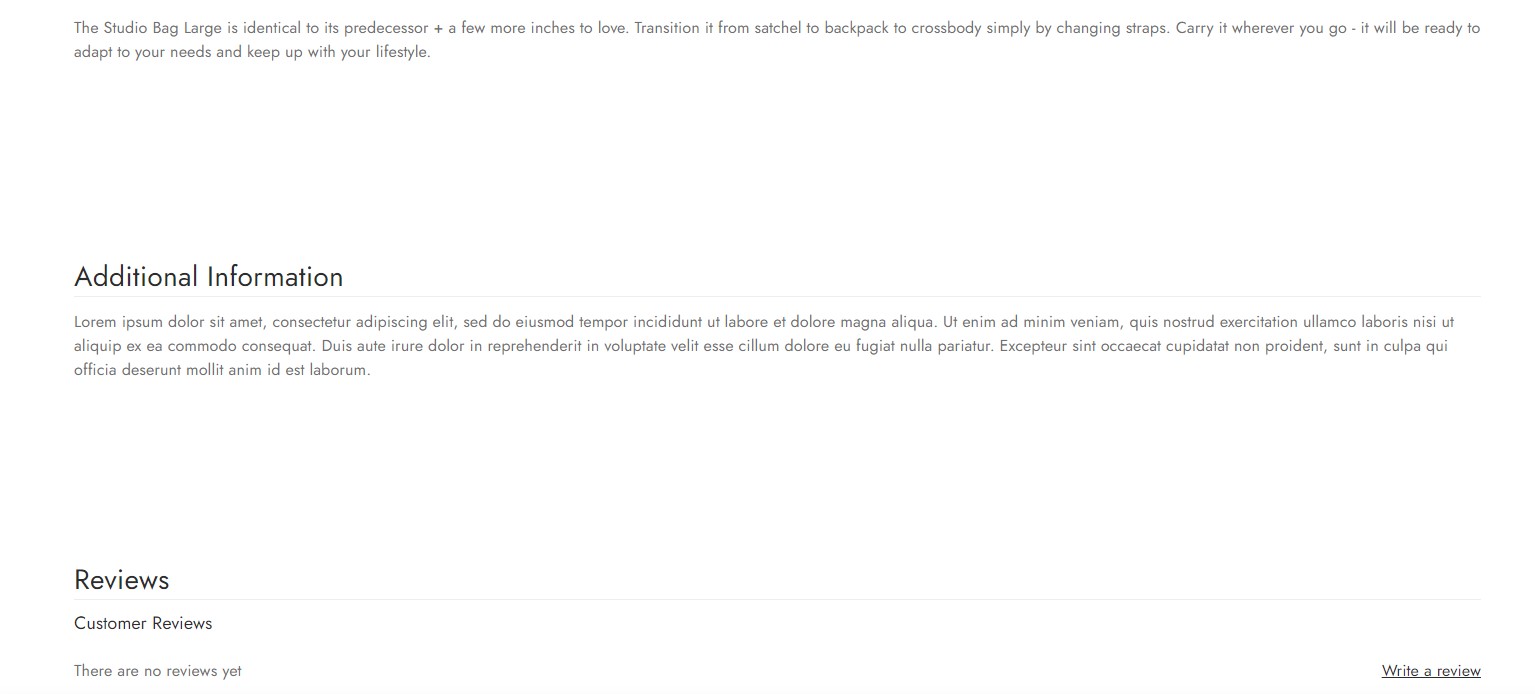
Settings for Additional tab: Title & content of additional tab.
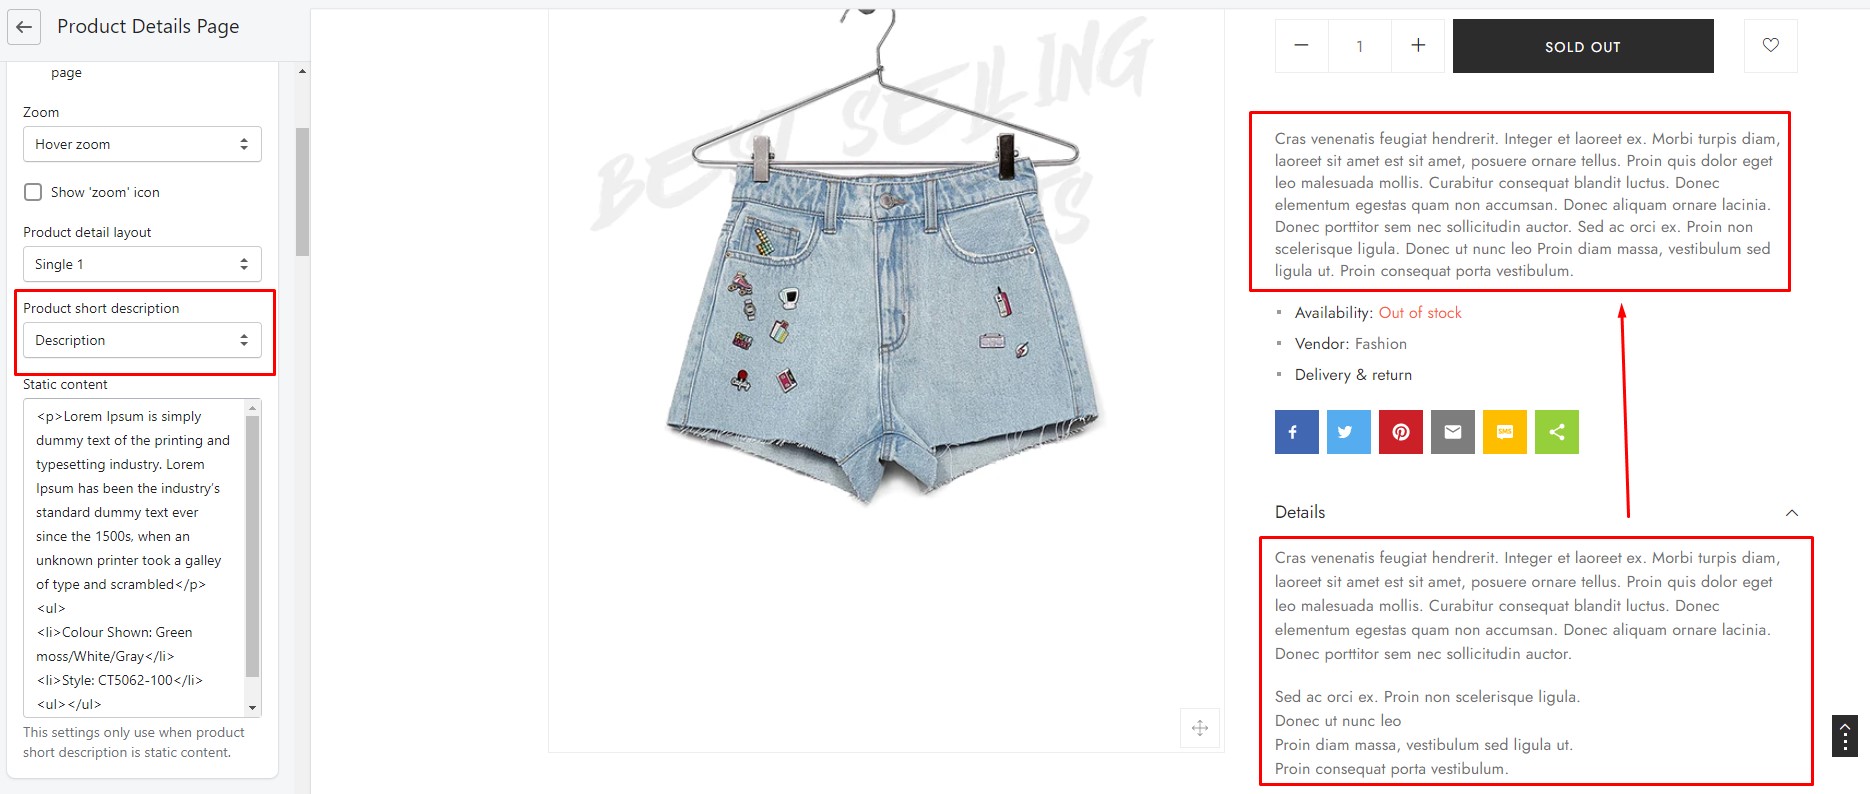
5. STATIC CONTENT
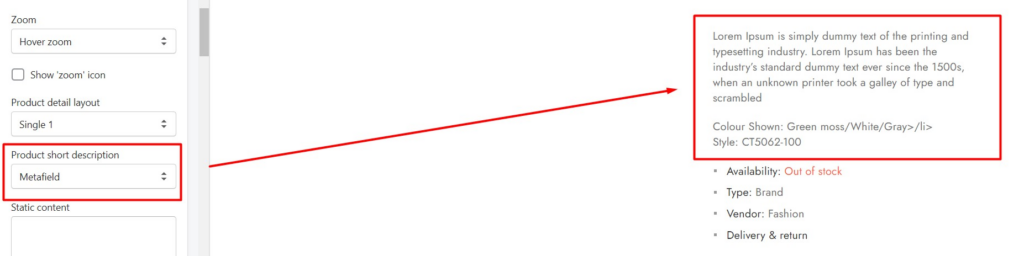
- Static content: You can choose 3 types: Short description, Static content, Metafield.
Short description
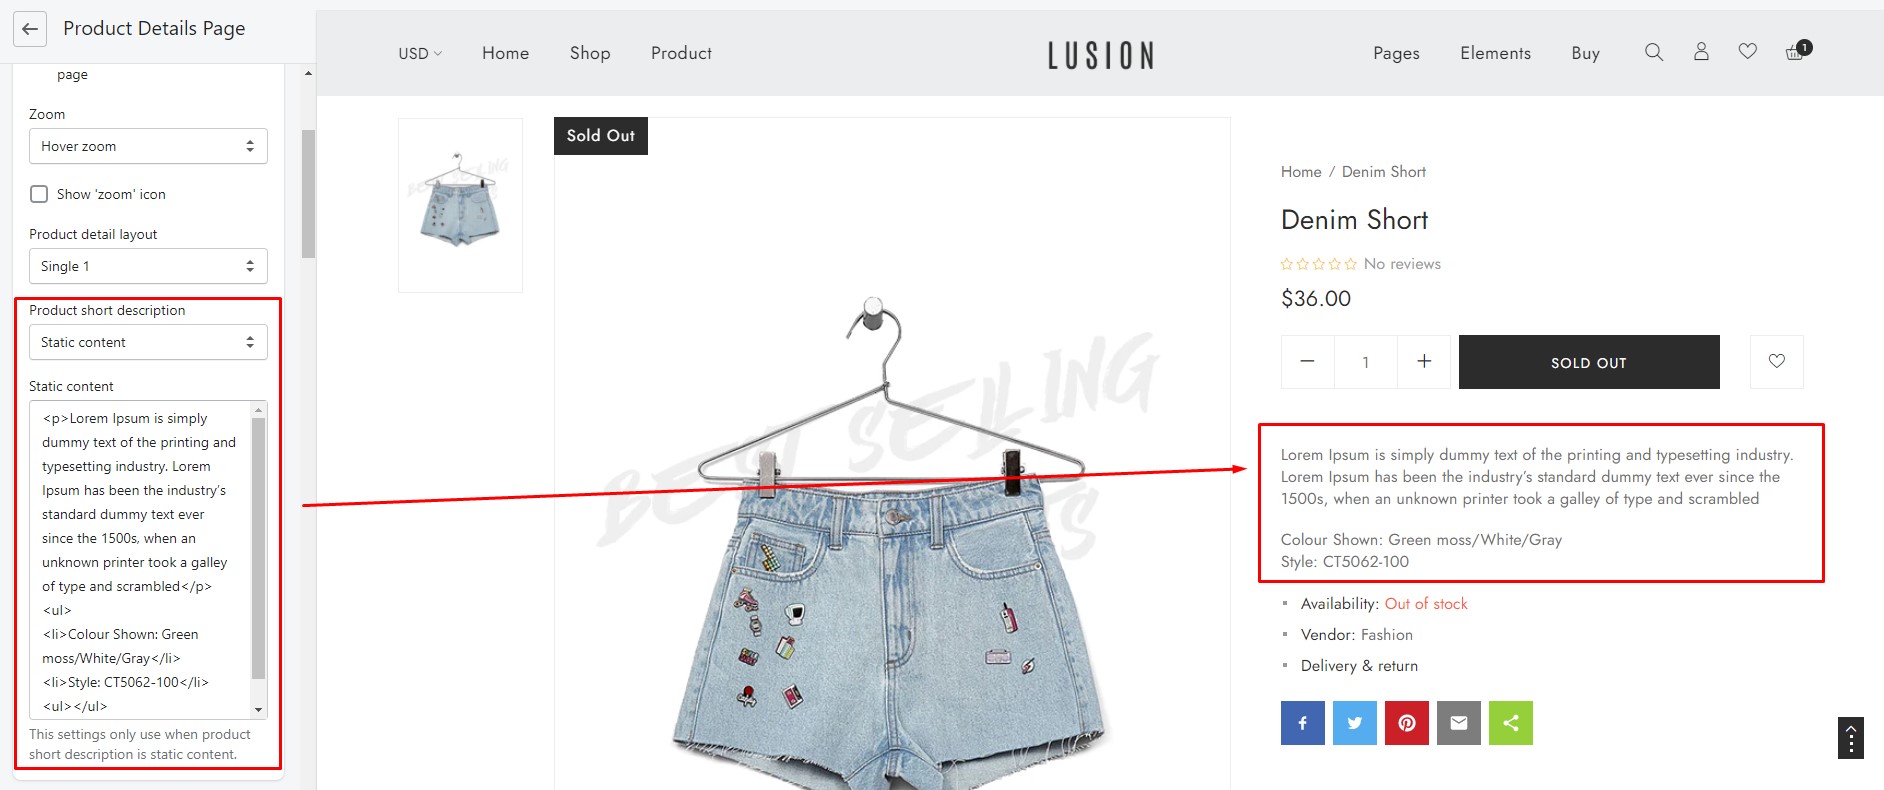
Static content
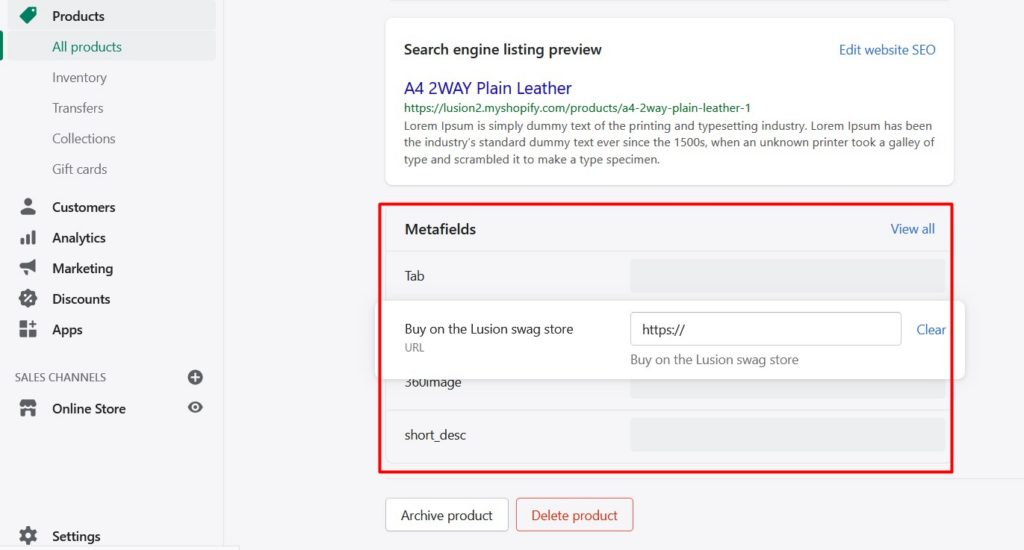
Metafield: You can scroll to Metafield to set up your theme.
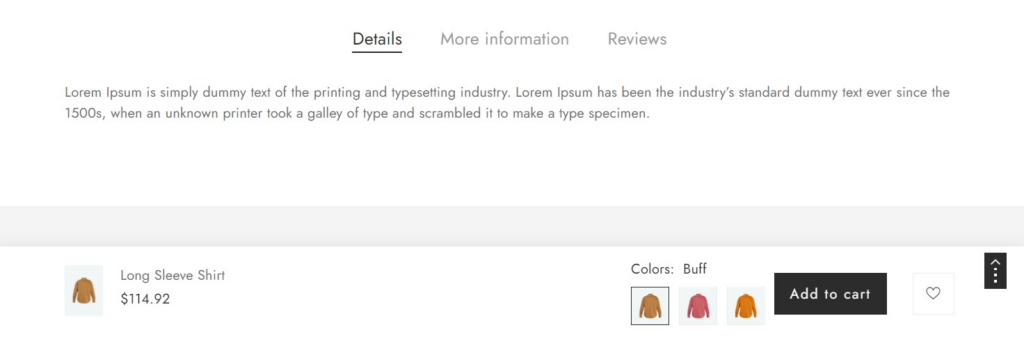
6. RECOMMENED & RELATED PRODUCTS
- Recommended product position:
Main contentorNo display. - Related product position:
Main contentorNo display. - In Lusion 2 it is a separate section can be added manually
7. SWATCH & COLOR SWATCH
- Swatch design: 3 layouts for you choose.
Default
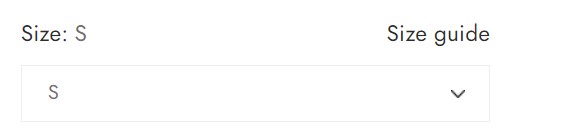
Circle
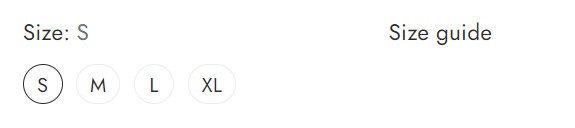
Rectangle
olor swatch
- Color swatch layout:
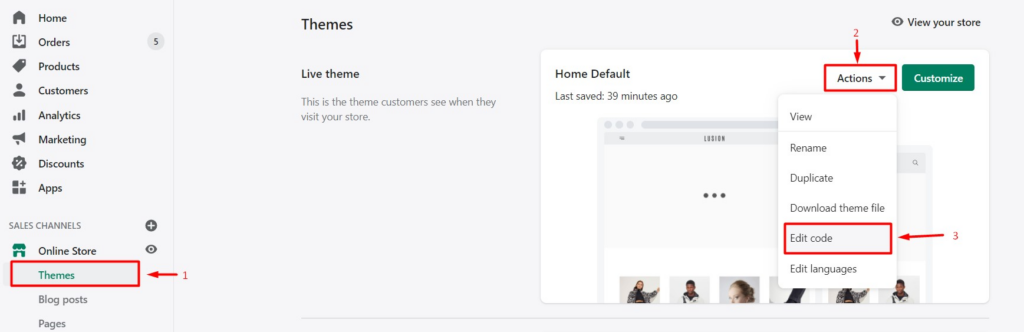
Swatch color: If you choose this option, the layout of color swatch is the same as the swatch settings above. You can custom the color of swatch color by upload a png image(recommended 100×100) into folder Assets of theme with name is the handle of variant options.- You can follow these steps below to upload a custom swatch color:
- Step 1: Online store – Themes – Actions – Edit code
Step 2: Upload a png image with name of variant. Ex: Coat Blue -> coat-blue.png, Black -> black.png, Red -> red.png
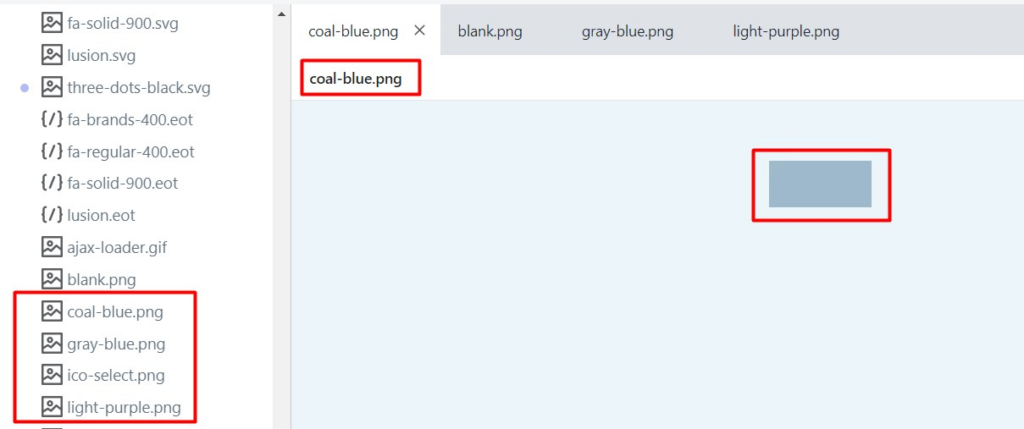
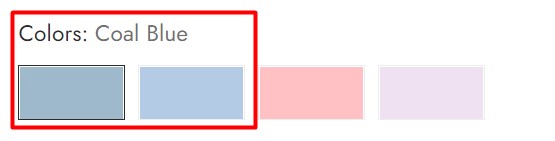
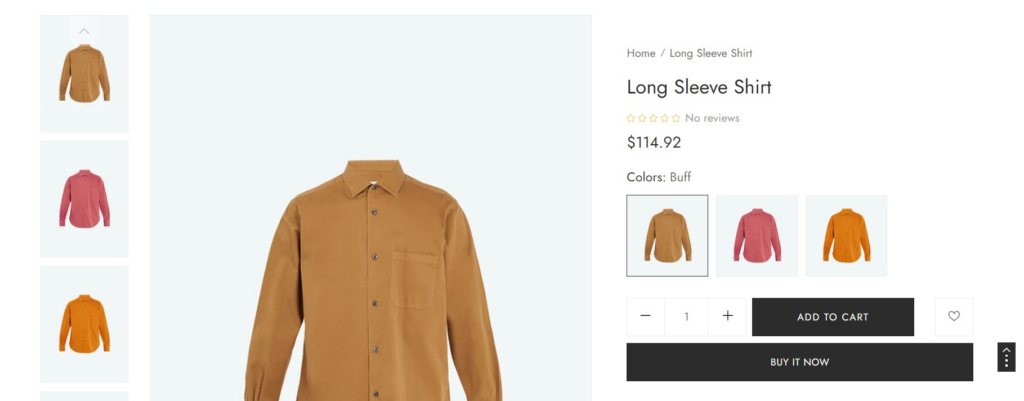
- In Store will show like the image that you uploaded.
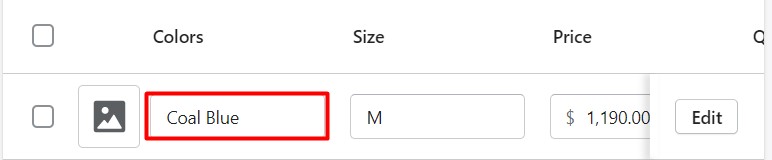
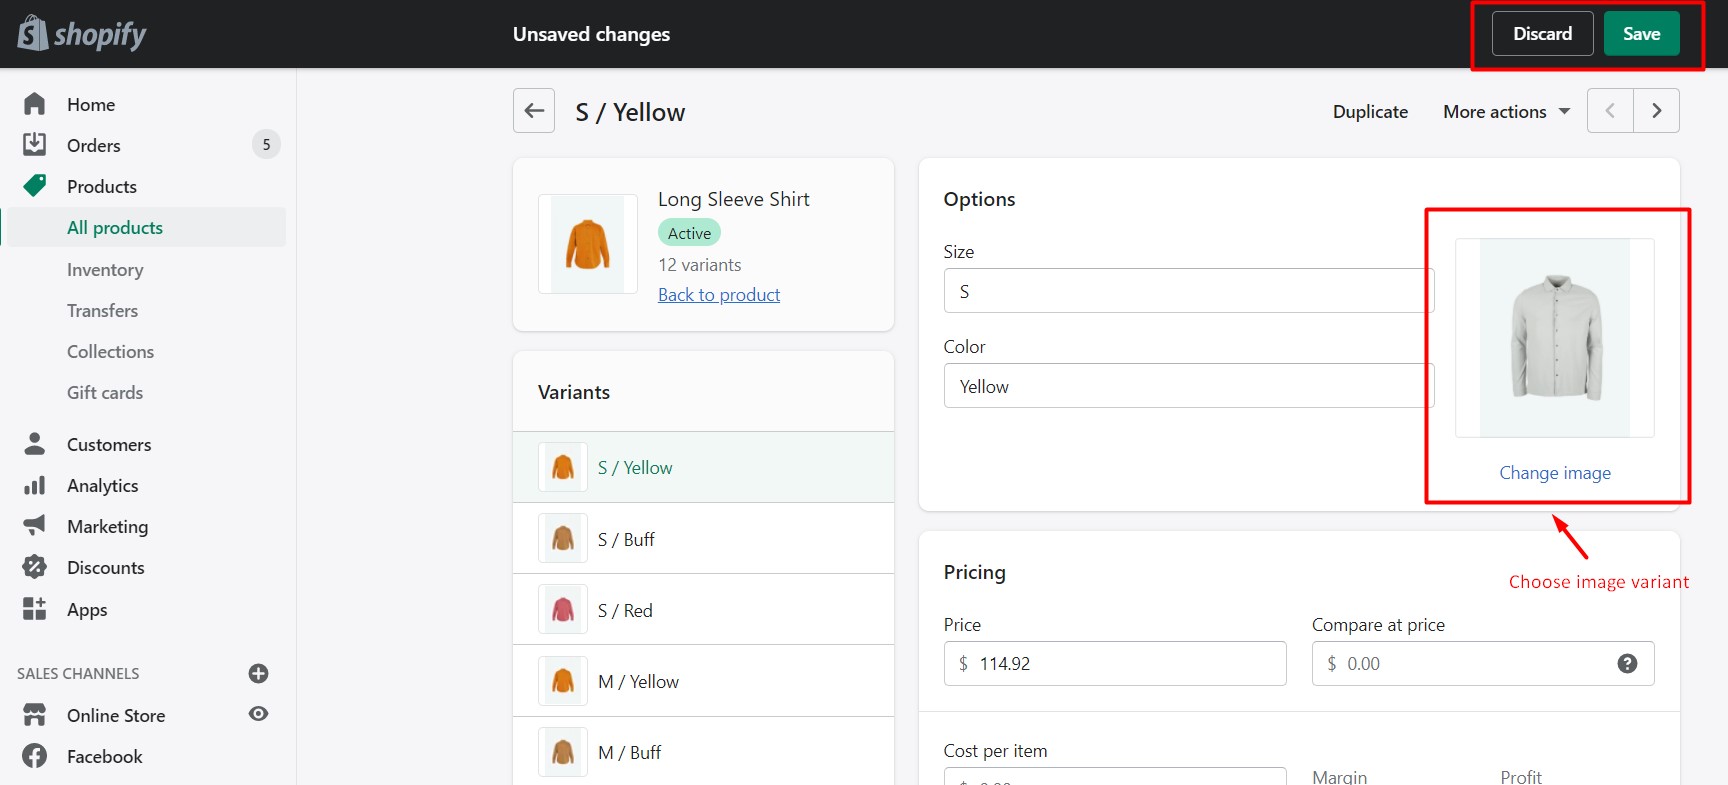
Swatch variant image: To show the varaint image, you need go to Admin – All product – Choose products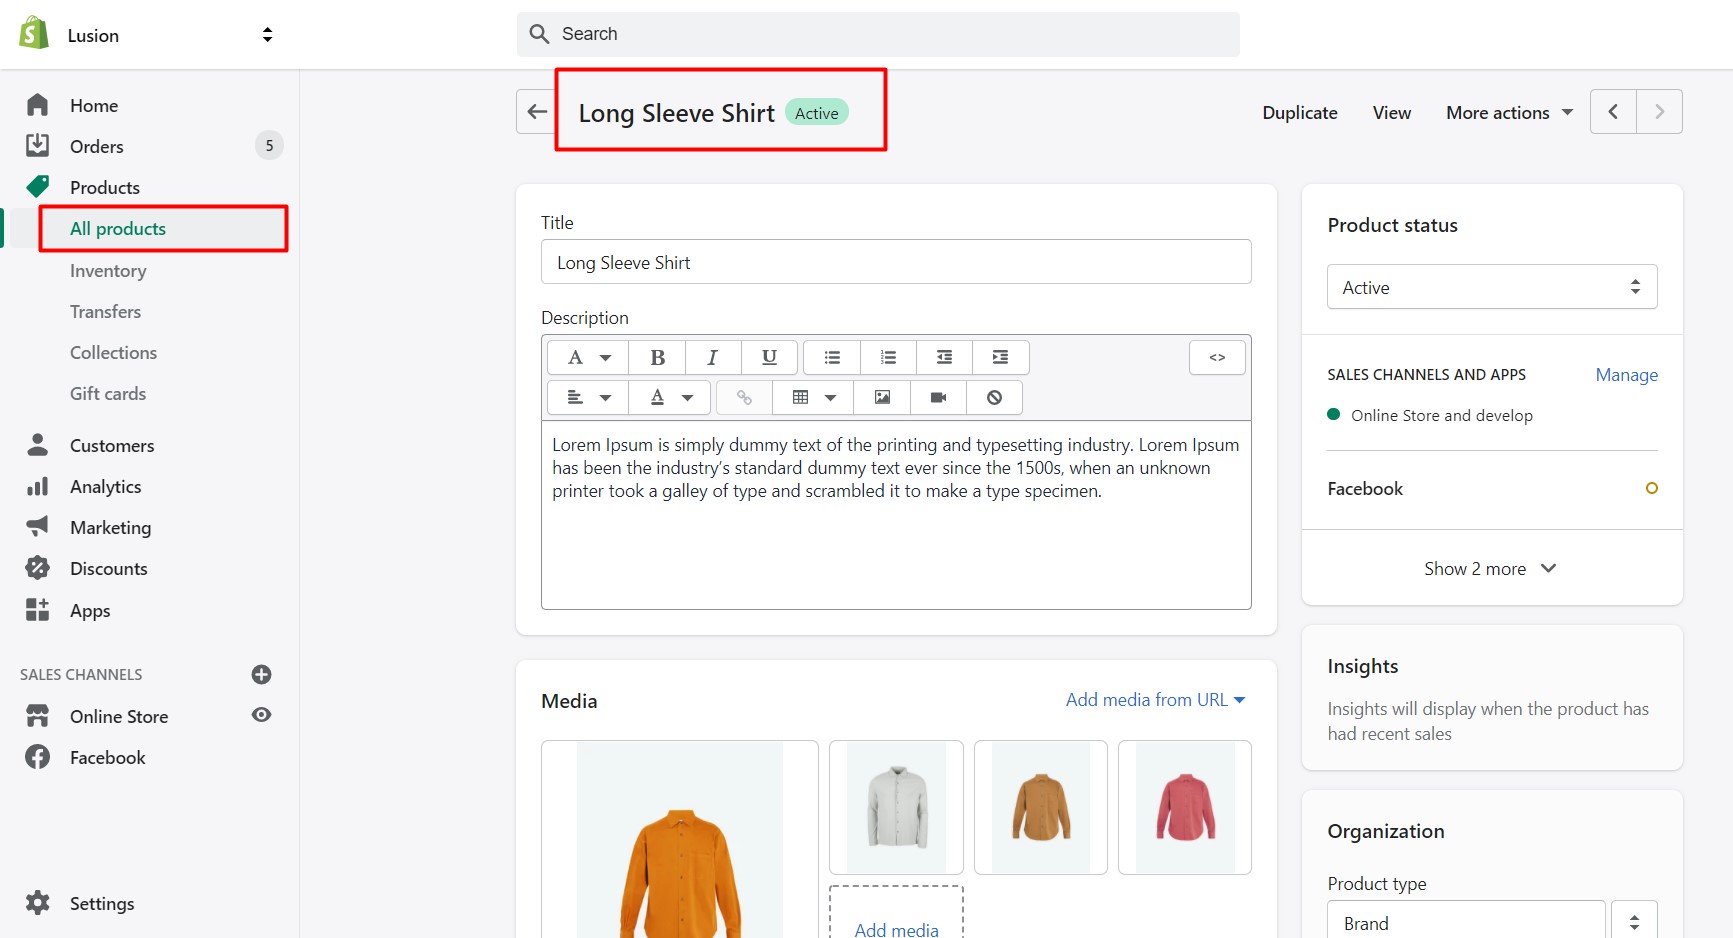
- Click to Add variant
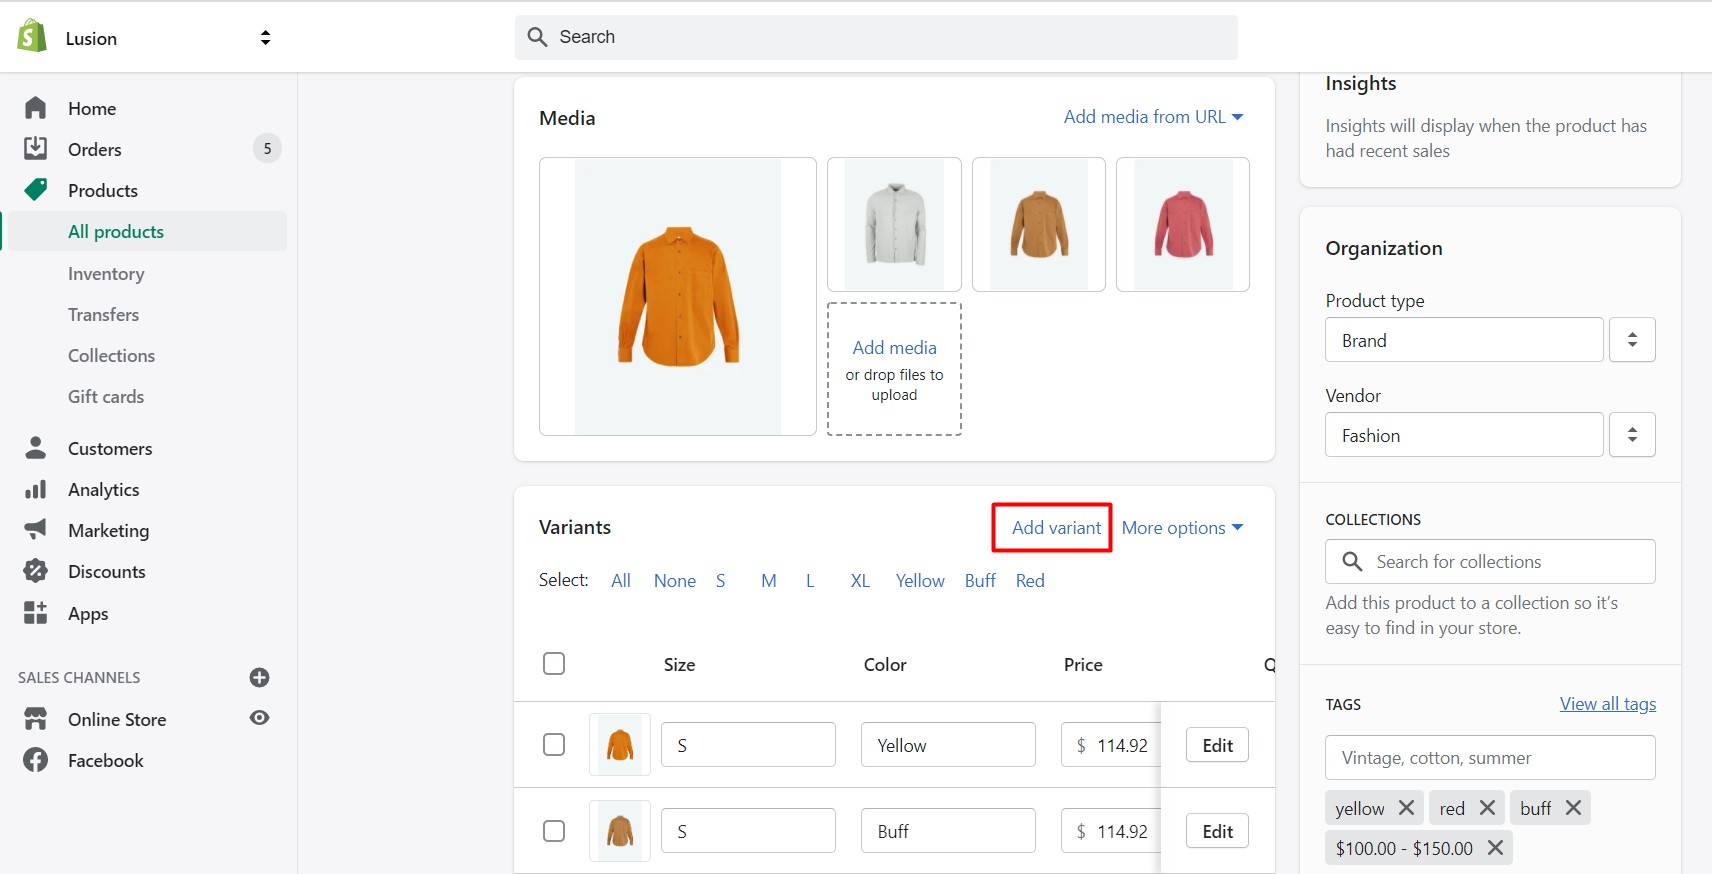
Fill variants information and save
- Color swatch settings: Define the layout of color swatch (only for Swatch variant image):
Default,Circle,Square,Horizontal rectangle&Vertical rectangle. - Color swatch size: Define the size of color swatch (only for Swatch variant image):
Small,Medium&Large.
Product options layout: To specify which product option will show as Color swatch on website.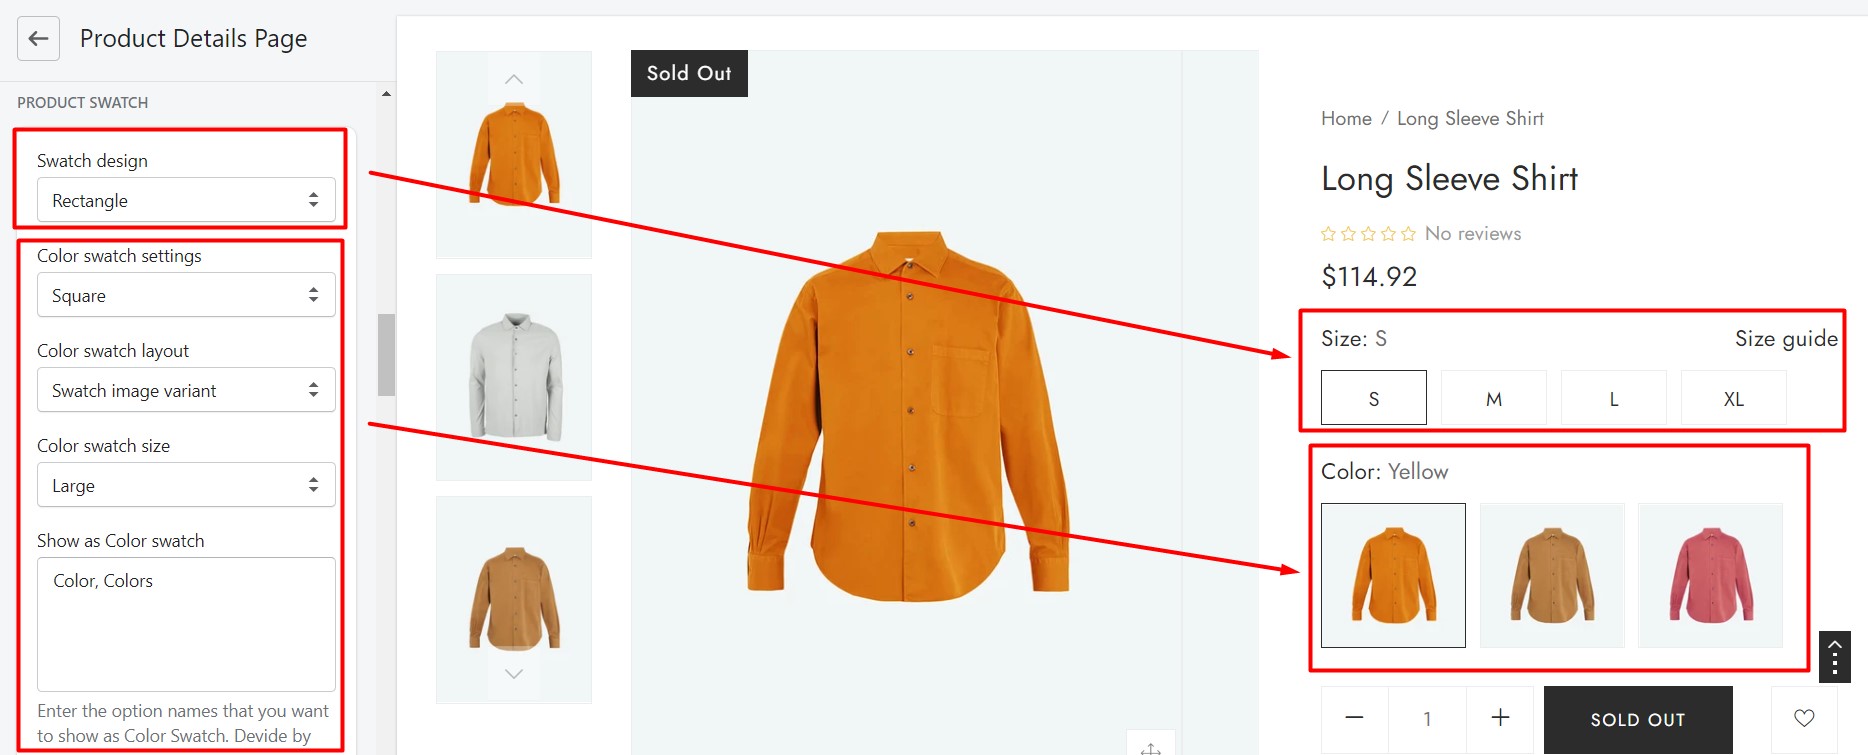
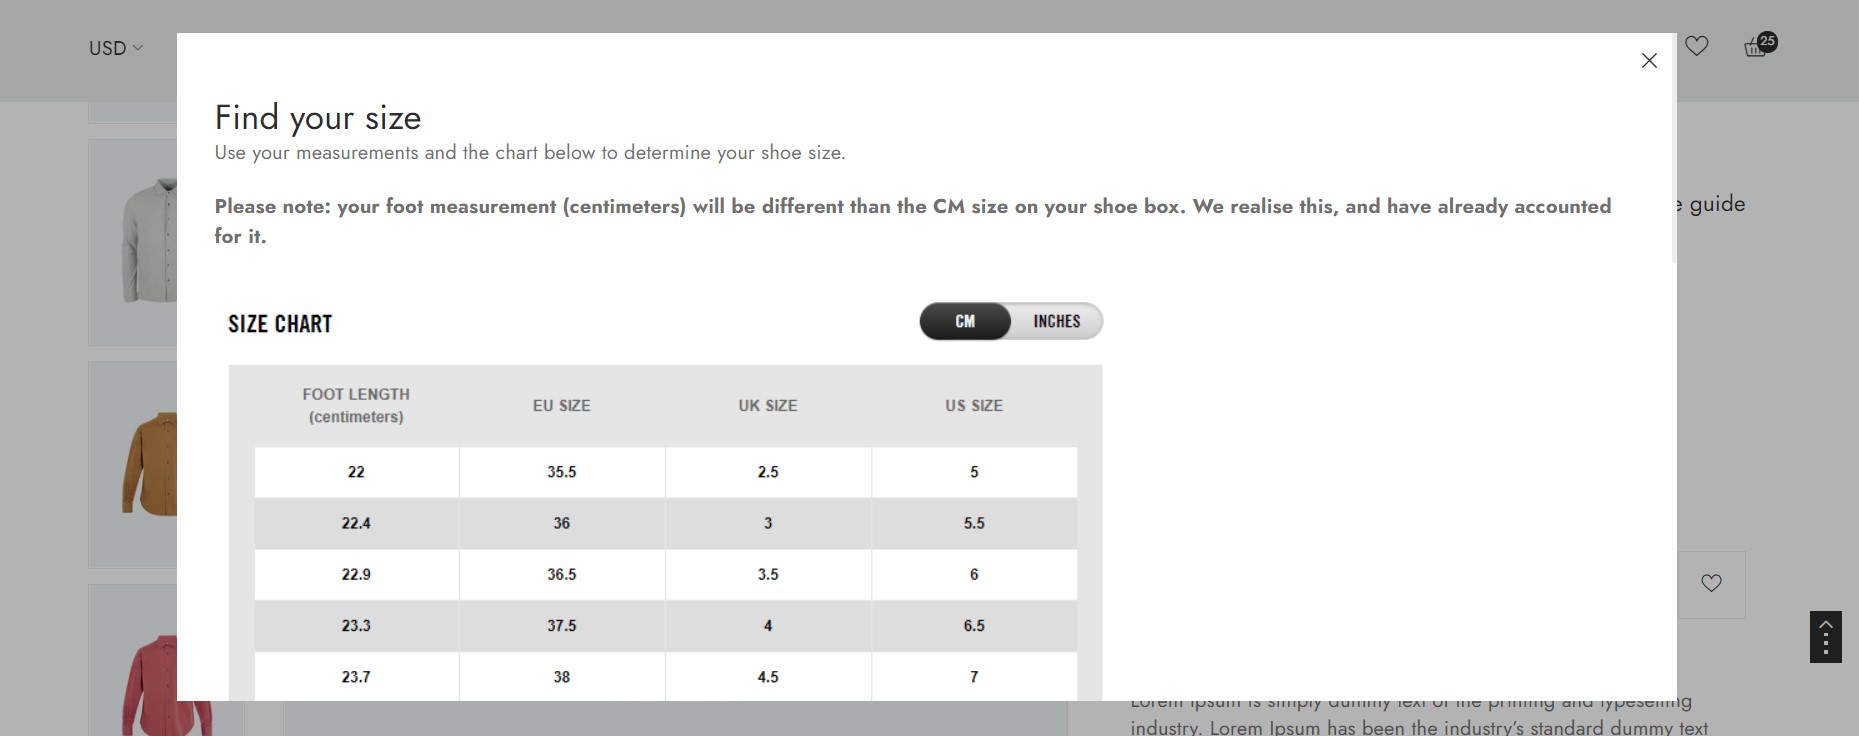
8. DELIVERY & SIZE CHART POPUP
Size chart popup
- Link to size chart: Define url action to size chart.
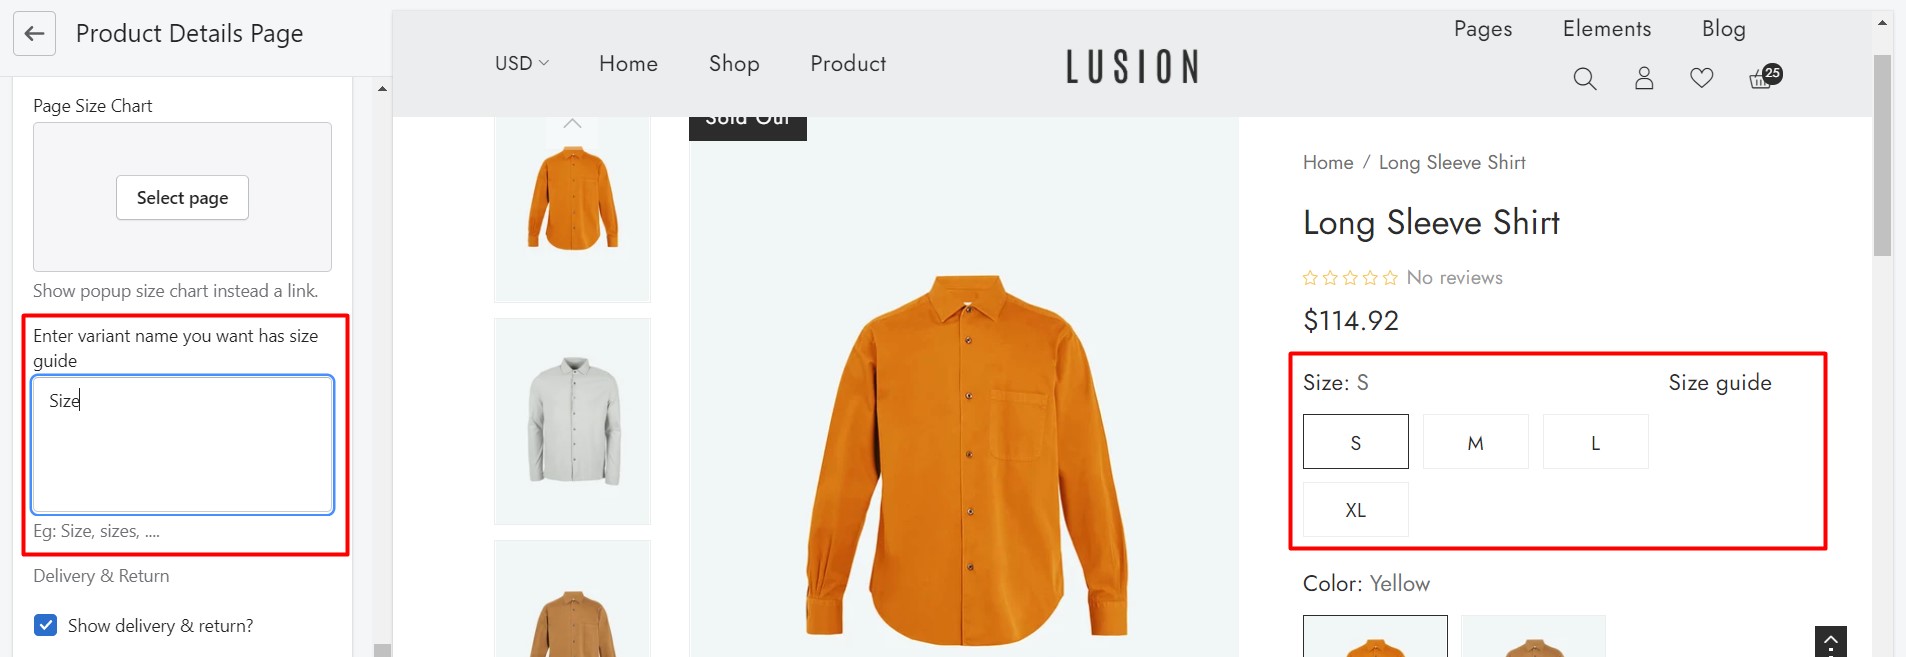
- Page size chart: This setting will show popup with content of page that you choose.
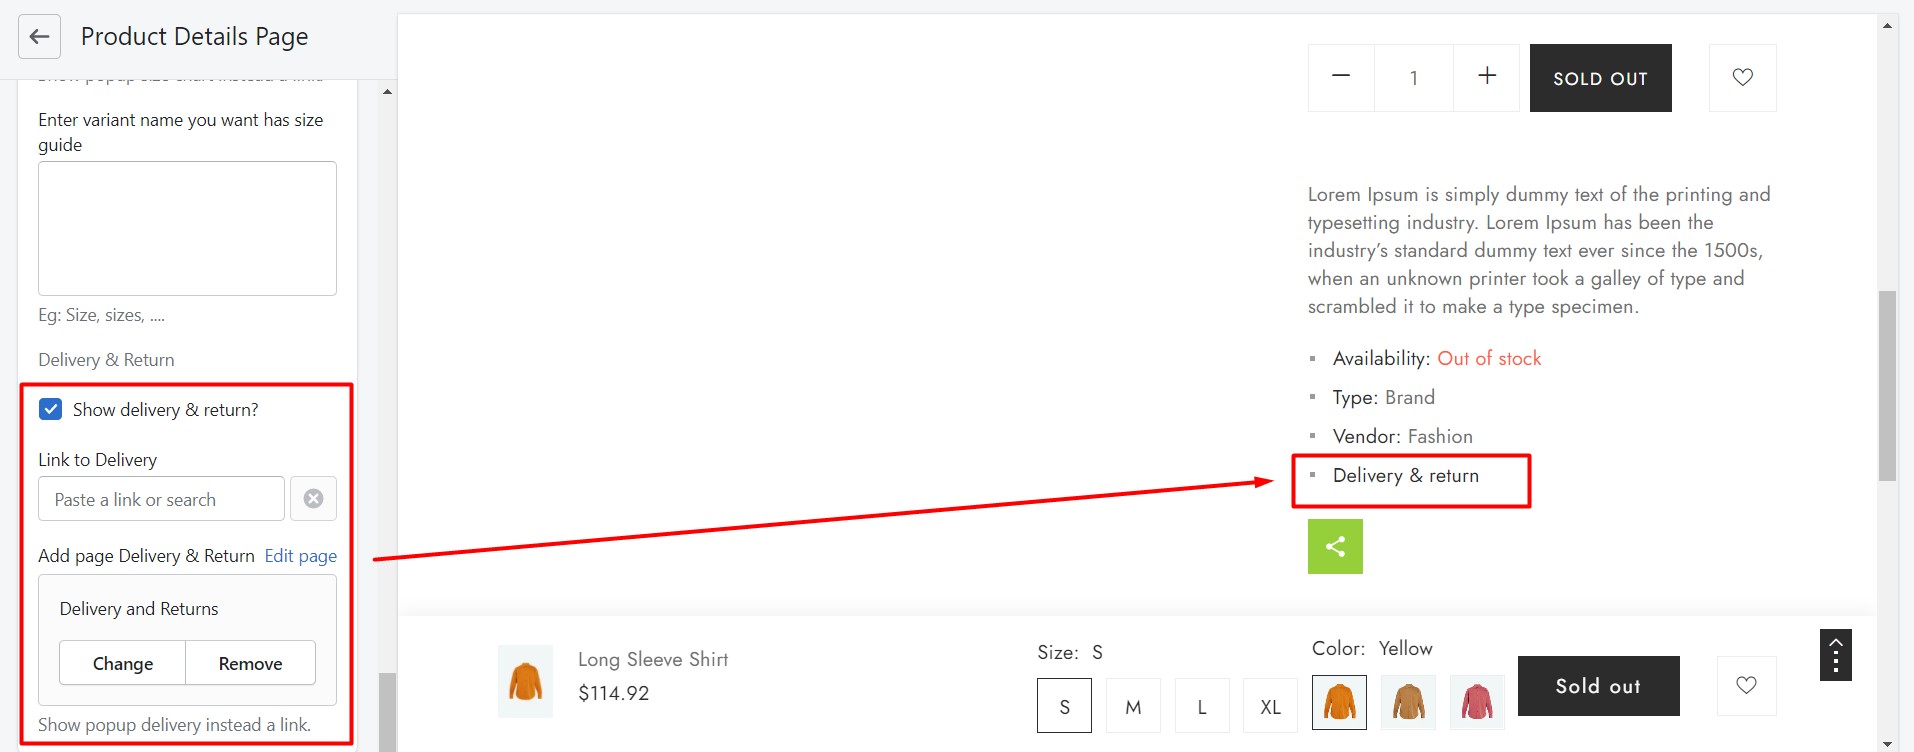
- Enter variant name you want has size guide: To specify which product option will show as Size chart on website (define Size, sizes, …).
Delivery popup: It’s the same as size chart popup.
9. METAFIELD
- You can use basic Shopify Metafield to setup for this
- Step 1: From Admin – Settings – Choose the “Metafields”
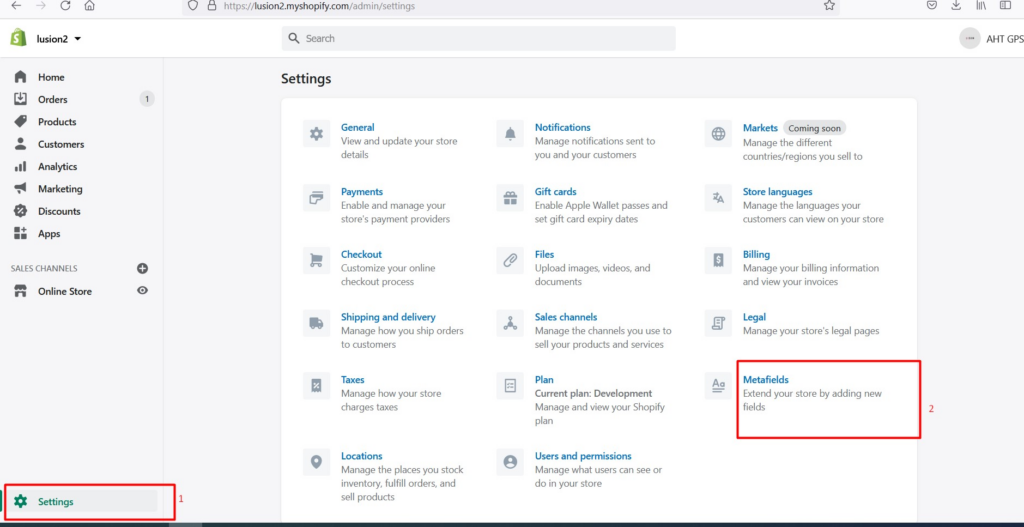
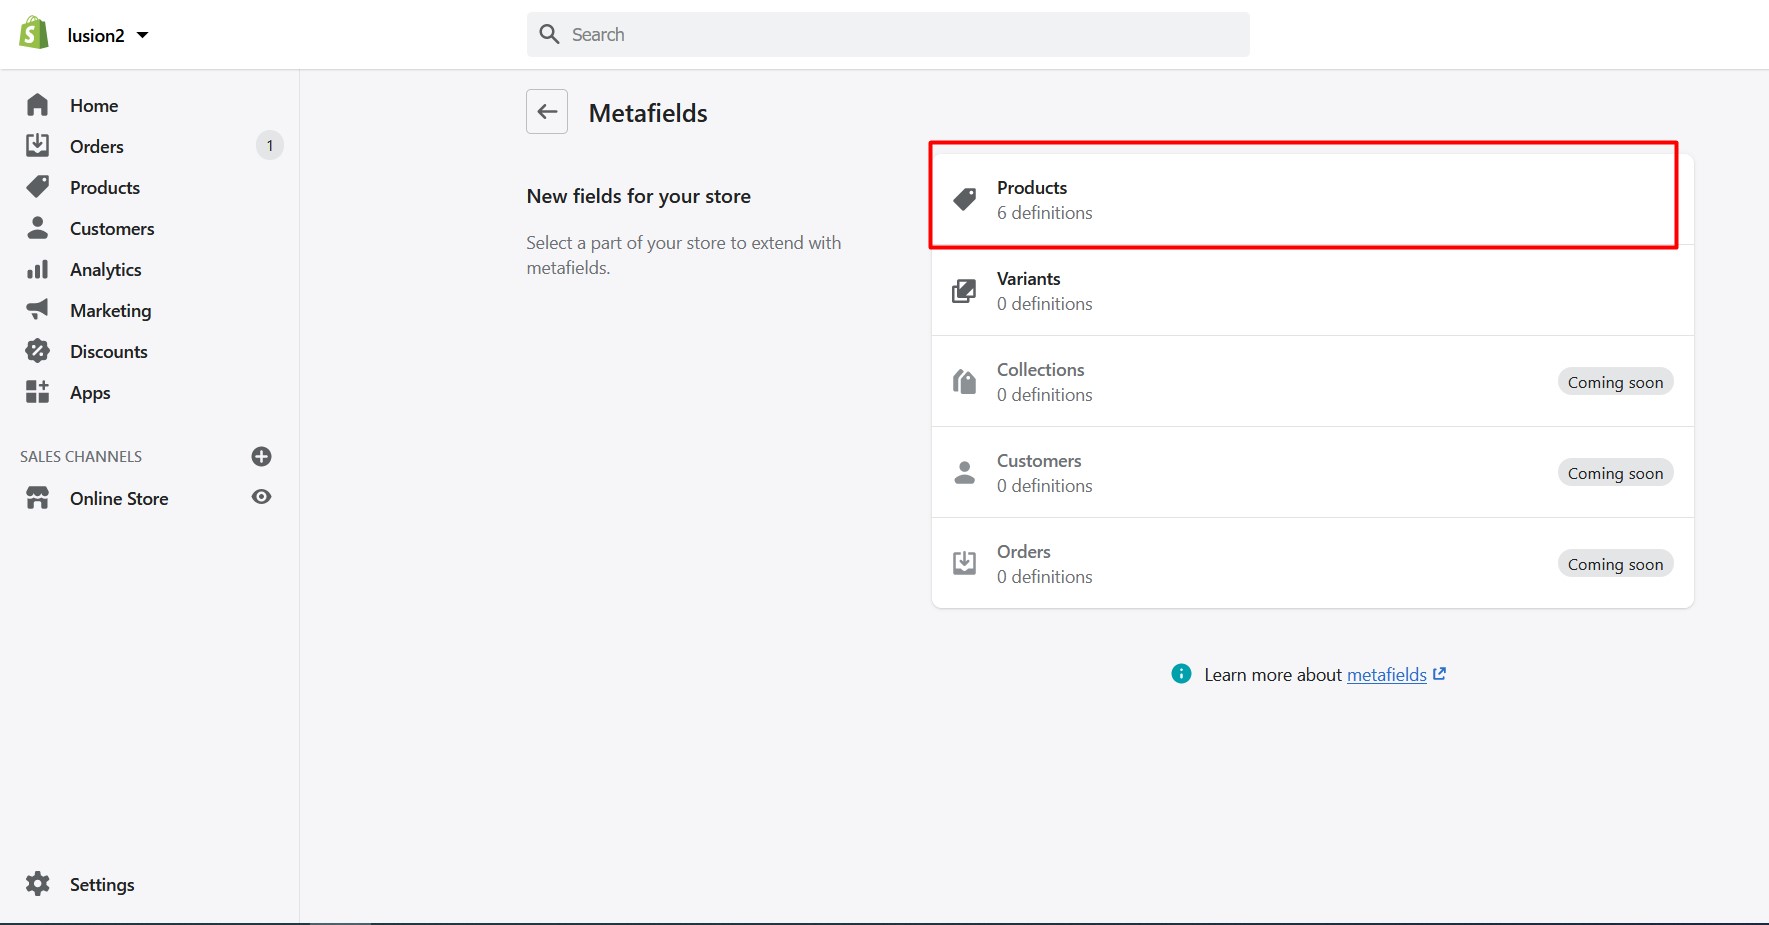
- Then choose the Product. You can set up for all product at once
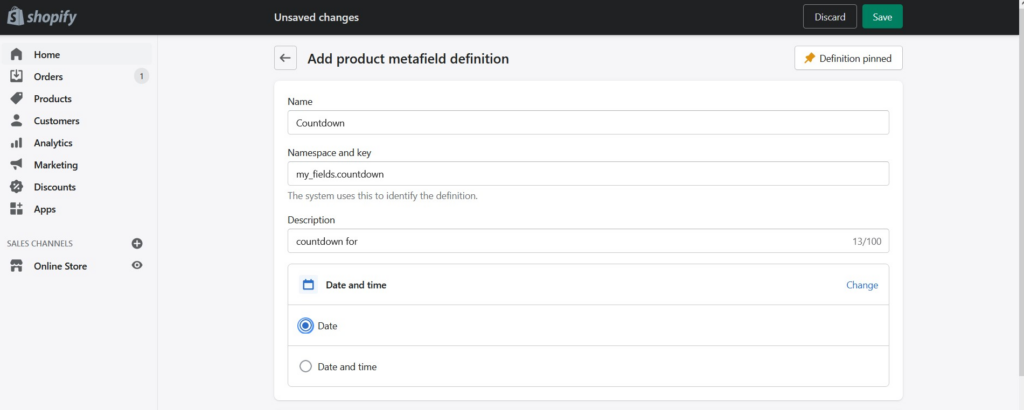
- Step 2: Config Metafield: Creating Countdown, Short description, External/Affiliate, Custom tab.
- Countdown
- Key: countdown
- Namespace: lusion
- Value type: Date
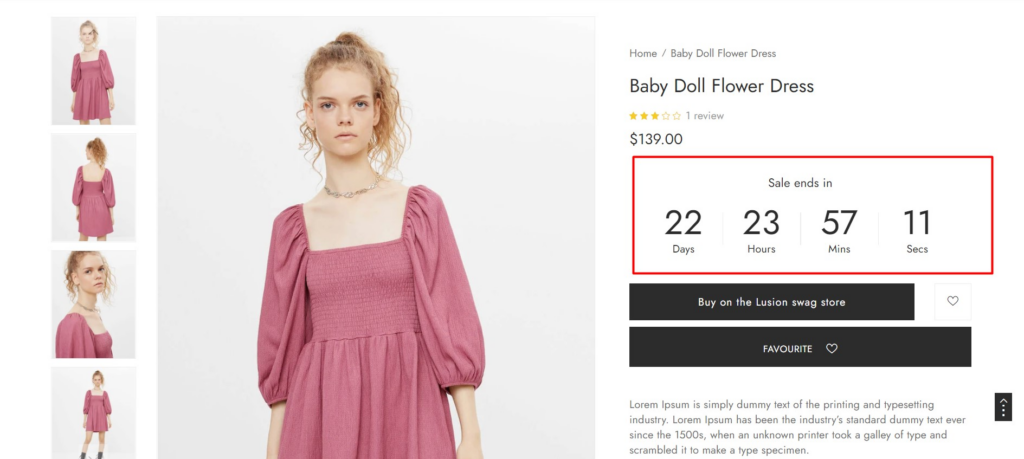
- Paragraph: write the time countdown will be end. Metafields product countdown, Countdown to the end sale date will be shown. Be sure you have set final date of the product sale price.product.metafields.meta.countdown (18/03/2021) or (18/03/2021 17:34:56) or (18/03/2021 07:00:00, 18/03/2021 17:34:56, 18/03/2021 18:30:25)
- Countdown
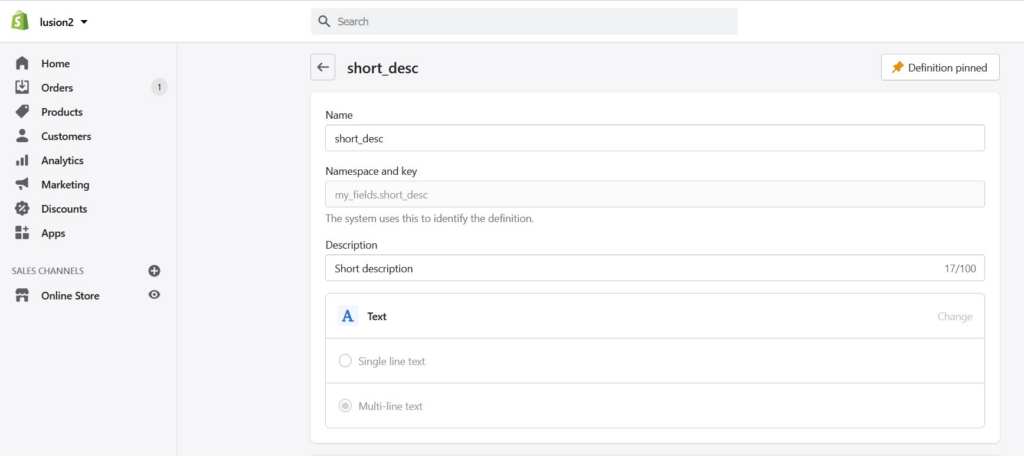
2.Static content
- Key: short_desc
- Namespace: lusion
- Value type: Text
- Paragraph: write the content which you want to showYou need to choose settings “Text” is metafield to get the content of metafield
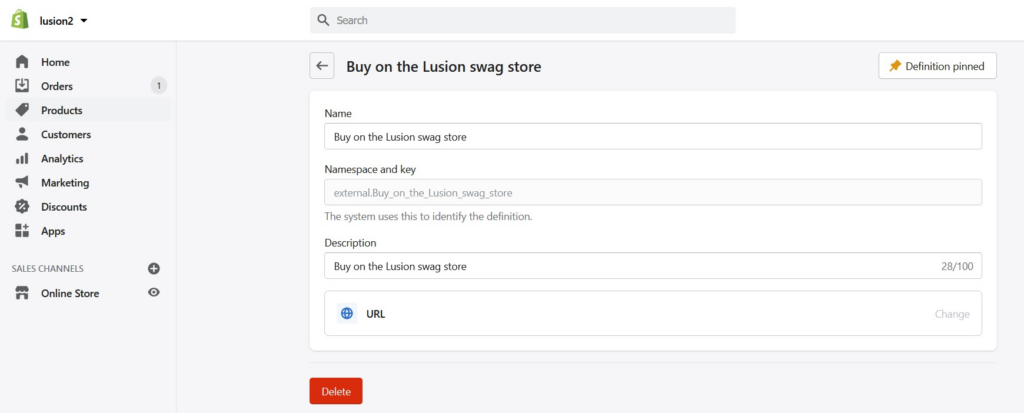
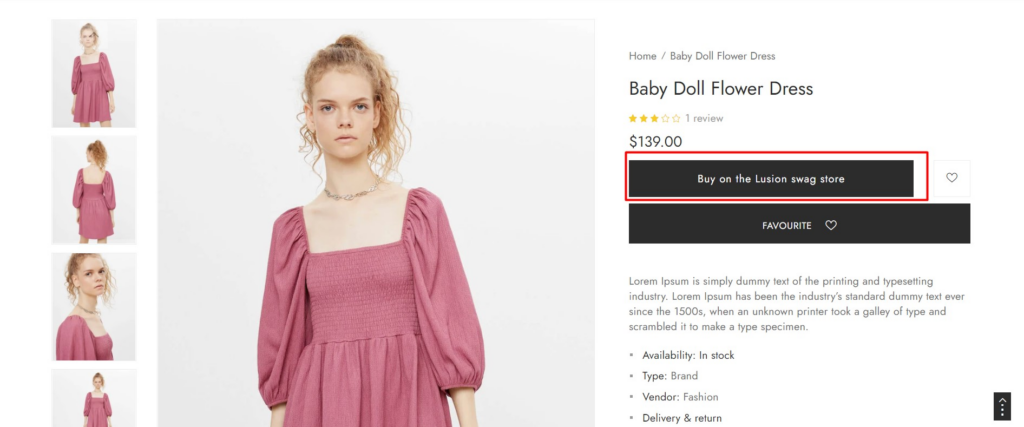
3. External/Affiliate
- Key: title of button
- Namespace: external
- Value type: URL
- Paragraph: Action Url of button
4. Custom tab
- Key: title of tab
- Namespace: tabs
- Value type: Text
- Paragraph: Content of tab

Step 3: You can now go to product that you want to enter extra data for each one of them.